How to Sequence Multiple Renovation Projects: What to Do First (and Why It Matters)
Learn how to sequence multiple renovation projects: what to do first (and why it matters) for a smooth, stress-free home remodel with lasting results.
|
April 13, 2026
In this article:
Nothing derails a renovation faster than having to redo work you’ve already paid for. Tearing open a freshly painted wall to fix an electrical issue or damaging brand-new floors during demolition are expensive, frustrating mistakes. These common pitfalls almost always stem from one thing: getting the order of operations wrong. A successful project is built on a logical progression of steps, ensuring that each phase sets the stage for the next. That’s why knowing How to Sequence Multiple Renovation Projects: What to Do First (and Why It Matters) is so crucial. This article breaks down the correct order, helping you avoid costly errors, protect your investment, and keep your project on budget and on schedule.
Key Takeaways
- Address structural and safety issues first: Before any cosmetic work, focus on the core of your home. Repairing the roof, foundation, plumbing, and electrical systems creates a safe and stable base, protecting your entire renovation investment from future damage.
- Renovate high-impact rooms in order: Tackle kitchens and bathrooms after the structural work is done but before updating living spaces. This sequence is smart because it contains the complex plumbing and electrical work, preventing damage to new floors or paint in other areas of the house.
- A solid plan prevents costly mistakes: Create a detailed roadmap that outlines your project sequence, a realistic budget with a 10-20% contingency fund, and a practical timeline. This preparation is your best tool for managing stress and keeping your renovation on track and within budget.
What Repairs Should You Tackle First?
Before you start dreaming about paint colors and new countertops, it’s important to focus on the bones of your house. Tackling critical repairs first ensures your home is safe, sound, and ready for the beautiful updates to come. Think of it as building a strong foundation for your investment. Addressing structural, safety, and systemic issues upfront prevents costly surprises down the road and protects your home from further damage. It might not be the most glamorous part of renovating, but it’s definitely the most important. Getting these priorities straight from the beginning sets your entire project up for success.
Address safety and structural issues
Your first priority should always be any problem that could make your home unsafe or lead to bigger, more expensive issues. This means taking a serious look at your home’s core components. We’re talking about things like a leaky roof that could cause water damage and mold, a cracked foundation that compromises the entire structure, or faulty electrical wiring that poses a fire hazard. Other red flags include plumbing leaks, broken HVAC systems, or any signs of water intrusion. It’s essential to resolve these fundamental problems before you even think about cosmetic changes. A safe and stable home is the only canvas worth painting on.
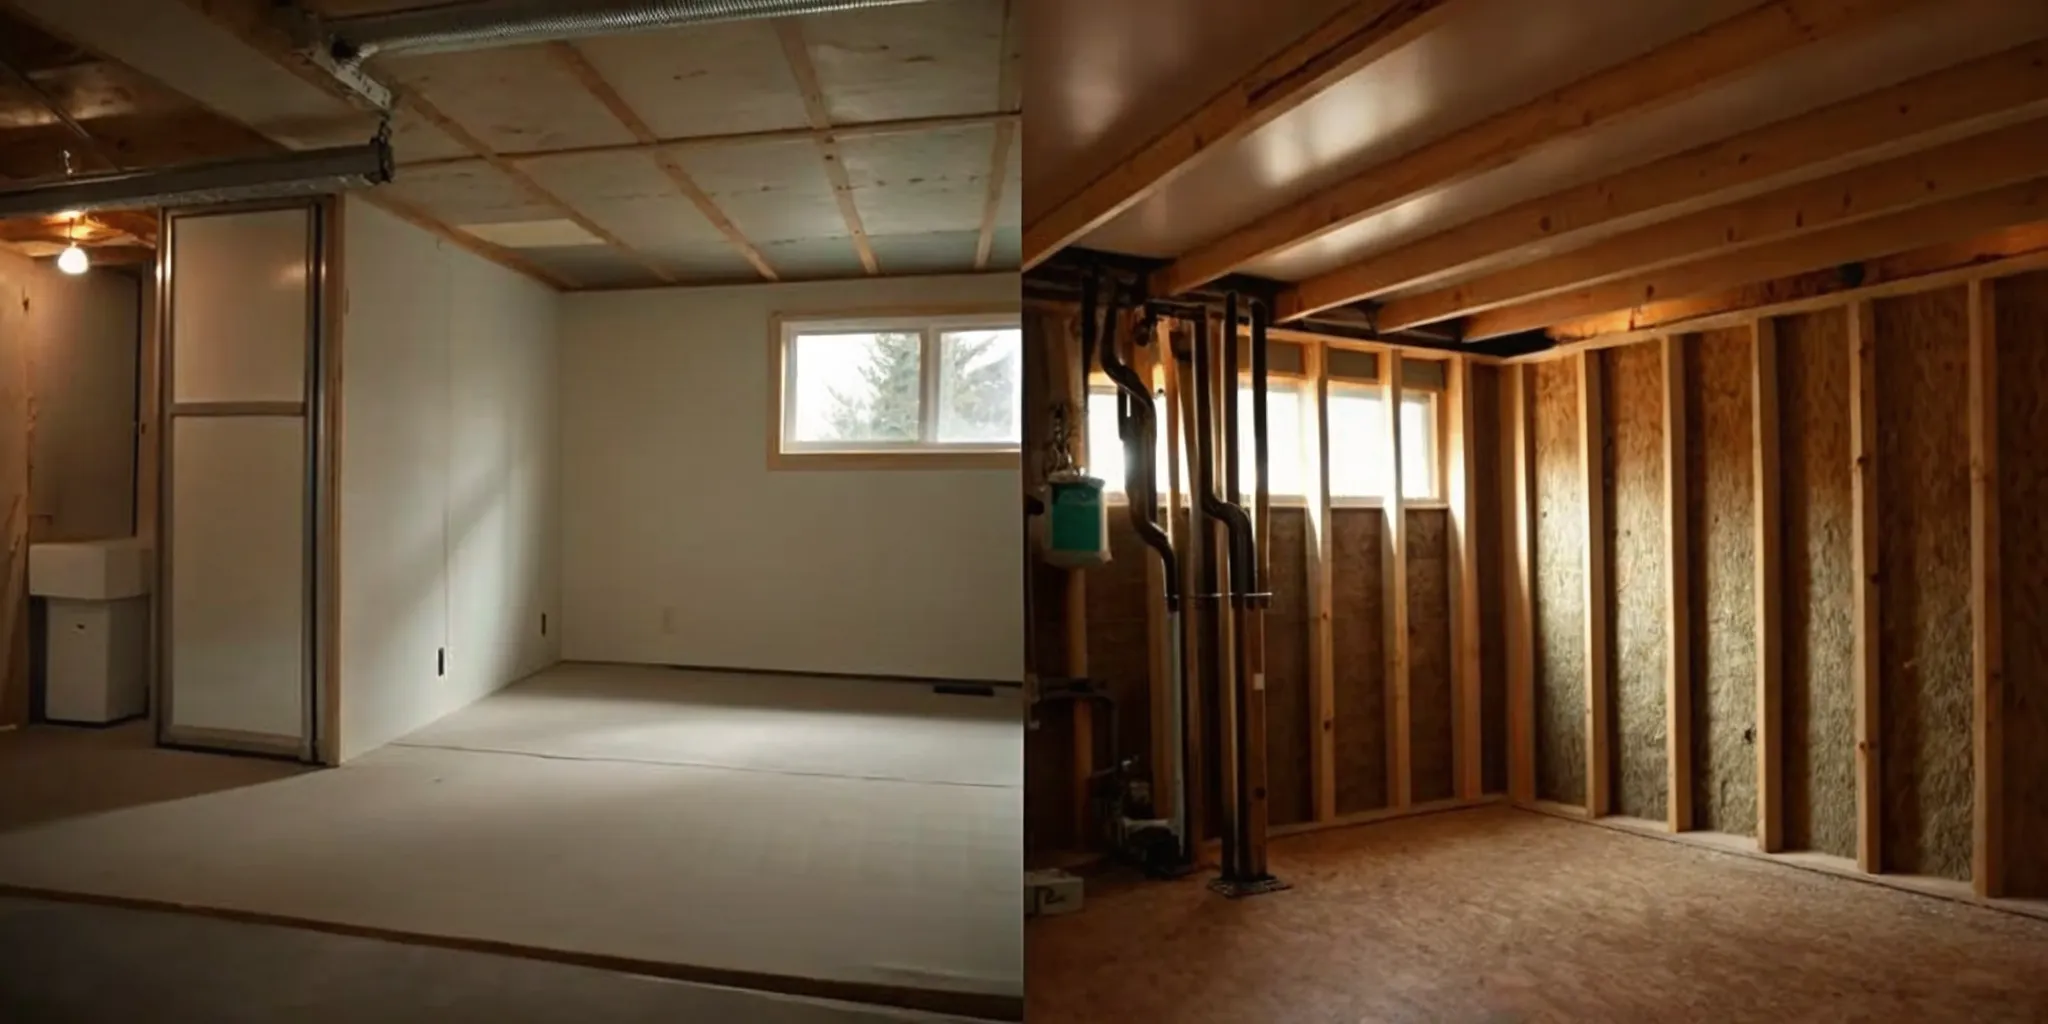
Fix plumbing and electrical problems
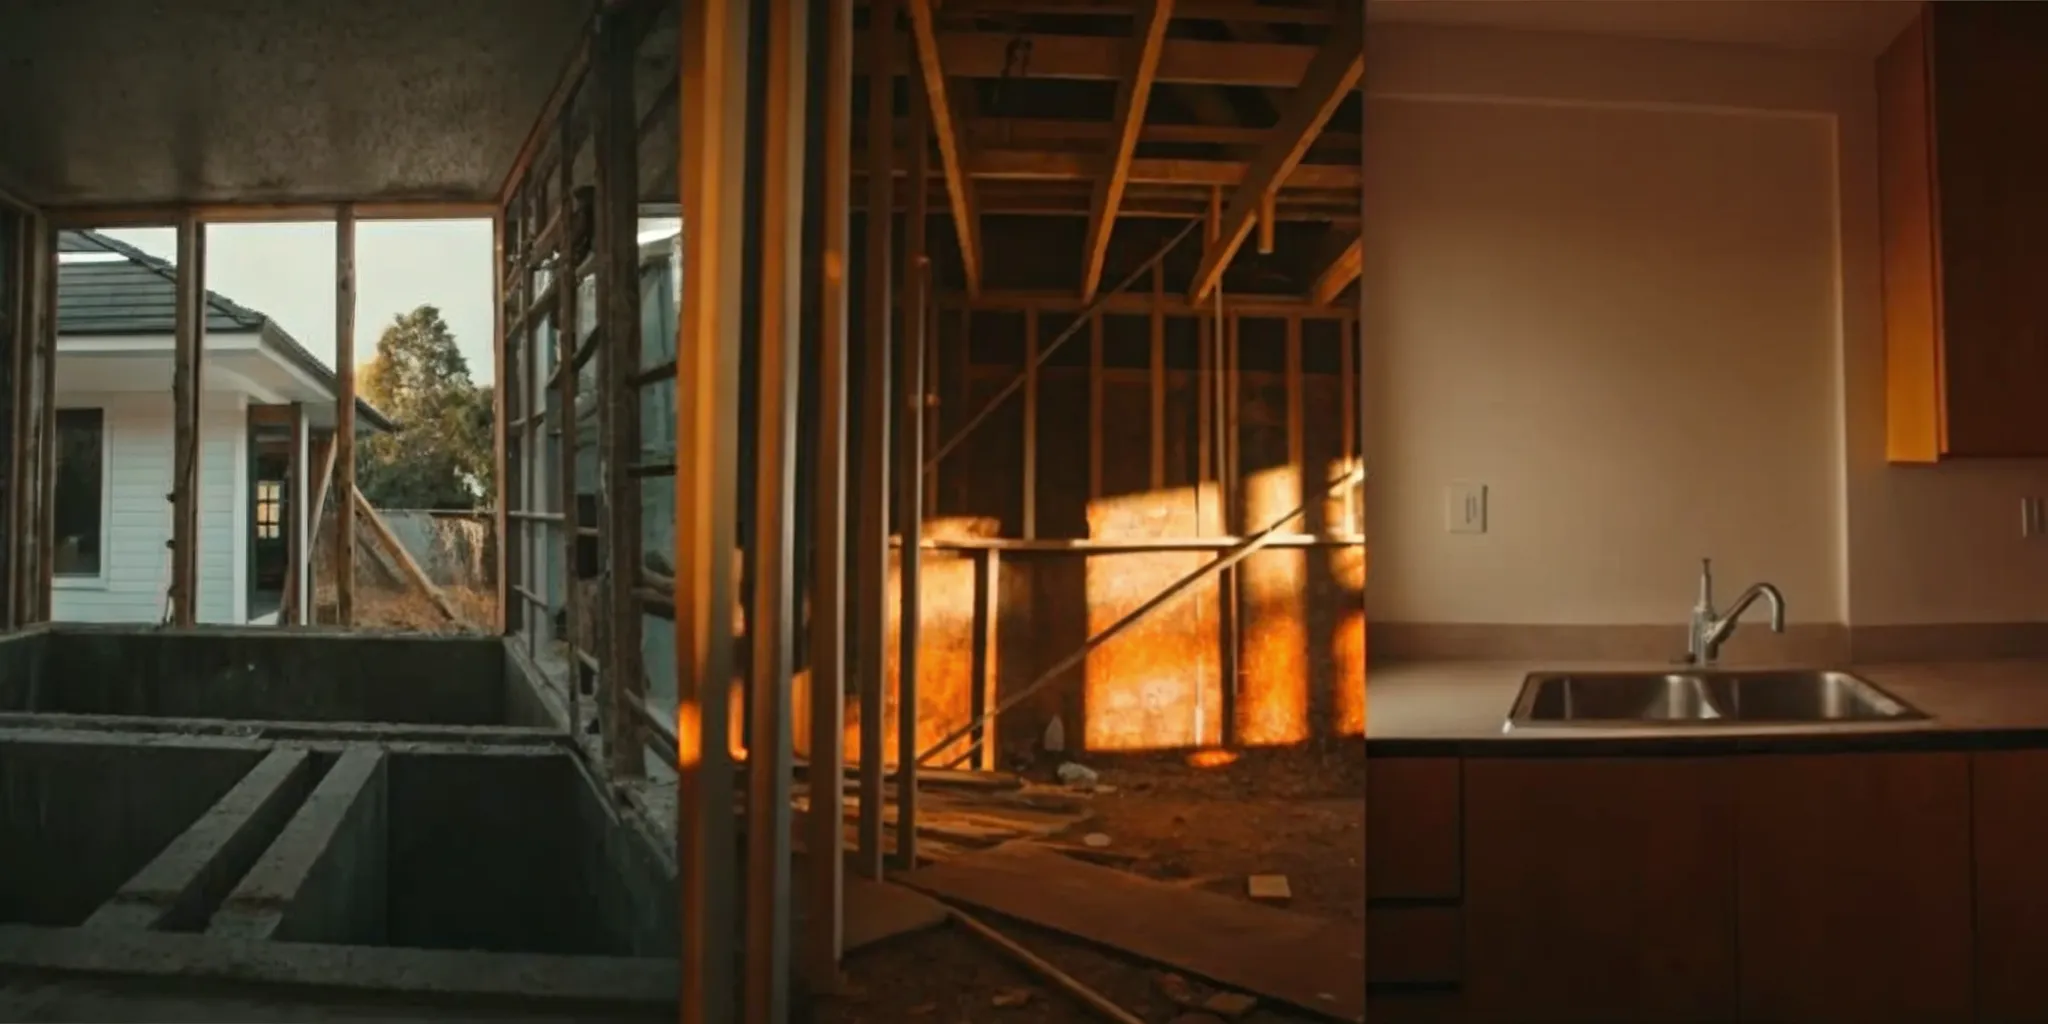
Once you’ve handled immediate safety threats, turn your attention to your home’s essential systems. Your plumbing and electrical networks run through the walls, floors, and ceilings, so updating them is much easier before you’ve put up new drywall and finishes. Outdated electrical systems may not be able to handle modern appliances, and old pipes can be a ticking time bomb for leaks. Addressing these interior systems early in the process prevents you from having to tear open your brand-new walls later to fix a sudden problem. It’s a strategic move that saves you time, money, and a lot of frustration.
Secure your foundation and roof
Your home's roof and foundation are its primary shield against the elements. Even a small leak in the roof can lead to significant water damage, rotting wood, and mold growth inside your walls and attic. Similarly, foundation issues can cause everything from cracked walls and uneven floors to serious structural instability. Before you invest in interior upgrades, ensure the "envelope" of your home is secure. Repairing or replacing a worn-out roof and fixing any foundation problems will protect your home and every improvement you make inside it for years to come. This step is fundamental to preserving your home’s long-term health and value.
Check for hazardous materials like asbestos and mold
Older homes can hide health hazards that you need to address before demolition begins. Materials like asbestos and lead paint were common in construction for decades, and disturbing them can release harmful particles into the air. Likewise, mold is a common concern that can cause respiratory issues and other health problems. It’s crucial to have your home tested for these substances. If any are found, you’ll need to hire certified professionals for proper removal. Taking care of these potential dangers protects the health of your family and your construction crew, ensuring your renovated space is not just beautiful but also safe to live in.
Which Rooms Should You Renovate Next?
Once you’ve handled the critical structural and safety repairs, you can move on to the more exciting part: transforming the rooms you use every day. Deciding where to start can feel overwhelming, but a little strategic thinking goes a long way. The best approach balances improving your daily life with making smart financial choices that increase your home's value. Think about which updates will give you the most joy and the best return on your investment. This is where you get to dream a little, but it’s still important to have a plan.
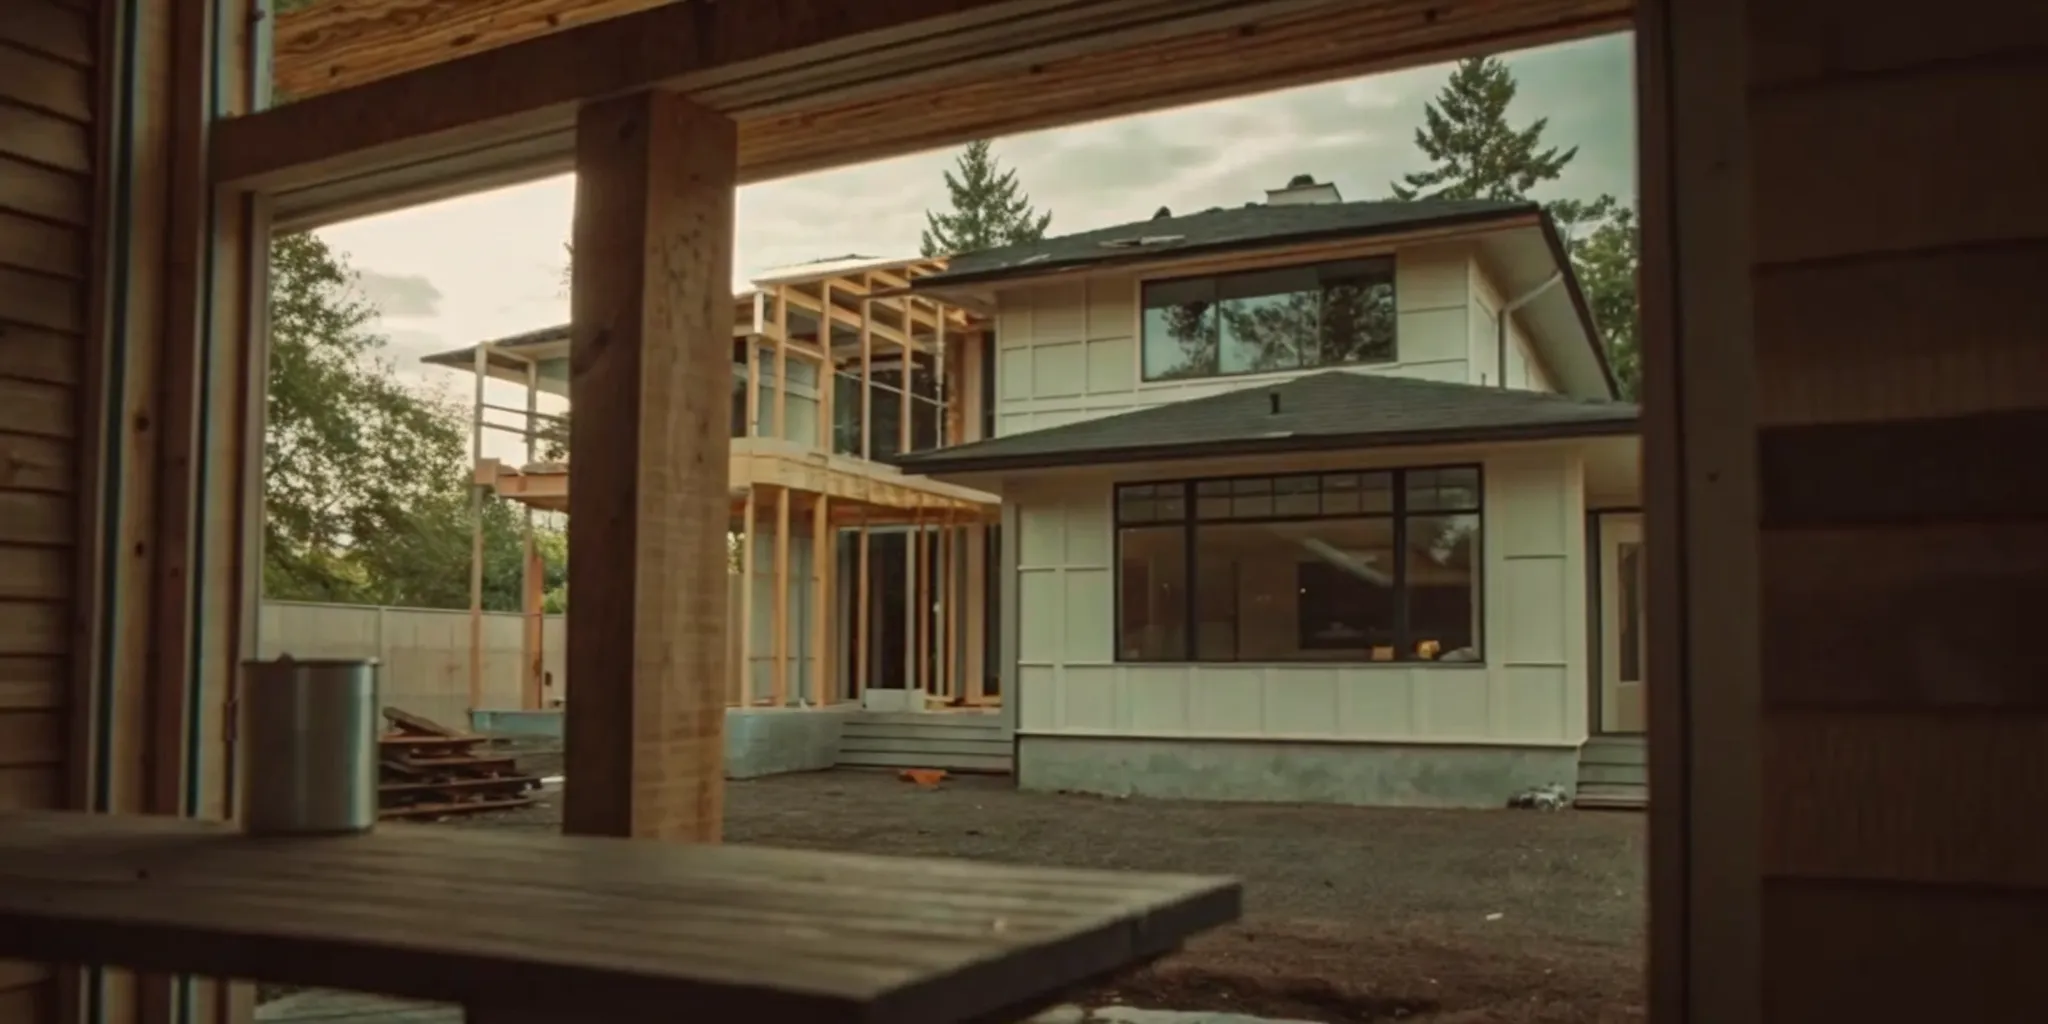
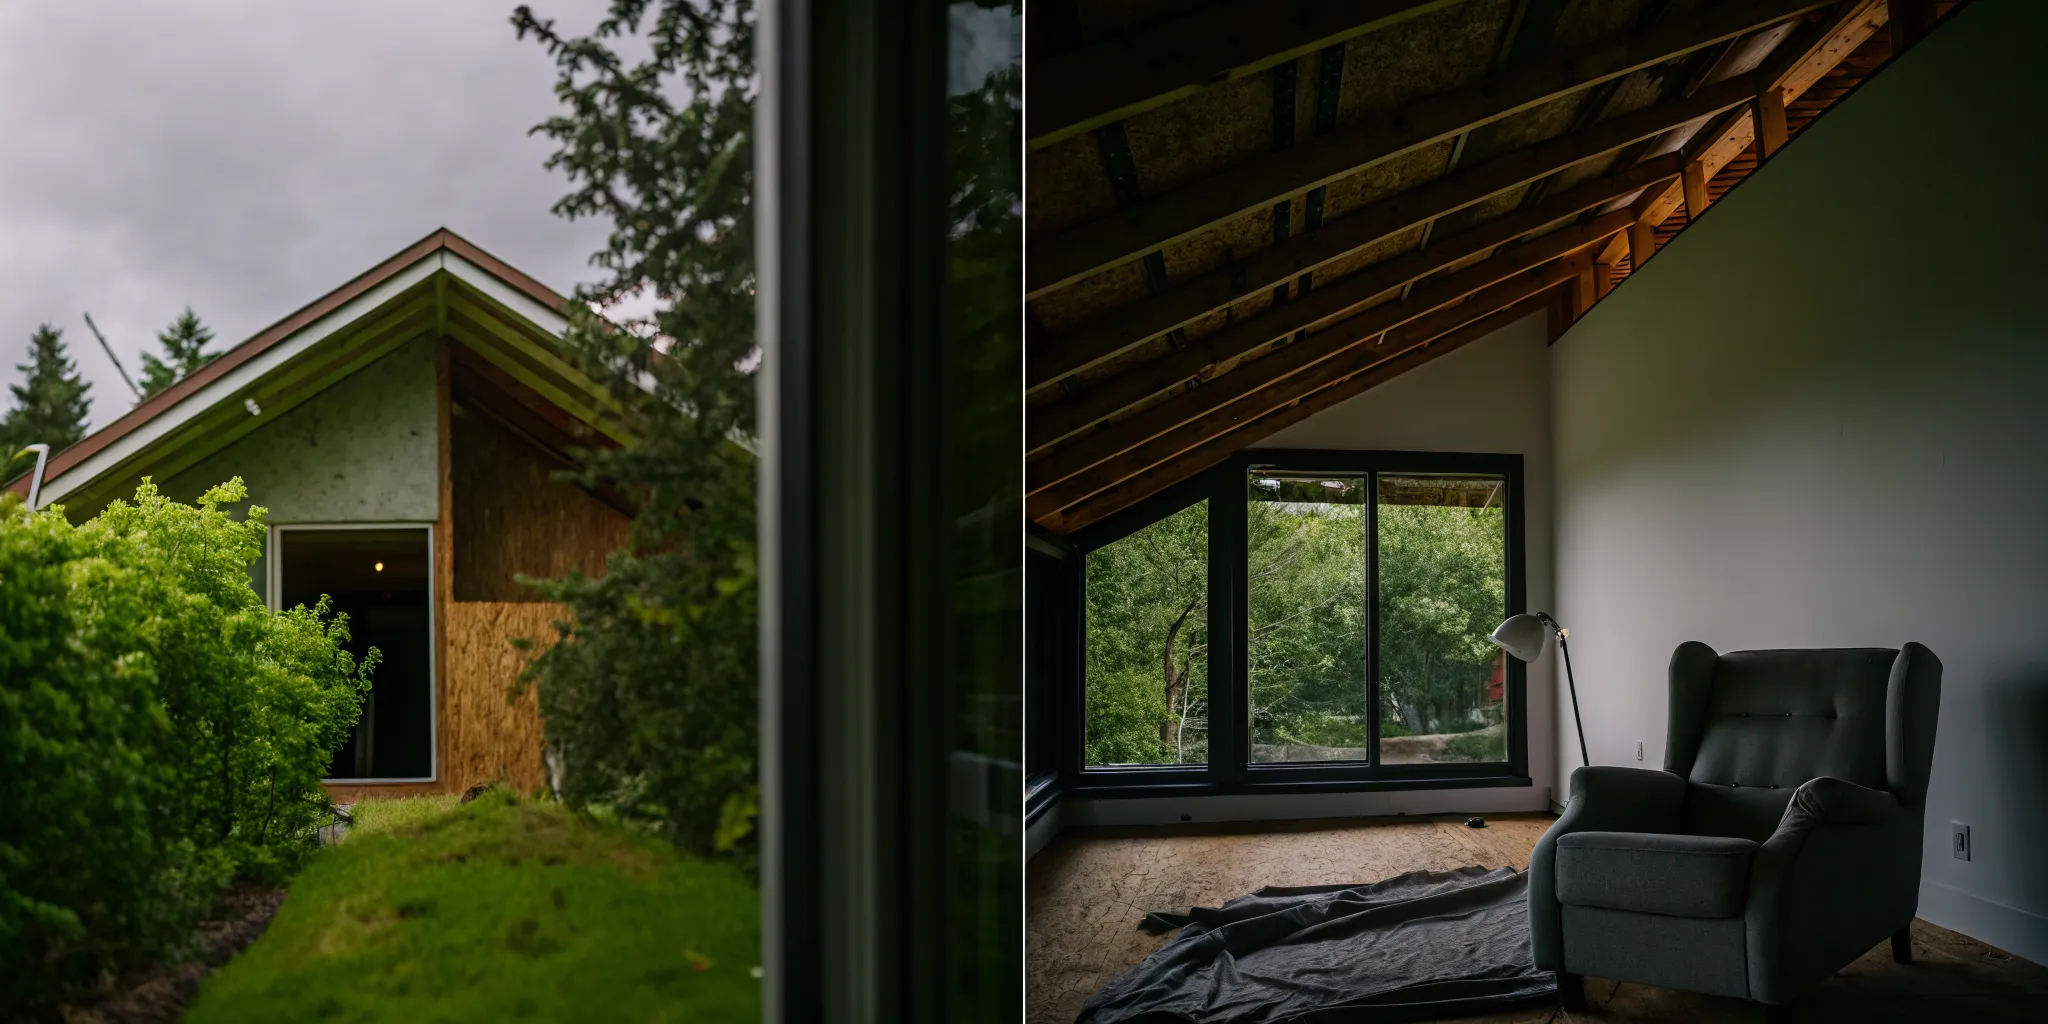
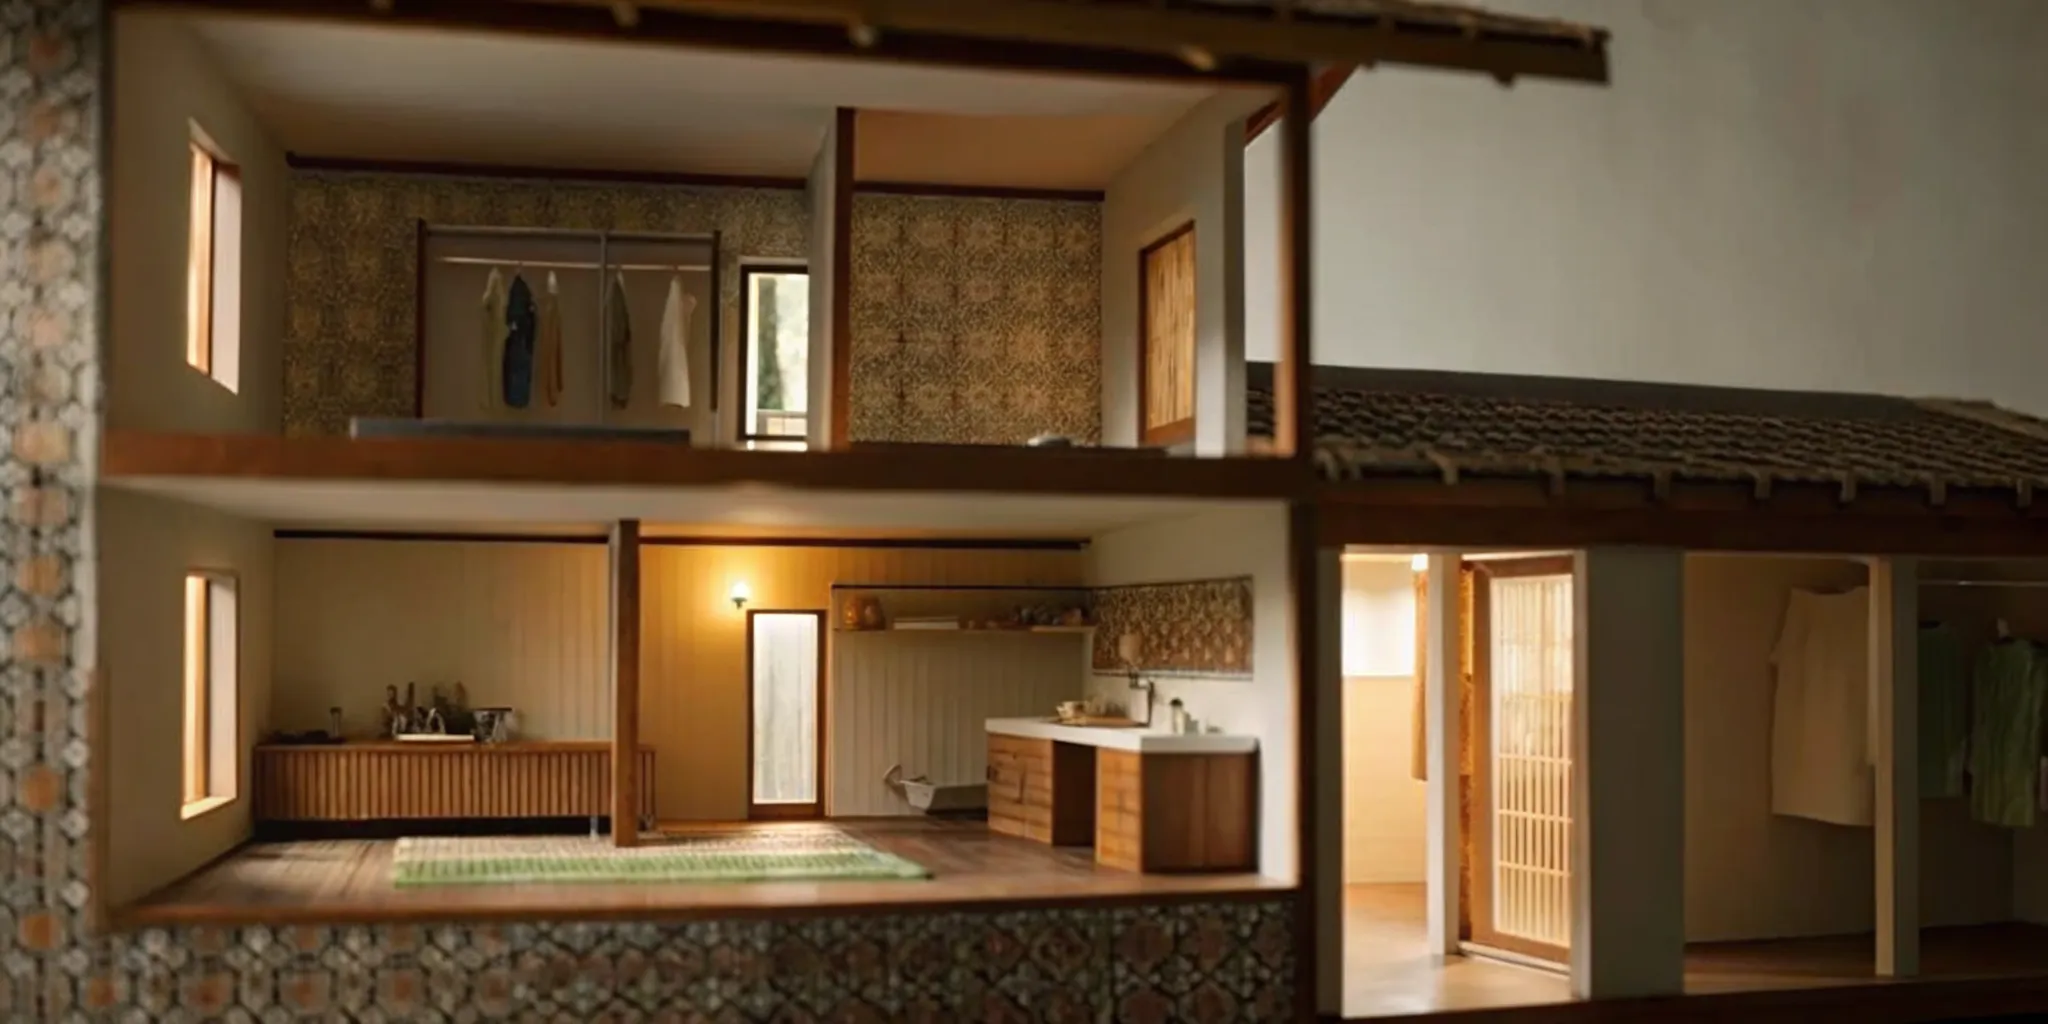
Focusing on high-traffic, functional spaces first usually makes the most sense. These are the rooms that shape your daily routines and leave the biggest impression on guests and future buyers. From there, you can work your way toward more cosmetic updates that reflect your personal style. A customized renovation plan can help you map out these next steps, ensuring each project builds on the last one logically and efficiently. It helps to think about your home in zones: the functional core (kitchen, bathrooms), the social spaces (living and dining rooms), and the private retreats (bedrooms). Prioritizing this way prevents you from, for example, installing beautiful new hardwood floors right before you tear out a kitchen, which would create a huge mess. We'll break down how to think about each of these areas so you can create a sequence that works for your home and your budget.
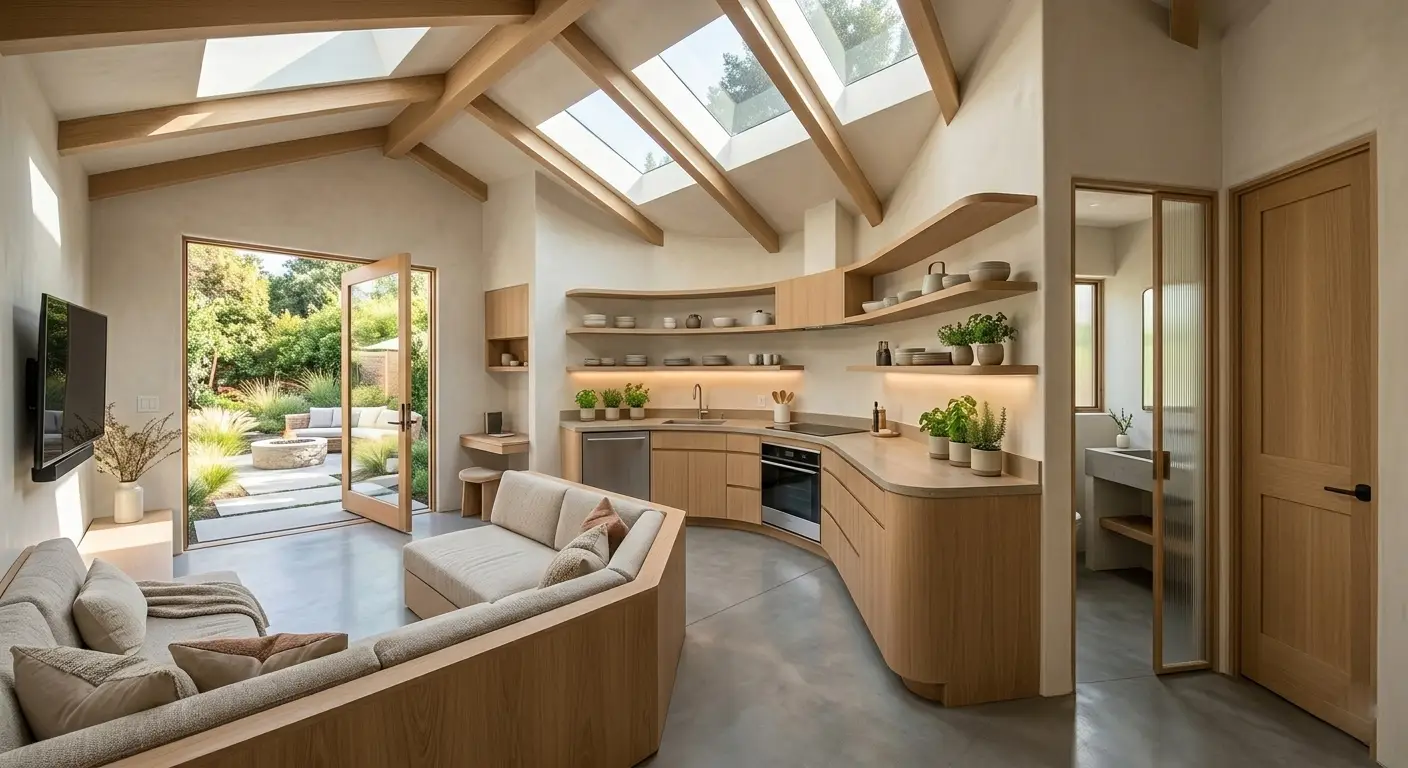
Focus on high-impact areas that add value
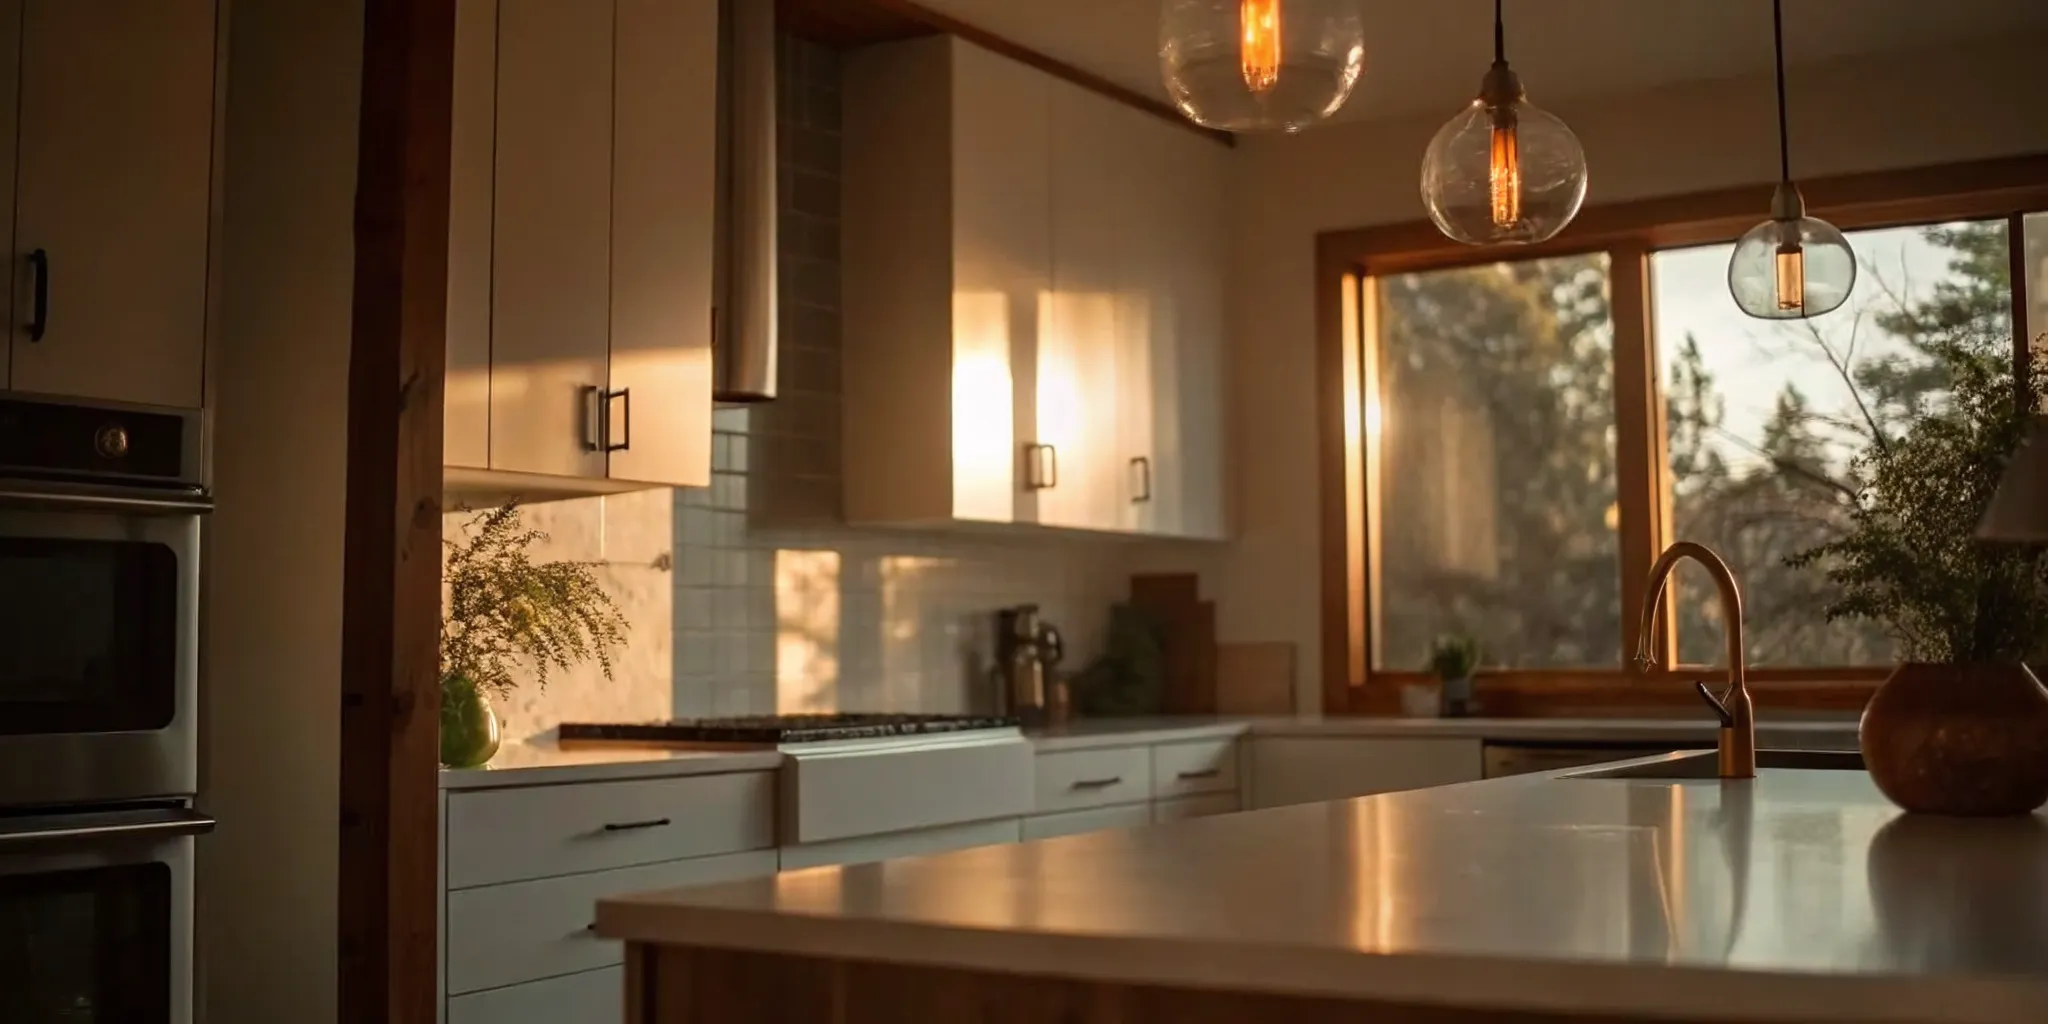
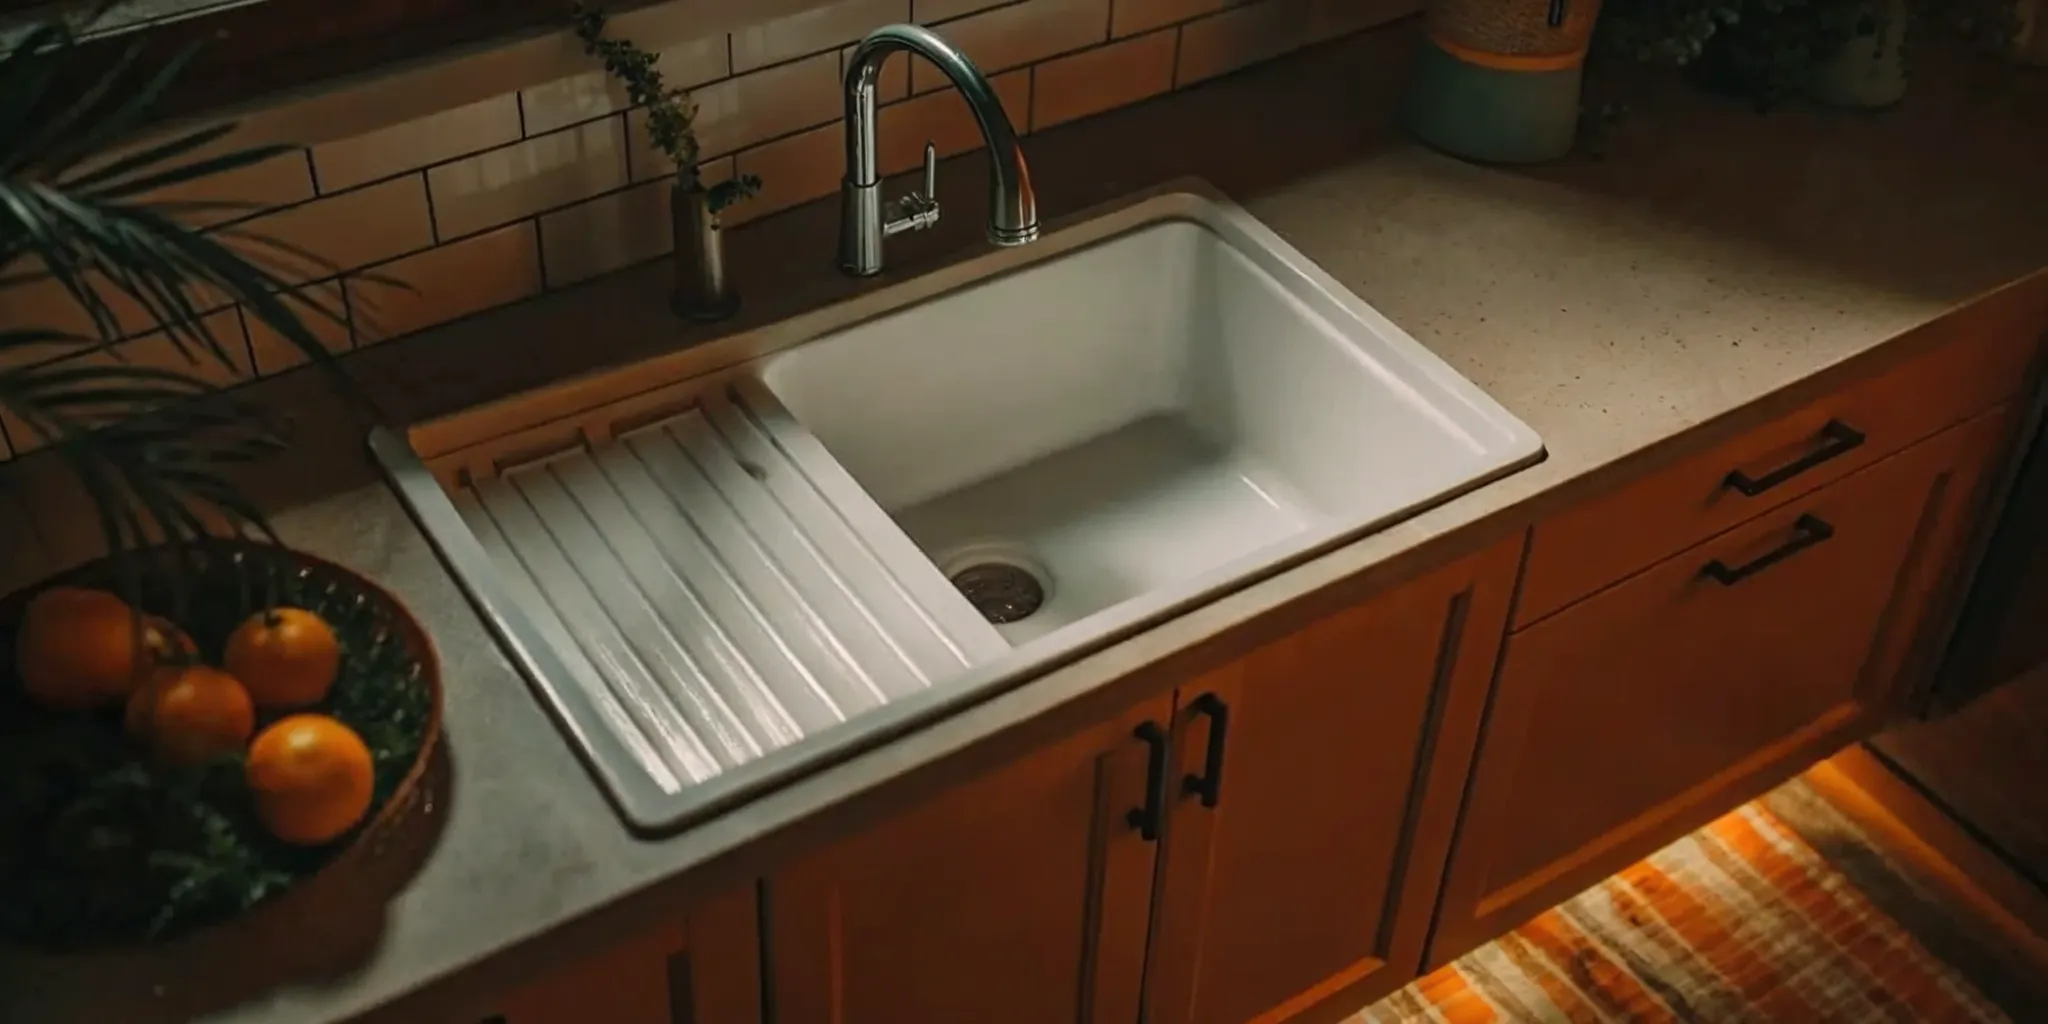
After you’ve secured your home’s bones, turn your attention to the rooms that get the most daily use. These high-impact areas not only improve your quality of life but also add the most value to your property. The top contenders are almost always the kitchen, main bathroom, living room, and laundry room. Investing in these spaces first is a smart move because you’ll feel the benefits immediately. A functional, beautiful kitchen makes cooking more enjoyable, and an updated bathroom can make your morning routine feel like a spa experience. These are the rooms that potential buyers scrutinize the most, so any improvements here are a solid investment for the future.
Prioritize kitchens and bathrooms
There’s a reason kitchens and bathrooms are the stars of most renovation shows. They consistently offer the highest return on investment when it comes time to sell. But beyond resale value, these rooms are the functional heart of your home. Because they involve complex plumbing, electrical, and ventilation systems, it’s wise to tackle them before cosmetic projects like painting or flooring in other areas. Start by addressing any functional problems, like leaky faucets or outdated appliances, before you move on to choosing new countertops or tiles. Getting these essential spaces right sets a strong foundation for the rest of your home’s transformation, and working with an expert advisor can help you manage the complexity.
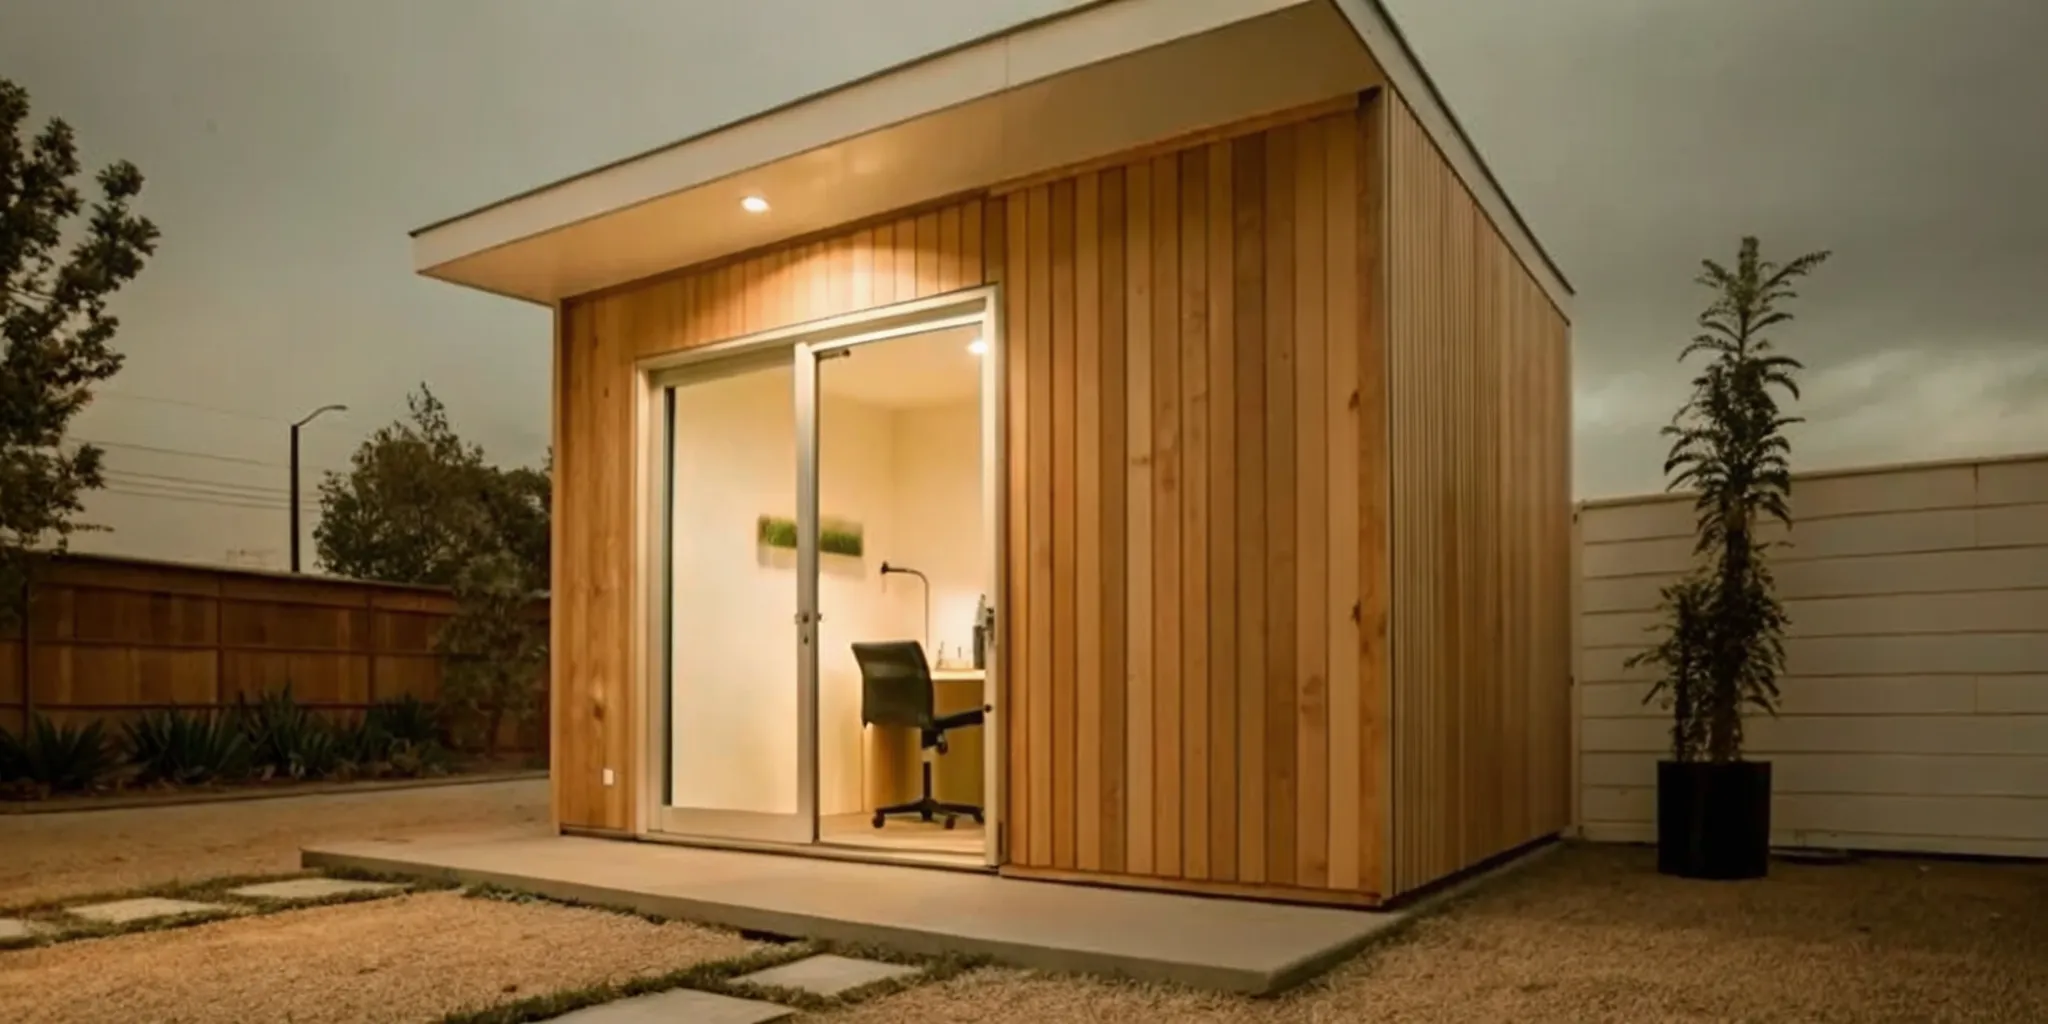
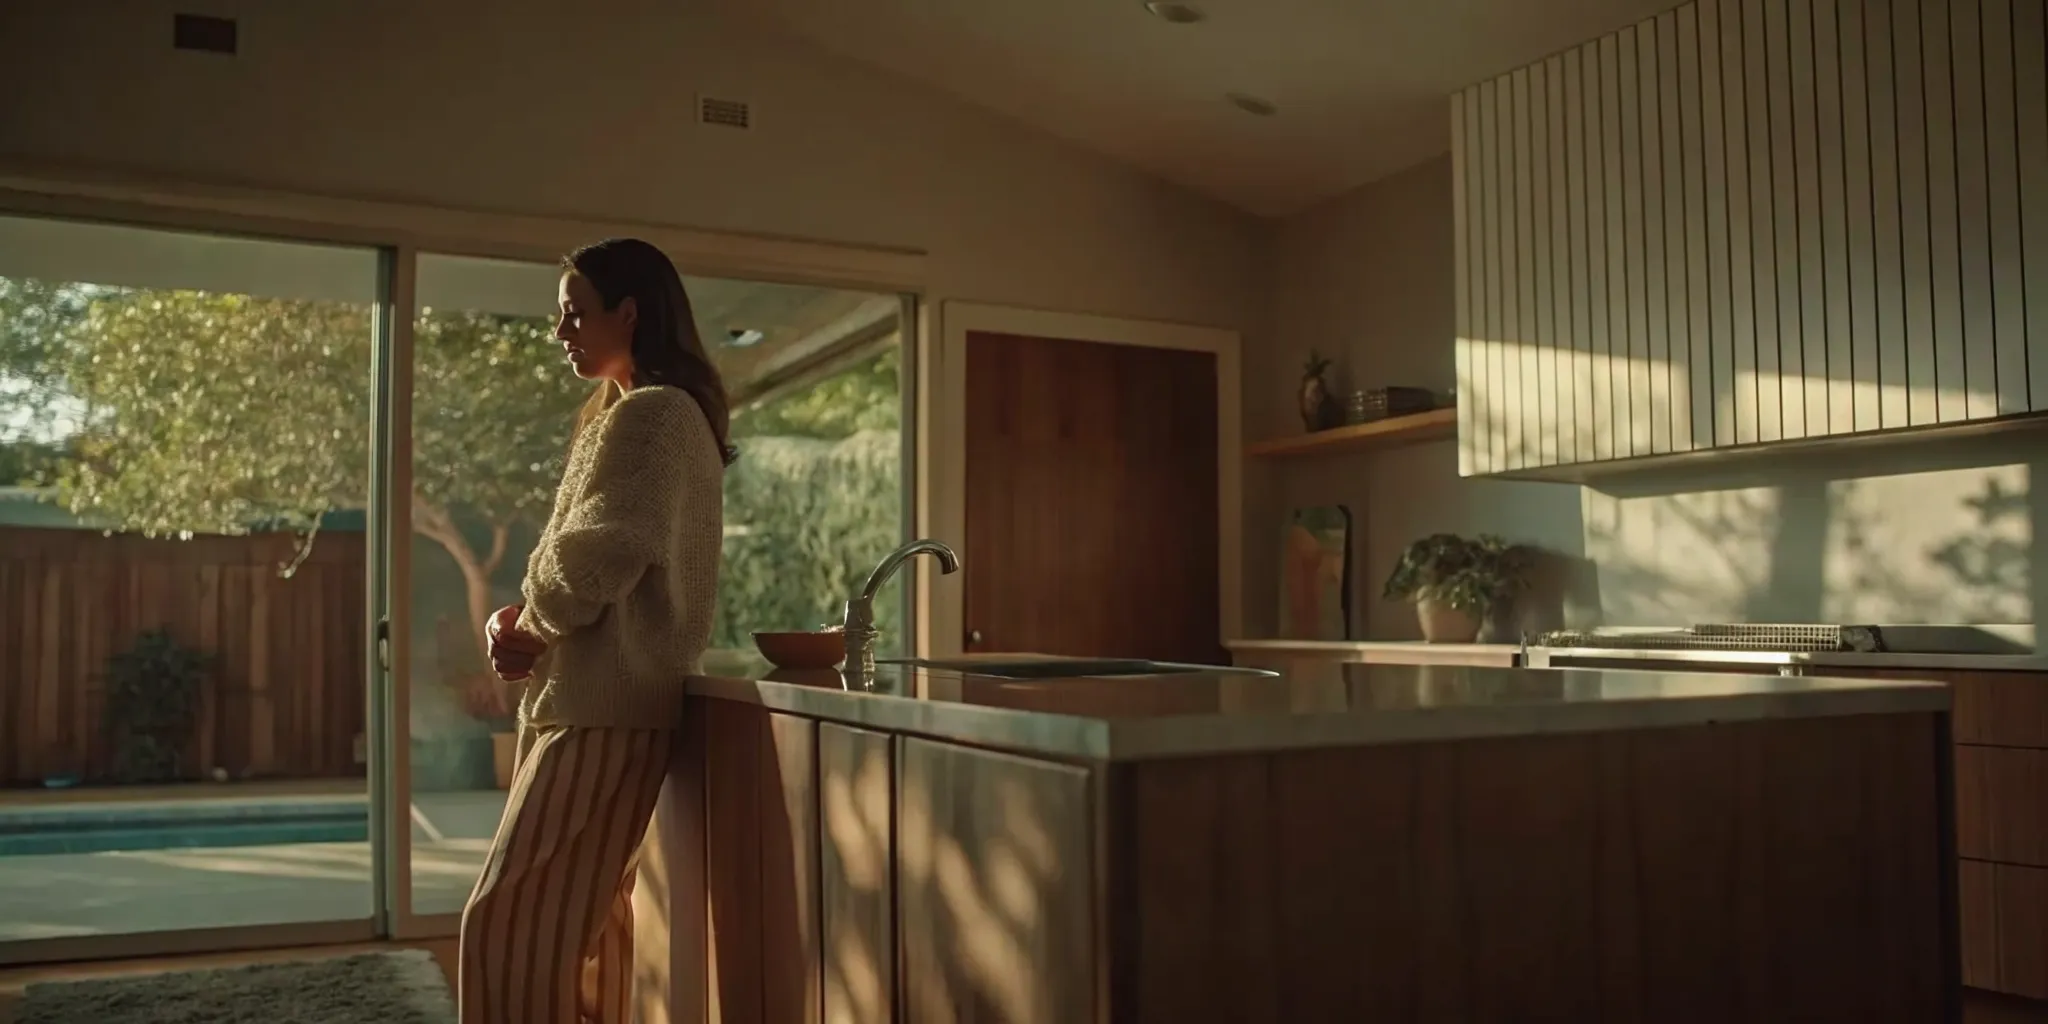
Update living spaces and bedrooms
With the major functional rooms sorted, you can shift your focus to making your home’s living spaces and bedrooms more comfortable and stylish. This is your chance to infuse your personality into your home. Think about projects that enhance both aesthetics and function, like installing new flooring, applying a fresh coat of paint, or updating an old fireplace to create a cozy focal point. You could also add built-in shelving for better organization or improve the lighting and closet space in your bedrooms. These updates might seem smaller, but they have a huge impact on how you feel in your home every day. For more ideas, you can always find inspiration in our resource library.
Consider your daily routine and functionality
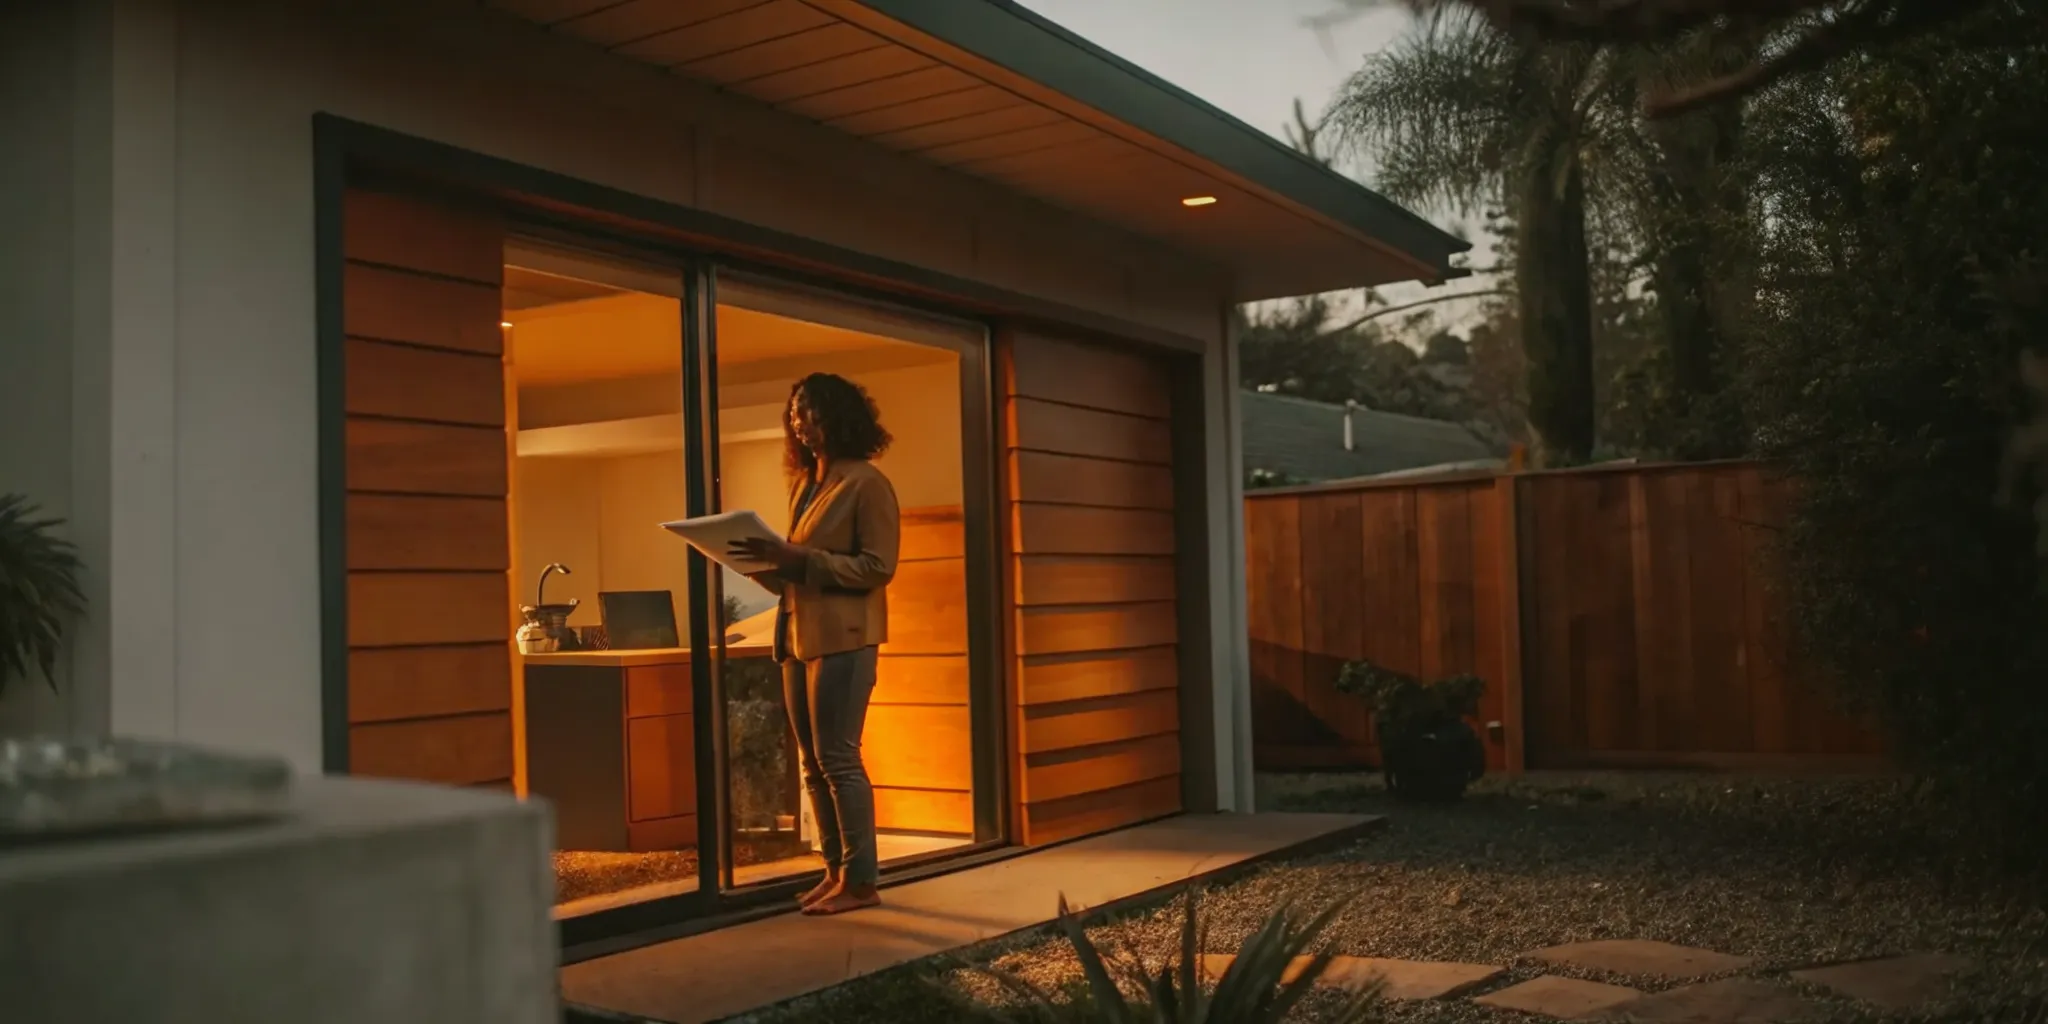
While ROI is a great guide, your family’s lifestyle should be the ultimate deciding factor. The best renovation order is the one that solves your biggest daily frustrations. If you have a growing family, adding a second bathroom might be a higher priority than redoing the kitchen. If you work from home, creating a dedicated and quiet office space could be a game-changer for your productivity and work-life balance. Take a moment to think about your daily pain points. Which parts of your home just don’t work for you? Answering that question will help you create a renovation sequence that truly fits your needs and makes your home work better for you.
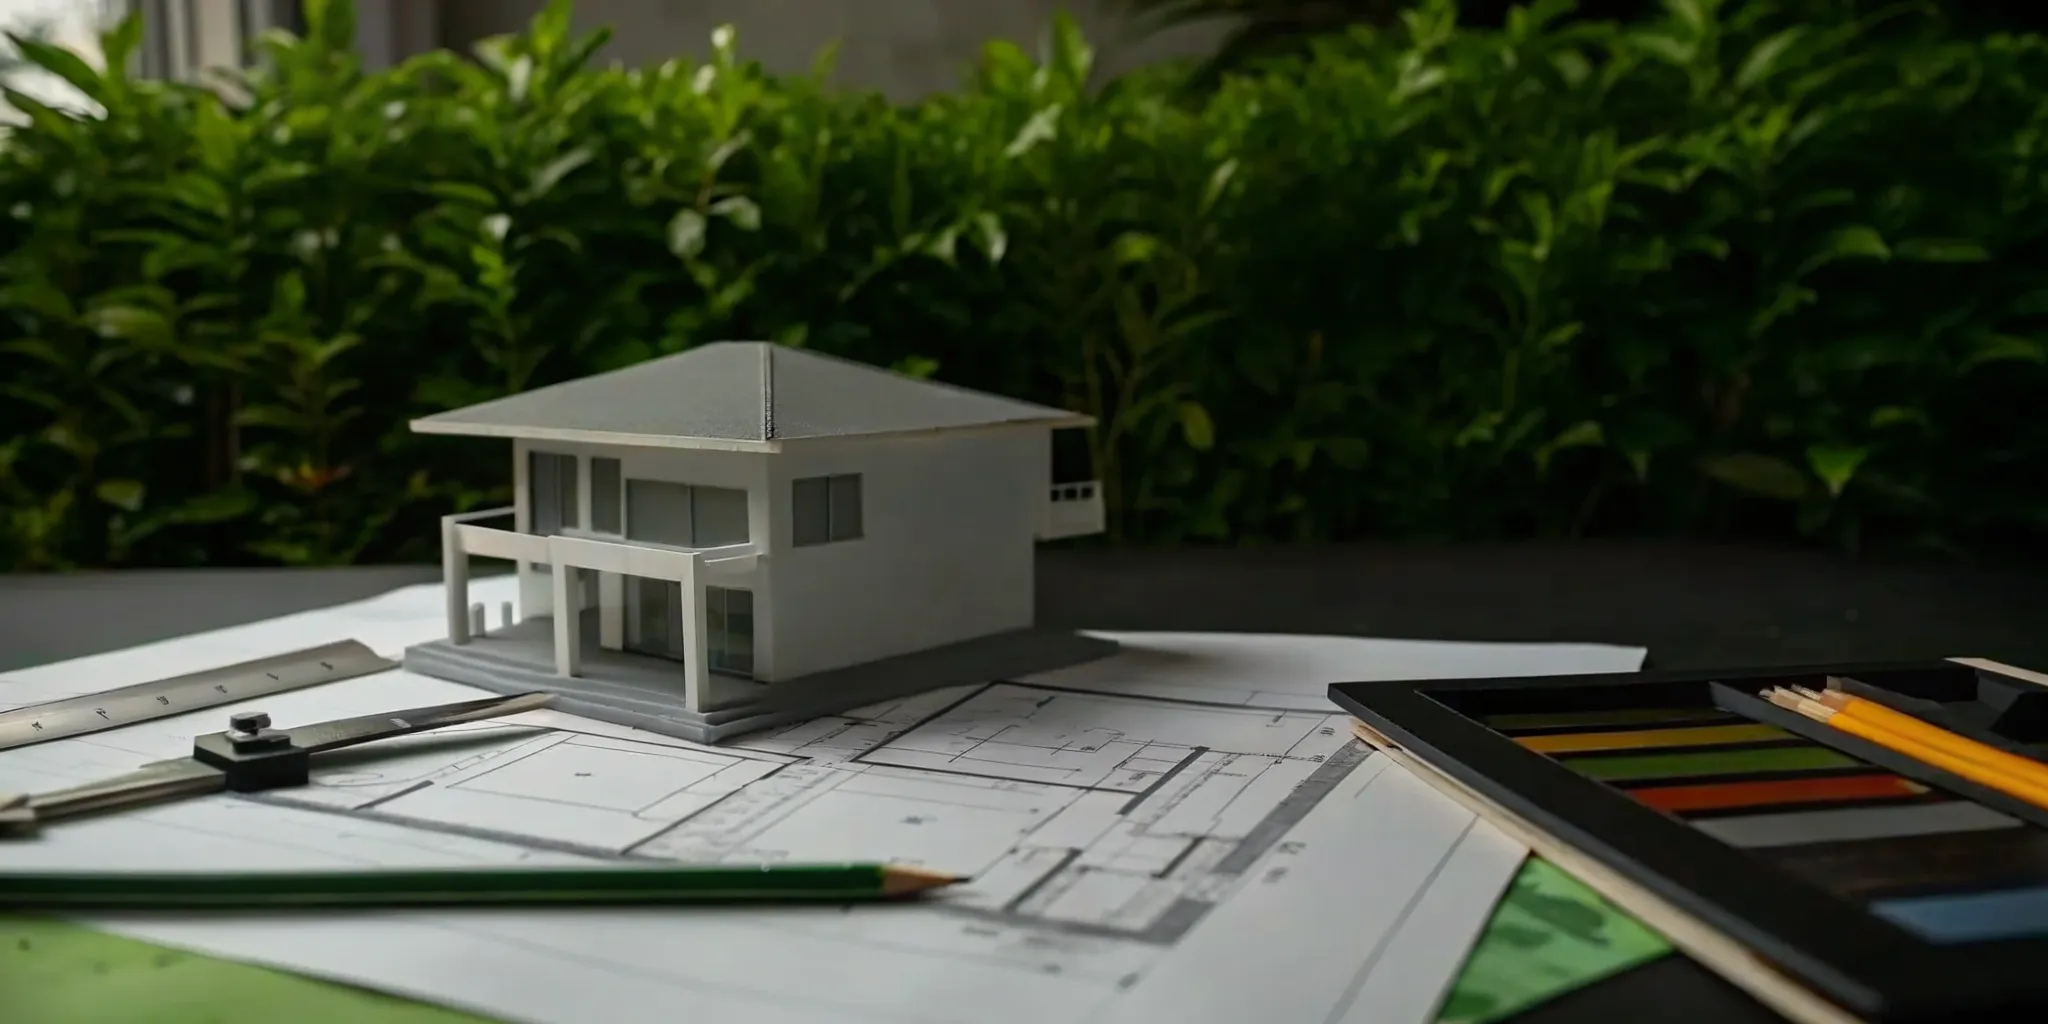
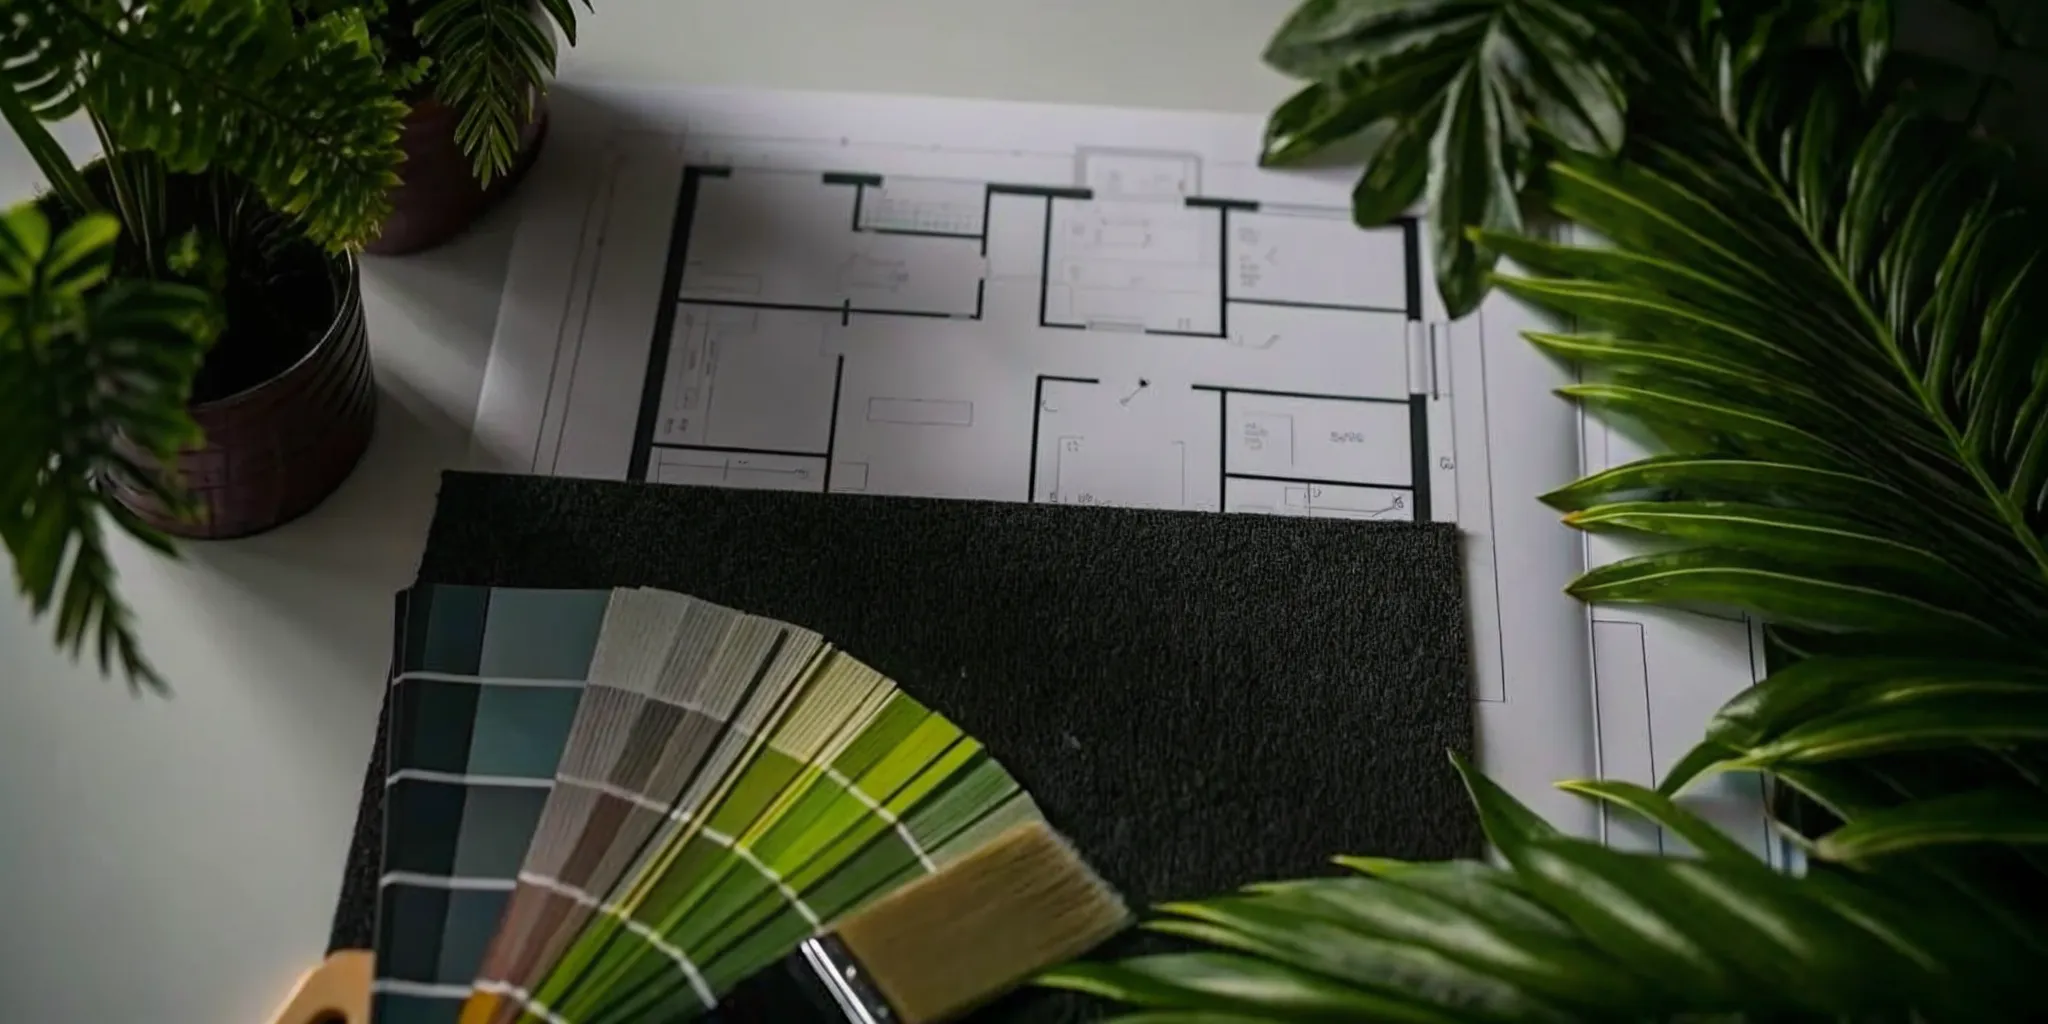
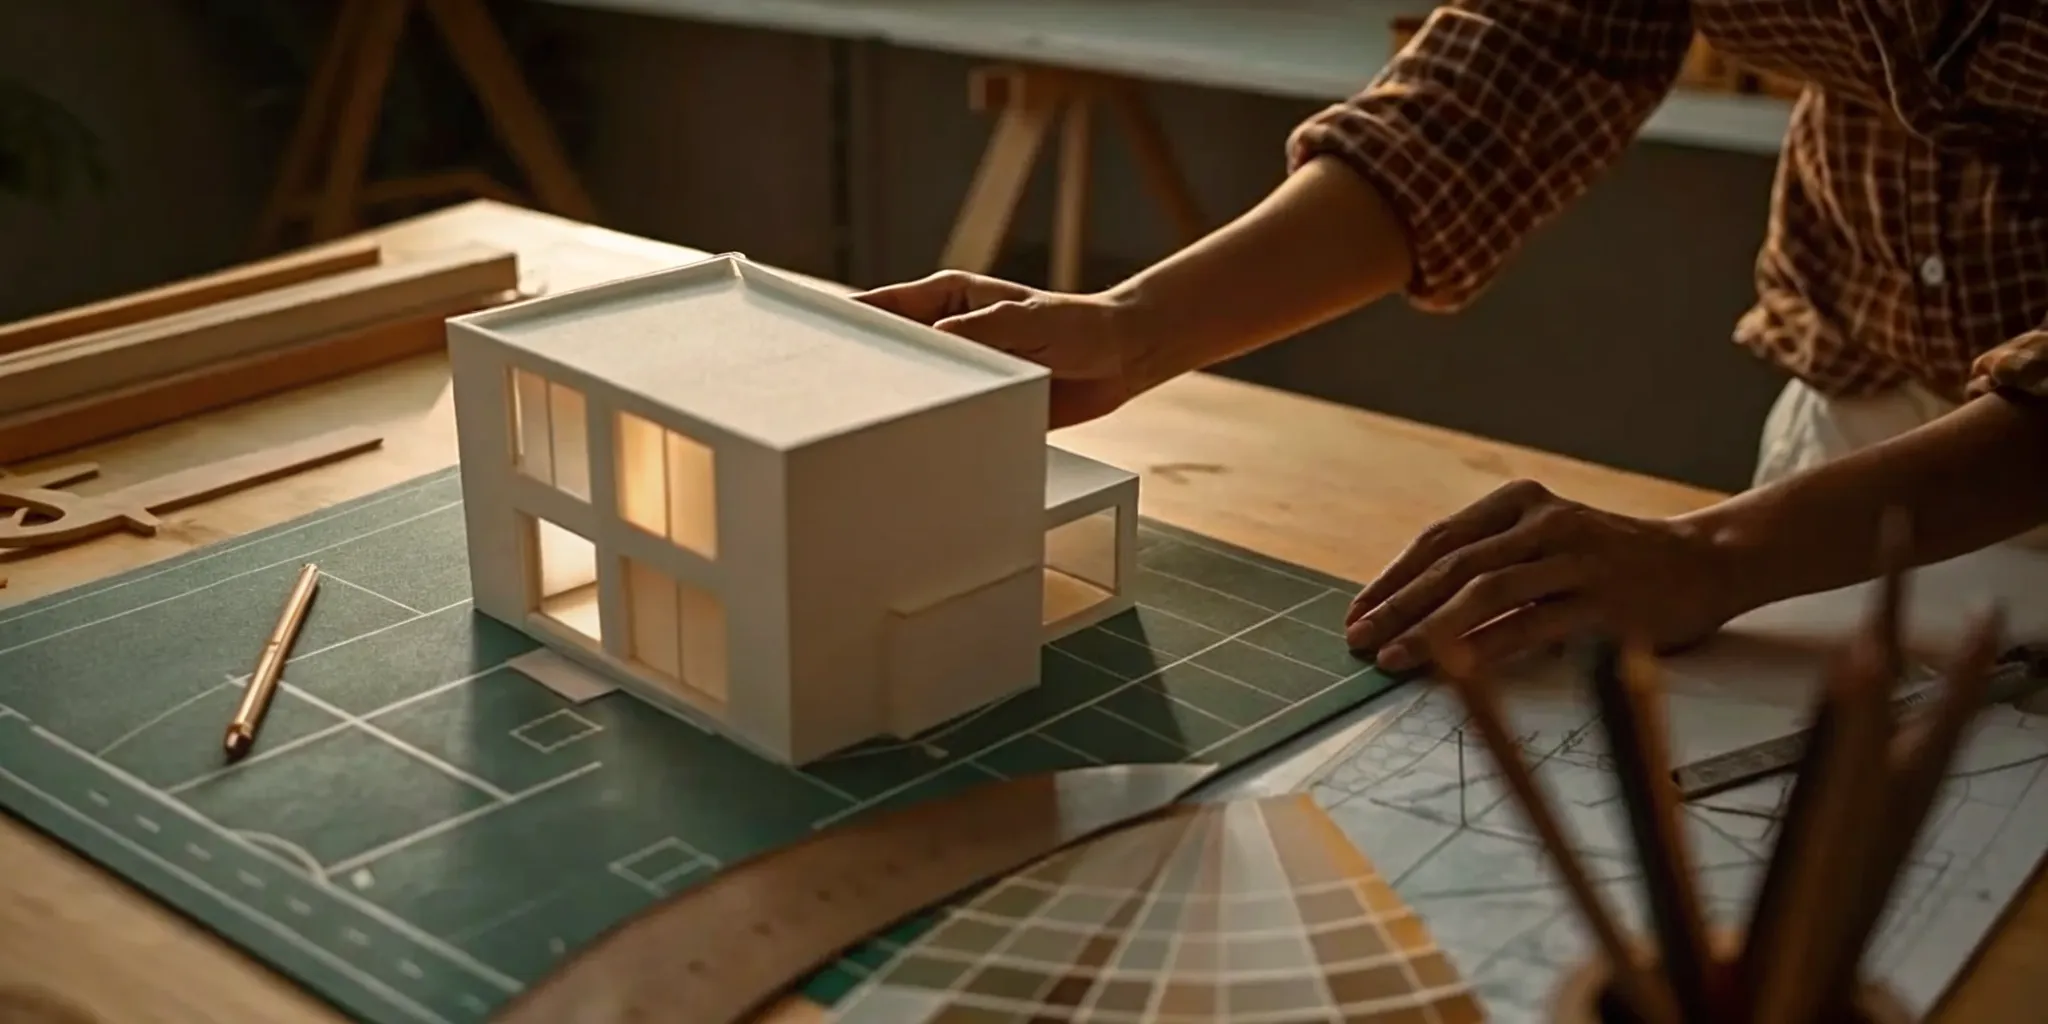
How to Create a Master Plan and Budget
With your project sequence in mind, the next step is to create a detailed master plan and budget. Think of this as the roadmap for your renovation. A solid plan helps you stay on track, manage costs, and reduce stress by turning a massive undertaking into a series of manageable steps. It ensures that you, your designer, and your contractor are all aligned from day one. Creating this plan is a core part of how Realm works, giving you a clear path forward before any work begins. This planning phase is where you translate your vision into a concrete, actionable strategy.
Set a realistic timeline
One of the most common pitfalls in renovating is setting an unrealistic timeline. It’s easy to underestimate how long each phase will take, from demolition to the final touches. Start by breaking down your project into individual tasks and estimate the time needed for each one. Remember to account for things like ordering materials, shipping delays, and contractor availability. It’s also wise to build in a buffer for unexpected issues that might pop up along the way. A realistic schedule keeps stress levels down and helps you coordinate different tradespeople without causing frustrating and costly delays.
Plan your budget and contingency fund
A detailed budget is your best tool for keeping finances in check. Begin by listing every single item for your project, from major appliances and materials down to the hardware and paint. Research costs and get quotes from contractors to make your estimates as accurate as possible. Most importantly, always include a contingency fund in your budget, typically 10% to 20% of the total project cost. This fund is your safety net for unforeseen expenses, like discovering hidden water damage or deciding on a last-minute upgrade. A well-planned budget prevents financial surprises and ensures you can complete your project without compromise.
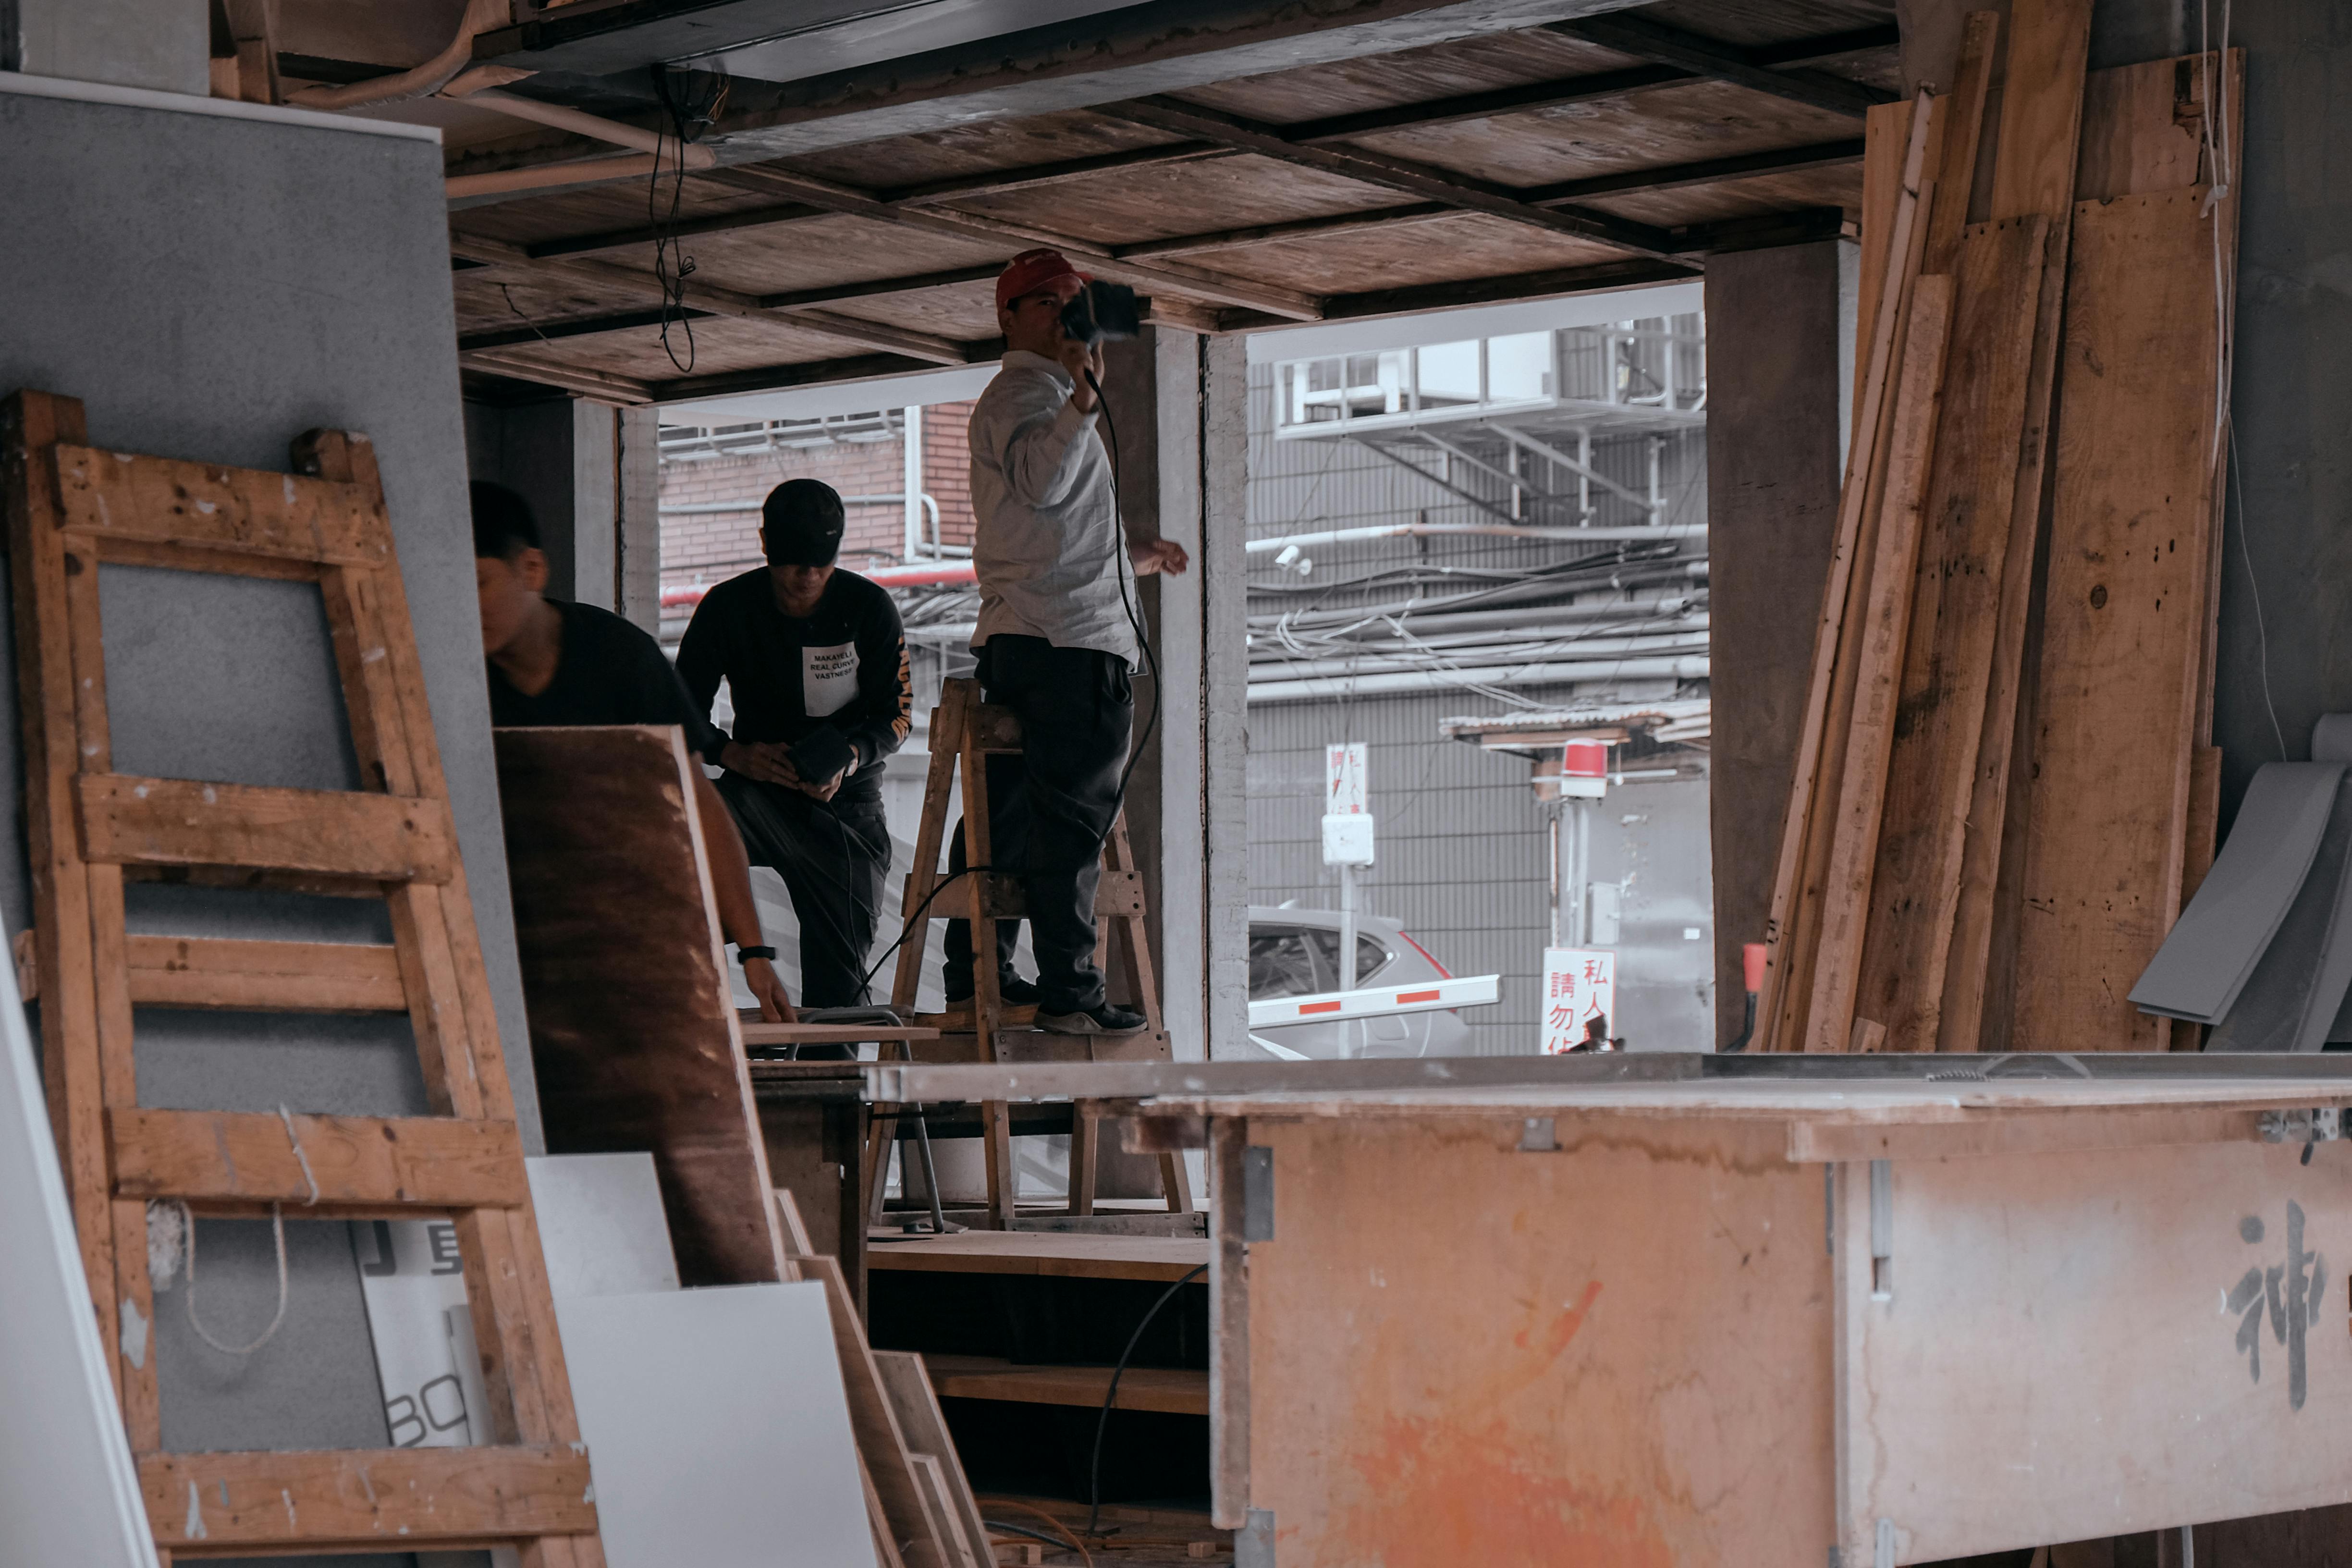
Coordinate contractors and schedules
A successful renovation relies on seamless coordination between various professionals, including plumbers, electricians, and painters. Your master plan should outline who is doing what and when. Clear and consistent communication is key to making sure everyone is on the same page. Regular check-ins with your general contractor or project manager can prevent misunderstandings and keep the project moving forward efficiently. This is where having a dedicated advisor can be a huge advantage, as they help manage these moving parts for you. Having a trusted team ensures that each phase flows smoothly into the next.
Understand permits and seasonal timing
Don’t let paperwork or weather derail your project. Many renovations require building permits from your local municipality, and applying for them can take time. Work with your contractor to identify all necessary permits and submit the applications early in the planning process. You should also consider how the seasons might affect your timeline. For example, exterior work like painting or roofing is best done in dry, mild weather. Planning around these factors from the start helps you avoid unnecessary hold-ups and ensures your project is completed safely and to code.
Avoid These Common Sequencing Mistakes
Knowing the right order for your renovation is half the battle. The other half is actively avoiding the common missteps that can derail your project, drain your budget, and cause a lot of unnecessary stress. It’s easy to get excited and want to jump ahead to the fun parts, but a little patience and planning now will save you from costly rework later. Think of it as building a strong foundation for your project’s success.
Getting the sequence wrong can mean redoing work you’ve already paid for. Imagine installing beautiful new floors only to have them damaged during drywall installation, or painting a room before realizing you need to move an electrical outlet. These aren't just minor annoyances; they are expensive and time-consuming errors. By understanding a few key pitfalls, you can steer clear of the most frequent headaches. A successful renovation is all about smart planning, and that includes knowing what not to do. With a clear roadmap, you can ensure every step builds on the last, leading to a smooth process and a final result you’ll love. That's why having an expert advisor can be so valuable in keeping your project on track.
Doing cosmetic updates before structural work
It’s so tempting to start with the pretty stuff, like a fresh coat of paint or new light fixtures. But if your home has underlying issues, you’re just putting a bandage on a bigger problem. Always address critical fixes first. You should always fix problems that can damage your home, like a leaky roof or foundation cracks, before you even think about cosmetic upgrades. Tackling these structural and safety issues first prevents them from causing more extensive, expensive damage down the road. For example, painting a wall with a hidden water leak will only lead to peeling paint, mold, and having to tear out the drywall you just finished. Prioritize a safe, sound structure above all else.
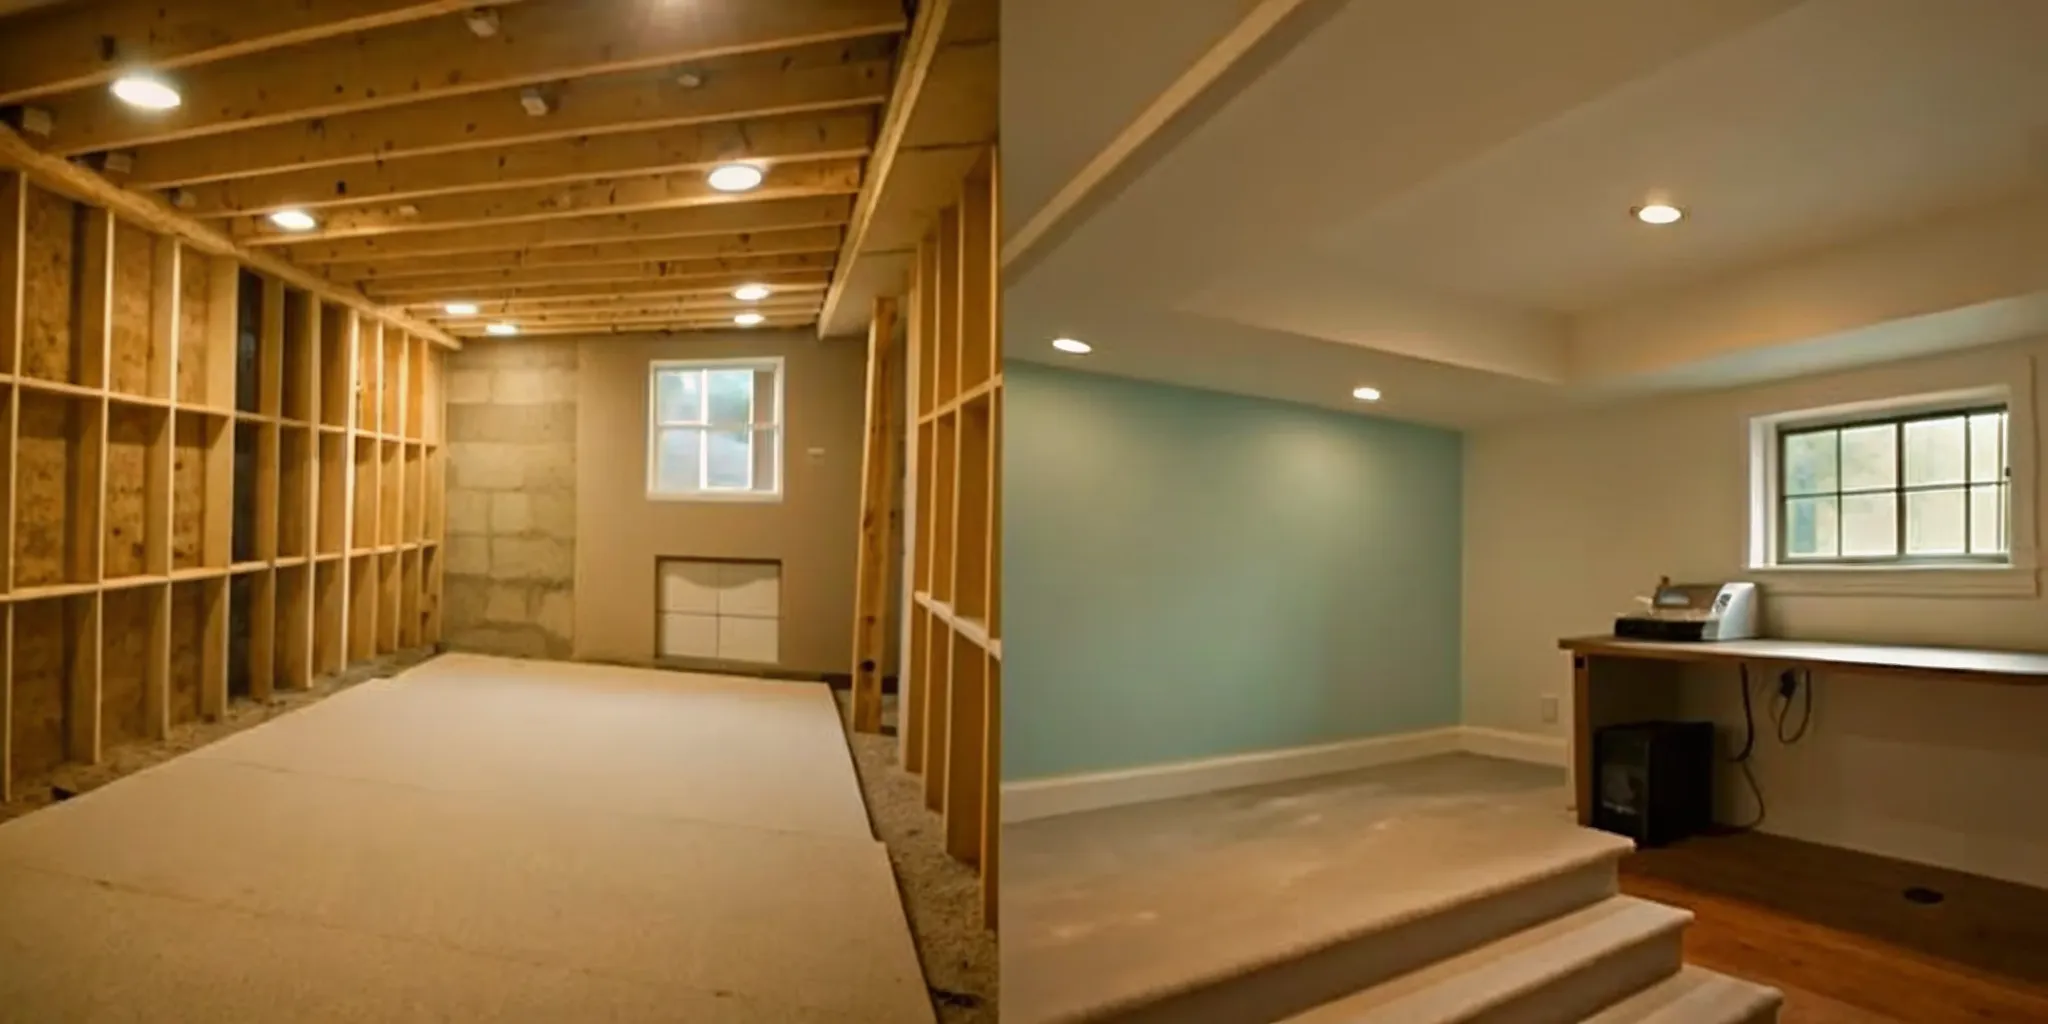
Installing finishes before dusty work is done
Here’s a rule to live by: dusty work always comes before finished surfaces. Demolition, framing, and especially sanding drywall create an incredible amount of fine dust that gets everywhere. If you’ve already installed your beautiful new hardwood floors, custom cabinets, or tile, they are at risk of being scratched, dented, or covered in a layer of grit that’s difficult to clean. Protect your investment by waiting until all the messy, dusty jobs are completely finished. Cover your vents, put up plastic sheeting, and then, once the dust has settled (literally), you can bring in the finishing touches. This simple step will keep your new materials looking new.
Skipping inspections for work behind walls
Once the drywall goes up, everything behind it is hidden from view. That’s why it’s absolutely critical to have all your rough-in work, like plumbing, electrical, and HVAC, inspected and approved before you close up the walls. Skipping this step is a huge gamble. If an issue is discovered later, you’ll have to tear open your brand-new walls to fix it, which means more time, more money, and more mess. Make sure all "behind-the-walls" work passes inspection. This isn't just about following regulations; it’s about ensuring your home is safe and that the core systems function correctly for years to come.
Failing to create a comprehensive plan
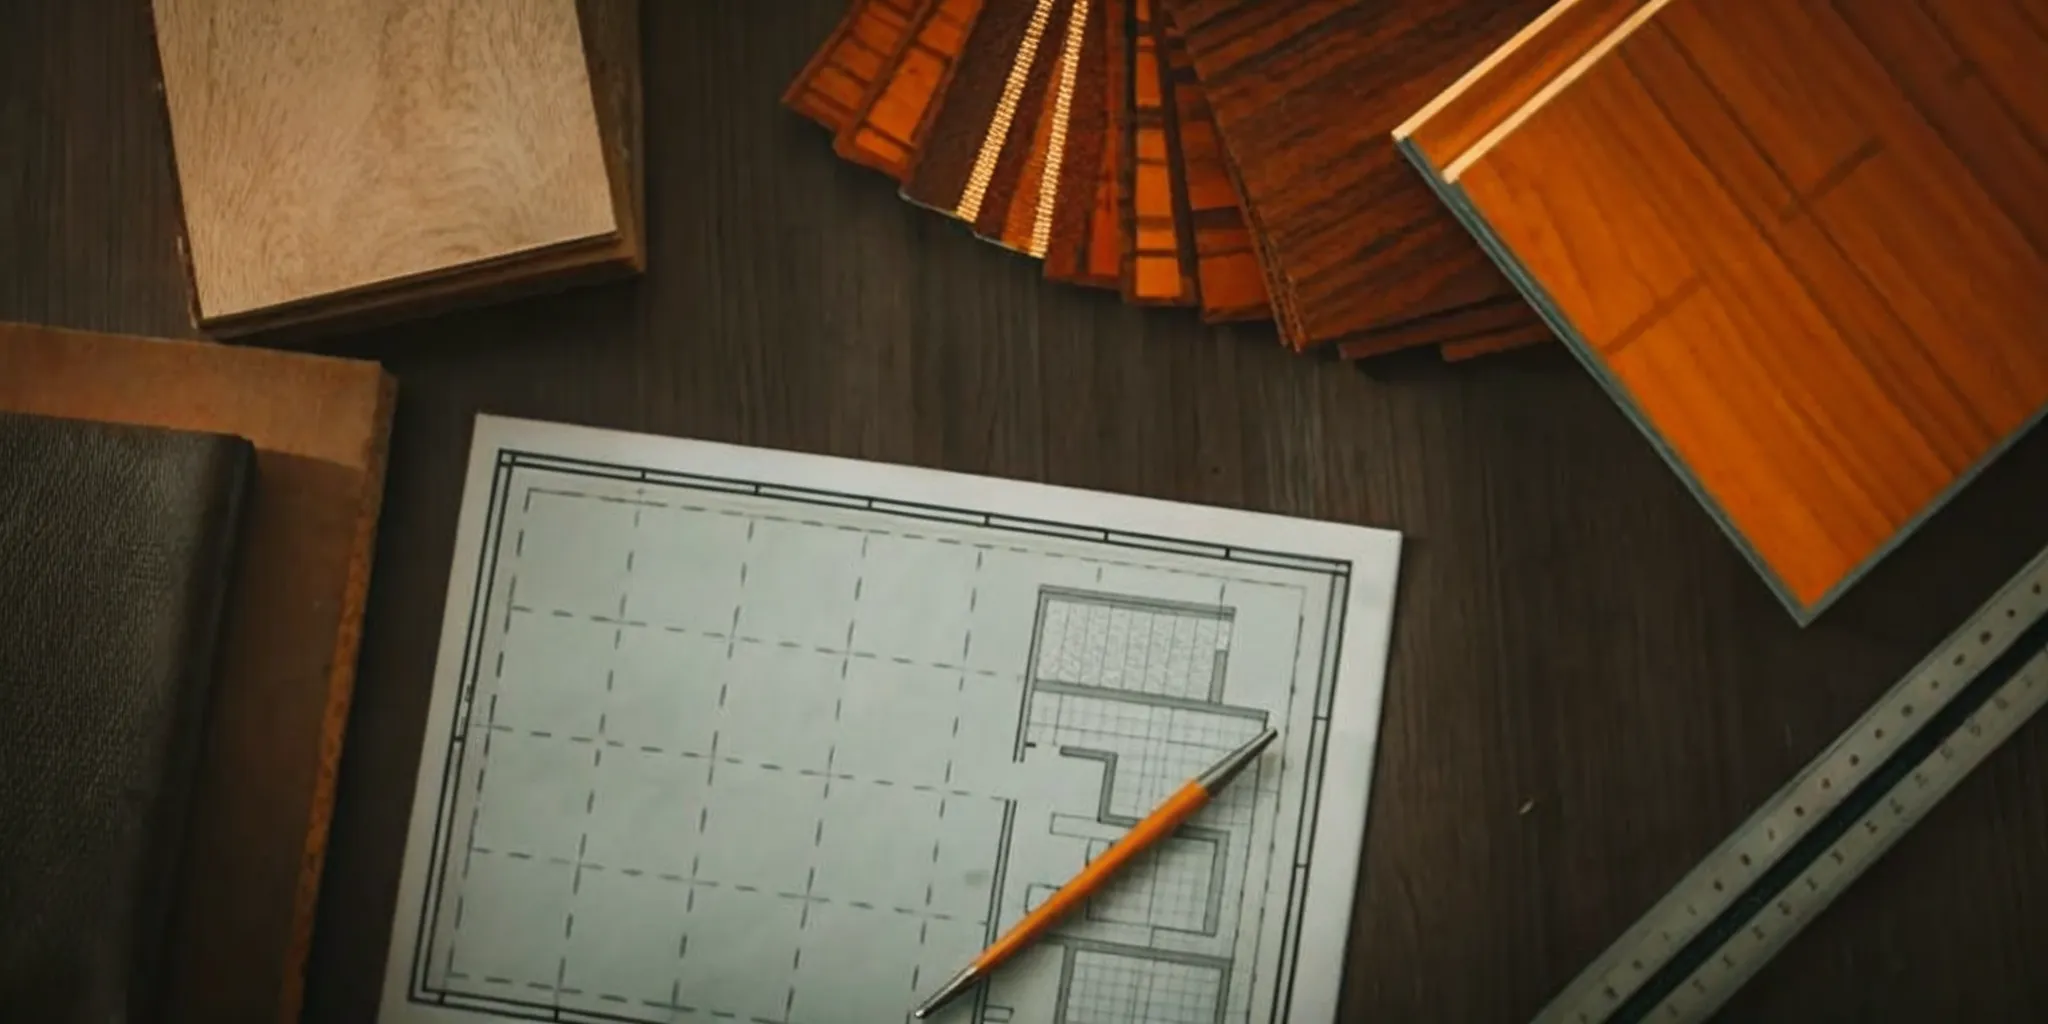
Jumping into a renovation without a detailed plan is one of the biggest mistakes you can make. A vague idea of what you want isn't enough. You need a solid blueprint that outlines everything from layouts and materials to a realistic budget and timeline. Starting construction without a detailed plan often leads to indecision, delays, and unexpected costs. Before any work begins, you should have your designs finalized, finishes selected, and contractors scheduled. A customized renovation plan acts as your project’s north star, keeping everyone on the same page and ensuring your vision becomes a reality without costly surprises.
When to Add Energy-Efficient Upgrades
Once you’ve handled the critical structural and safety repairs, it’s time to think about making your home smarter and more efficient. Weaving energy-efficient upgrades into your renovation isn’t just good for the planet; it’s great for your wallet. These improvements can significantly lower your monthly utility bills and make your home more comfortable year-round. The key is timing. By tackling these projects at the right stage of your renovation, you can save on installation costs and avoid redoing work. Planning these upgrades from the start ensures they are integrated seamlessly into your home’s new design.
Improve insulation and HVAC systems during structural phases
The best time to upgrade your home’s insulation and HVAC (heating, ventilation, and air conditioning) system is when the walls are open. During the demolition and framing phase, your contractor has easy access to wall cavities, attics, and crawl spaces. This makes it the perfect moment to add or replace insulation, which is one of the most effective ways to reduce energy consumption. Similarly, if you’re planning to install a new, high-efficiency HVAC system, this is the time to run new ductwork. Trying to snake ducts through finished walls and ceilings later is a far more complex and expensive job. A Realm advisor can help you prioritize which upgrades will have the biggest impact.
Time your window and door replacements
New windows and doors can transform a home’s appearance and its energy performance, but timing their installation is crucial. As a general rule, you should work from the outside in. This means window and door replacements should happen after any major exterior work, like roofing or siding, but before interior finishing work begins. Installing them at this stage protects your home from the elements and prevents dust and debris from ruining new drywall or paint. It also ensures a perfect seal, which is essential for preventing drafts and heat loss. Waiting until after the messy exterior work is done helps keep your new windows and doors looking pristine.
Integrate smart home technology
Smart home technology, from thermostats that learn your schedule to automated lighting, can make your home more convenient and energy-efficient. To get the most out of these features, you need to plan for them early in the renovation process. During the electrical rough-in stage, when your electrician is running wires through the open walls, decide where you want smart switches, speakers, and control panels. This avoids the need to cut into freshly painted walls later. Careful planning ensures all your devices are compatible and work together smoothly, giving you a truly connected and efficient home without the headache of retrofitting.
Maximize rebates and incentives
Making your home more energy-efficient can also come with financial perks. Many utility companies, as well as local and federal governments, offer rebates and tax credits for installing energy-saving products. These incentives can apply to everything from high-efficiency water heaters and appliances to new windows and insulation. The trick is to do your research before you buy. You can find a comprehensive list of what’s available in your area by searching government-backed databases. By planning ahead, you can choose products that not only lower your energy bills but also qualify for programs that put money back in your pocket.
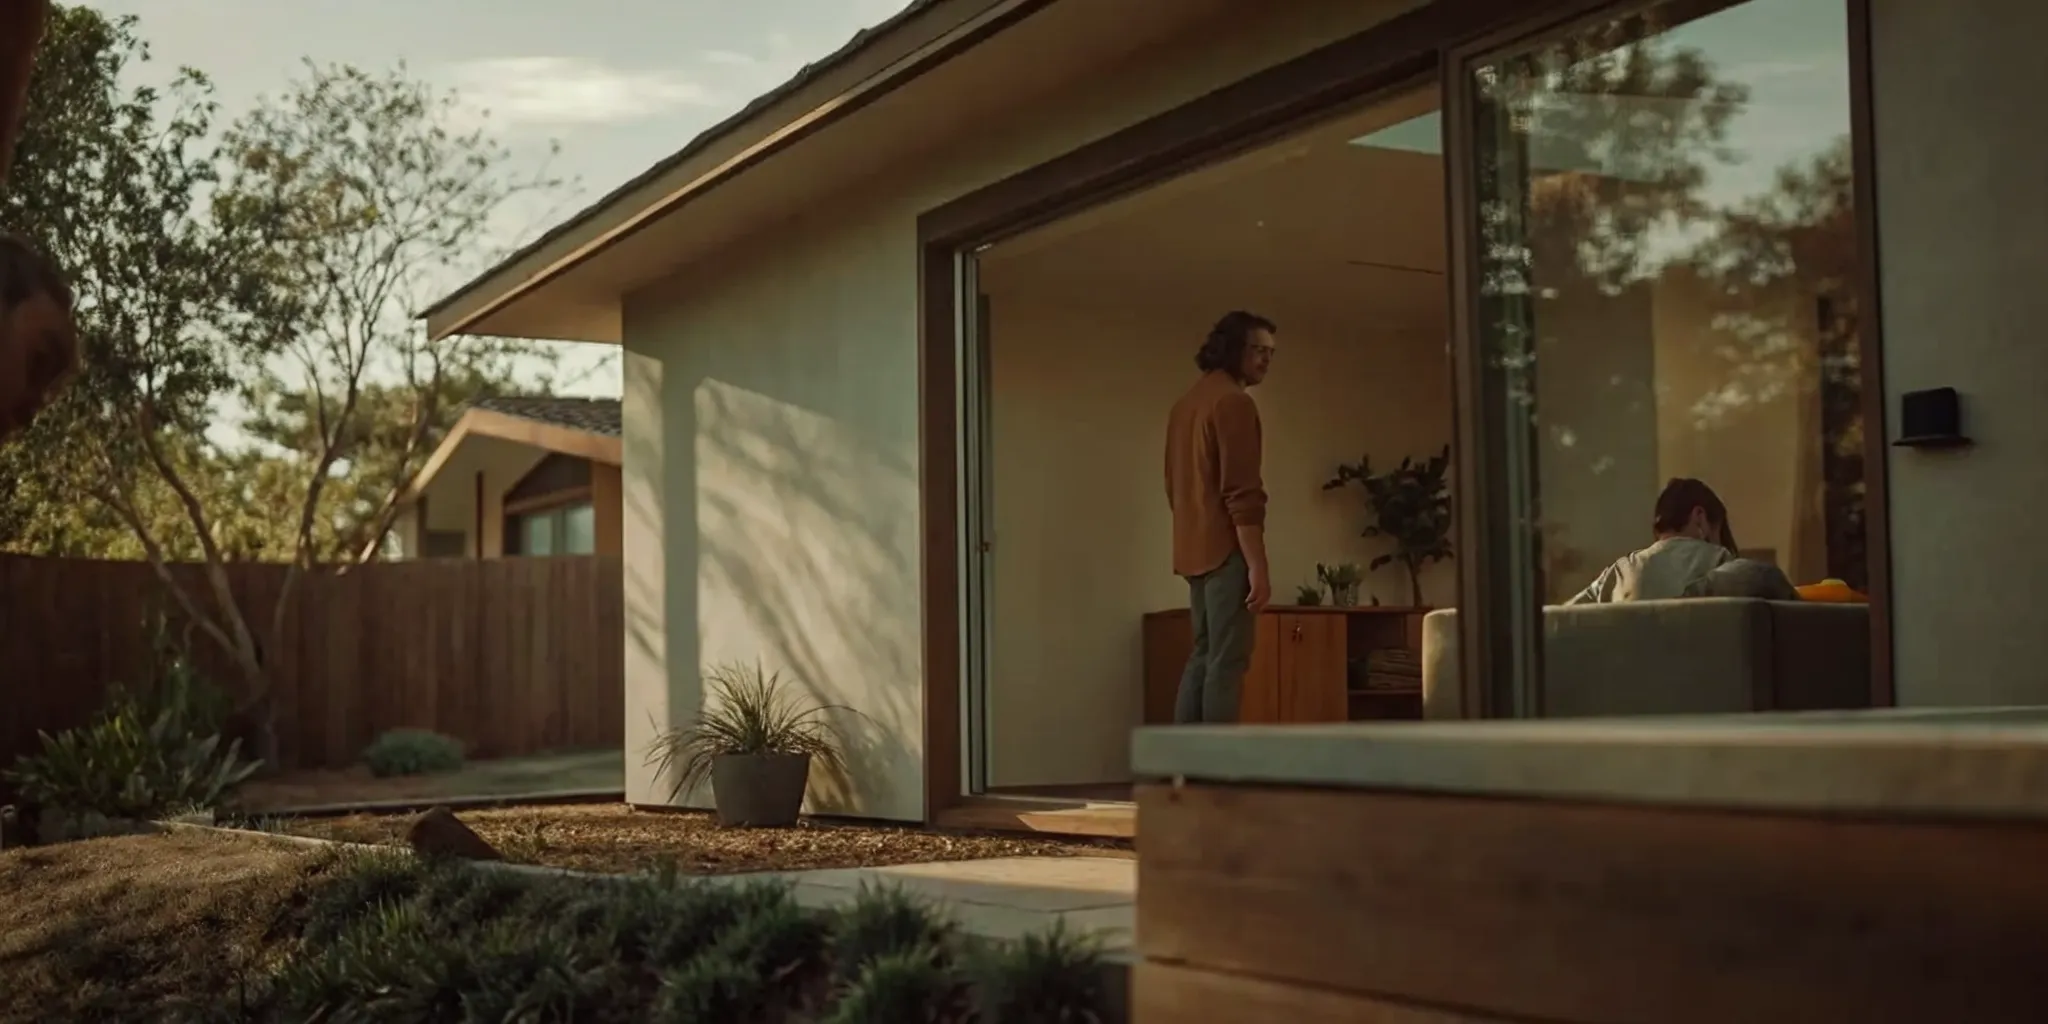
How to Manage Your Project and Minimize Disruption
Once the demolition starts, your renovation moves from a plan on paper to a reality in your home. Managing this phase effectively is key to minimizing stress and ensuring the final result matches your vision. A successful project isn't just about the right sequence of tasks; it's about clear communication, proactive monitoring, and practical strategies to keep your life running smoothly amidst the dust and noise. Think of it as a partnership with your build team. When everyone is on the same page, the entire process feels less disruptive and more collaborative. This is where the day-to-day management really shines. By staying organized and in sync with your contractors, you can address small issues before they become big headaches and keep the project moving forward on schedule. Having a dedicated project advisor can be a huge asset here, giving you a single point of contact to help handle the daily details and translate your questions into action items for the crew. It’s about having an expert in your corner to make sure the execution is as thoughtful as the initial plan, allowing you to focus on the exciting transformation happening in your home.
Establish clear communication with your team
Great communication is the foundation of a low-stress renovation. Before work begins, agree on a communication plan with your contractor. Decide on the best way to stay in touch, whether it's through daily texts, a weekly email summary, or a quick phone call at the end of each day. Schedule a regular weekly walkthrough on-site to review progress and discuss upcoming tasks. This creates a predictable rhythm and ensures you’re always in the loop. Don’t be afraid to ask questions or offer feedback. Open, two-way dialogue builds trust and helps your contractor understand your priorities, ensuring there are no surprises along the way.
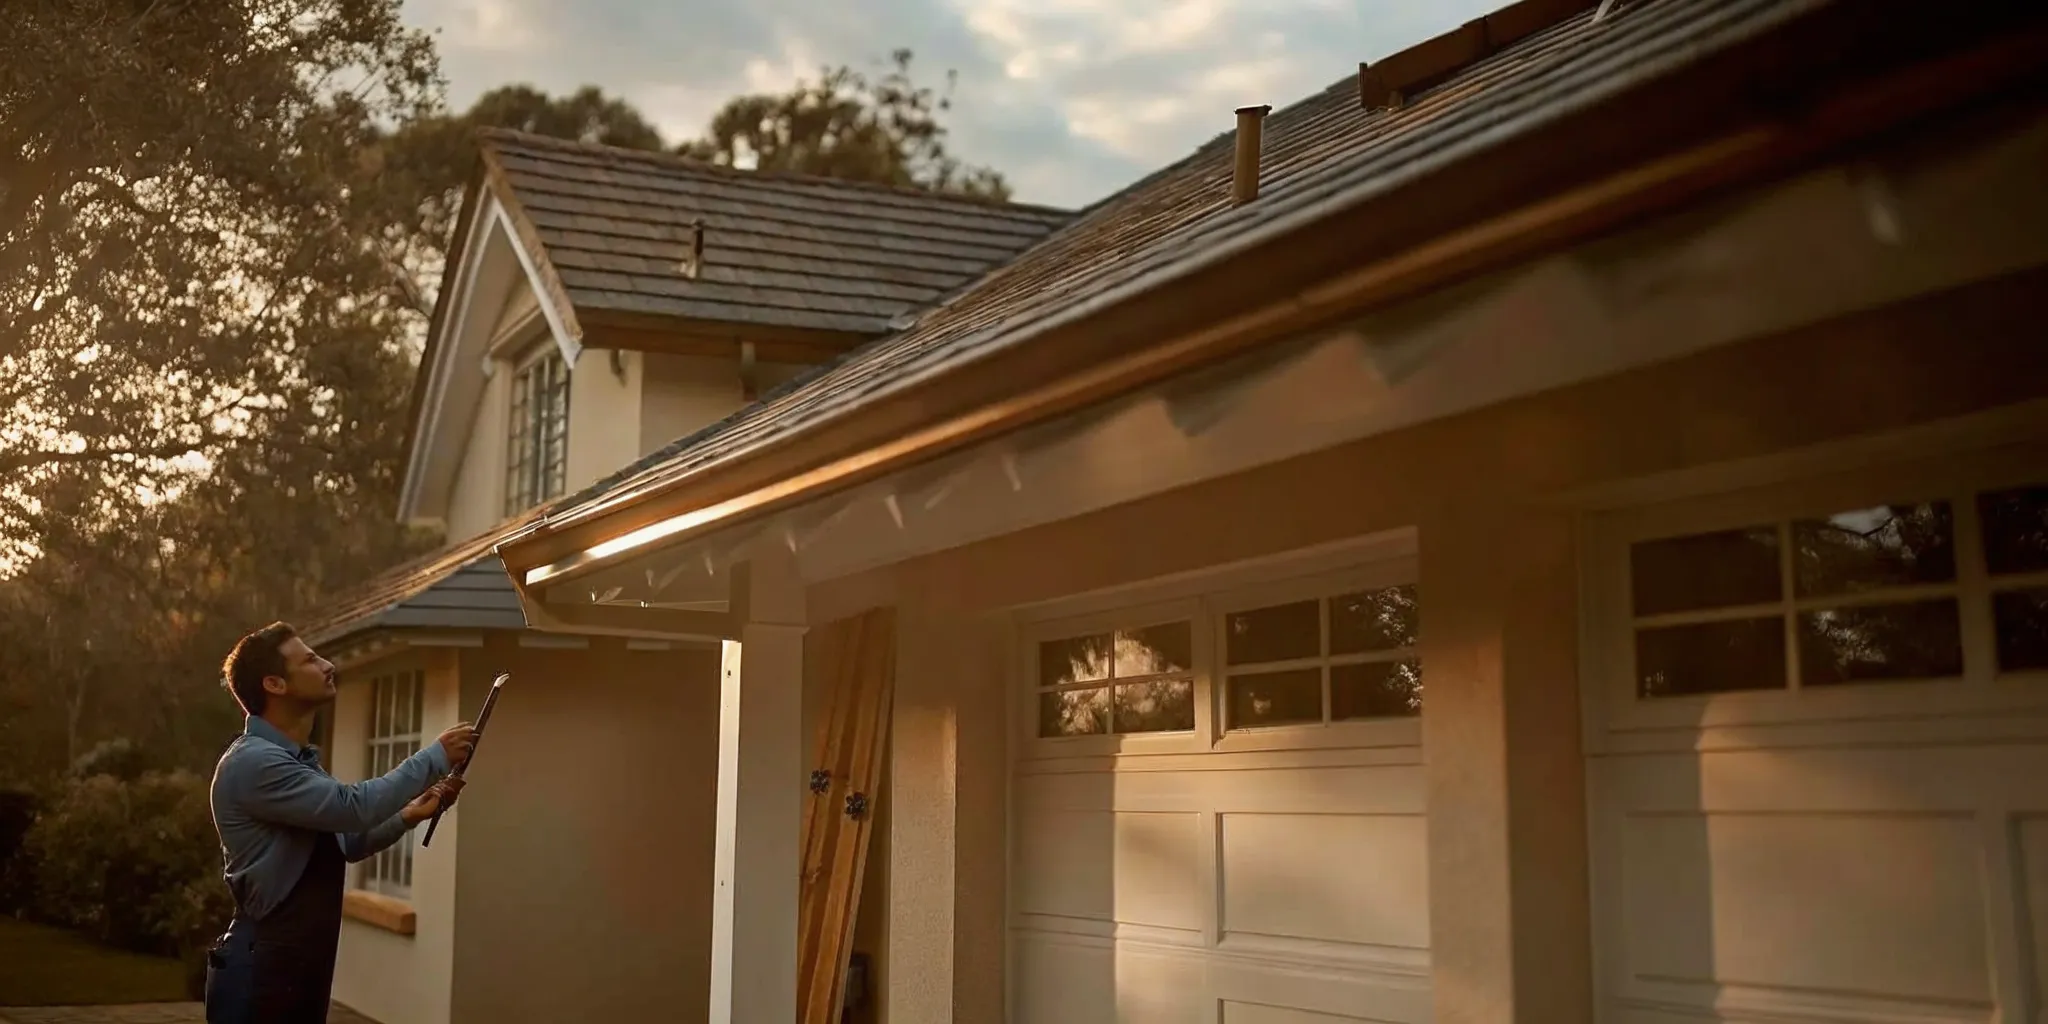
Monitor progress and quality
Staying engaged with your project helps you spot potential issues before they become bigger problems. Your weekly walkthroughs are the perfect time to check the quality of the work and compare it against your project plan and design documents. Take photos regularly to document the progress. This creates a visual record that can be helpful if any questions arise later. You don’t need to micromanage every detail, but being an active participant shows your team you’re invested. Working with a network of vetted professionals provides peace of mind, as you know they are committed to high standards from the start.
Plan for the unexpected
Even with meticulous planning, renovations can have surprises, like discovering old wiring or plumbing issues behind a wall. This is exactly why you have a contingency fund. It’s also why you should discuss a change order process with your contractor upfront. A change order is a formal document that outlines any new work, its cost, and its impact on the timeline. Having a clear process for this prevents confusion and ensures you formally approve any changes to the budget or scope. A flexible mindset is your best tool for handling these bumps in the road without derailing the project.
Keep your home functional during the work
Living in a construction zone is challenging, but you can make it more manageable. Before the project starts, work with your contractor to seal off the work areas with plastic sheeting to control dust. If your kitchen is being renovated, set up a temporary kitchen in another room with a microwave, coffee maker, and mini-fridge. Designate a "safe zone" in your home that remains clean and construction-free where you can relax. It’s also helpful to discuss logistics like work hours, parking, and bathroom access with your crew. A little planning goes a long way in preserving your sanity and making the space livable.
Related Articles
- 8 Steps to a House Renovation Design and Plan
- How to Create a Renovation Budget That's Realistic
- Creating a Home Renovation Project Plan in 7 Steps
- Breaking Down Your Full Interior Renovation Cost
- Small Kitchen Remodel Cost Without Appliances: A Guide
Frequently Asked Questions
Why is the order of renovation so important? Can't I just start with the room that bothers me the most? I completely understand the urge to tackle the most annoying room first. However, the right sequence is about protecting your investment of time and money. Renovating out of order often means redoing work you just paid for. For instance, if you install new flooring throughout the house before remodeling your kitchen, the demolition and construction will create a huge amount of dust and debris that can easily damage your brand-new floors. A logical order ensures each step builds on the last, preventing costly and frustrating rework.
Is it really necessary to fix structural issues like the roof before remodeling my kitchen? Yes, absolutely. Think of your home's structure, including the roof and foundation, as its protective shell. A beautiful new kitchen won't be worth much if a leaky roof causes water to drip into your new cabinets and warp your custom countertops. Addressing these fundamental safety and structural issues first ensures that the home is sound and secure. This protects not only your family but also every dollar you invest in the cosmetic updates that follow.
How much should I really budget for a contingency fund? A contingency fund is your financial safety net for true surprises, like finding unexpected plumbing issues behind a wall. A good rule of thumb is to set aside 10% to 20% of your total project cost. For older homes or more complex projects where the chance of uncovering unforeseen problems is higher, it's wise to aim for the 20% mark. This fund isn't for upgrading your tile choice mid-project; it’s specifically for handling the unknowns that can pop up during construction.
When is the best time to choose my finishes, like tile and countertops? You should have all your materials and finishes selected, and preferably ordered, before any demolition begins. This is a critical part of the planning phase. Waiting to choose items until you need them can lead to major delays if a product is backordered or has a long shipping time. Having all your materials on-site before they are needed allows your contractor to maintain momentum and stick to the schedule without costly interruptions.
What is a change order and why is it important? A change order is a written document that amends the original construction contract. It's used whenever you decide to add, remove, or change something from the initial plan. The document clearly outlines the new work, the additional cost (or credit), and any effect it will have on the project timeline. It’s important because it creates a formal record that both you and your contractor agree to, preventing misunderstandings about scope and budget down the line.