Your Full Home Renovation Checklist: Start to Finish
Get a full home renovation checklist with practical steps for planning, budgeting, permits, and finishing touches to help your project run smoothly.
|
January 9, 2026

In this article:
We’ve all heard the renovation horror stories: budgets that spiral out of control, timelines that double, and results that don't quite match the dream. The good news is that most of these headaches are preventable. The key to avoiding them is a solid, methodical plan that you follow from day one. Think of this full home renovation checklist as your project’s essential safety net. It ensures you don’t skip crucial steps like building a contingency fund or properly vetting your professionals. Following this guide will help you get ahead of potential problems and keep your project on track.
Key Takeaways
- A Detailed Plan is Your Most Important Tool: Before any work begins, finalize your goals, create a realistic budget that includes a 10-15% contingency fund, and map out a comprehensive timeline to guide every decision.
- Rely on Vetted Professionals: Your project's success hinges on your team. Hiring qualified, insured contractors and designers is essential for managing permits, adhering to building codes, and ensuring high-quality work from start to finish.
- Stay Engaged to Guarantee Quality: Actively manage the project by scheduling regular check-ins with your contractor, making timely decisions on materials, and conducting a thorough final walkthrough to create a "punch list" for any necessary fixes.
First Things First: What to Do Before You Renovate
Before you even think about picking out paint colors or swinging a sledgehammer, there are a few crucial steps you need to take. Think of this as the foundation for your entire project. Getting these early pieces right sets the stage for a smoother, more successful renovation. Let’s walk through what you need to do before the real work begins.
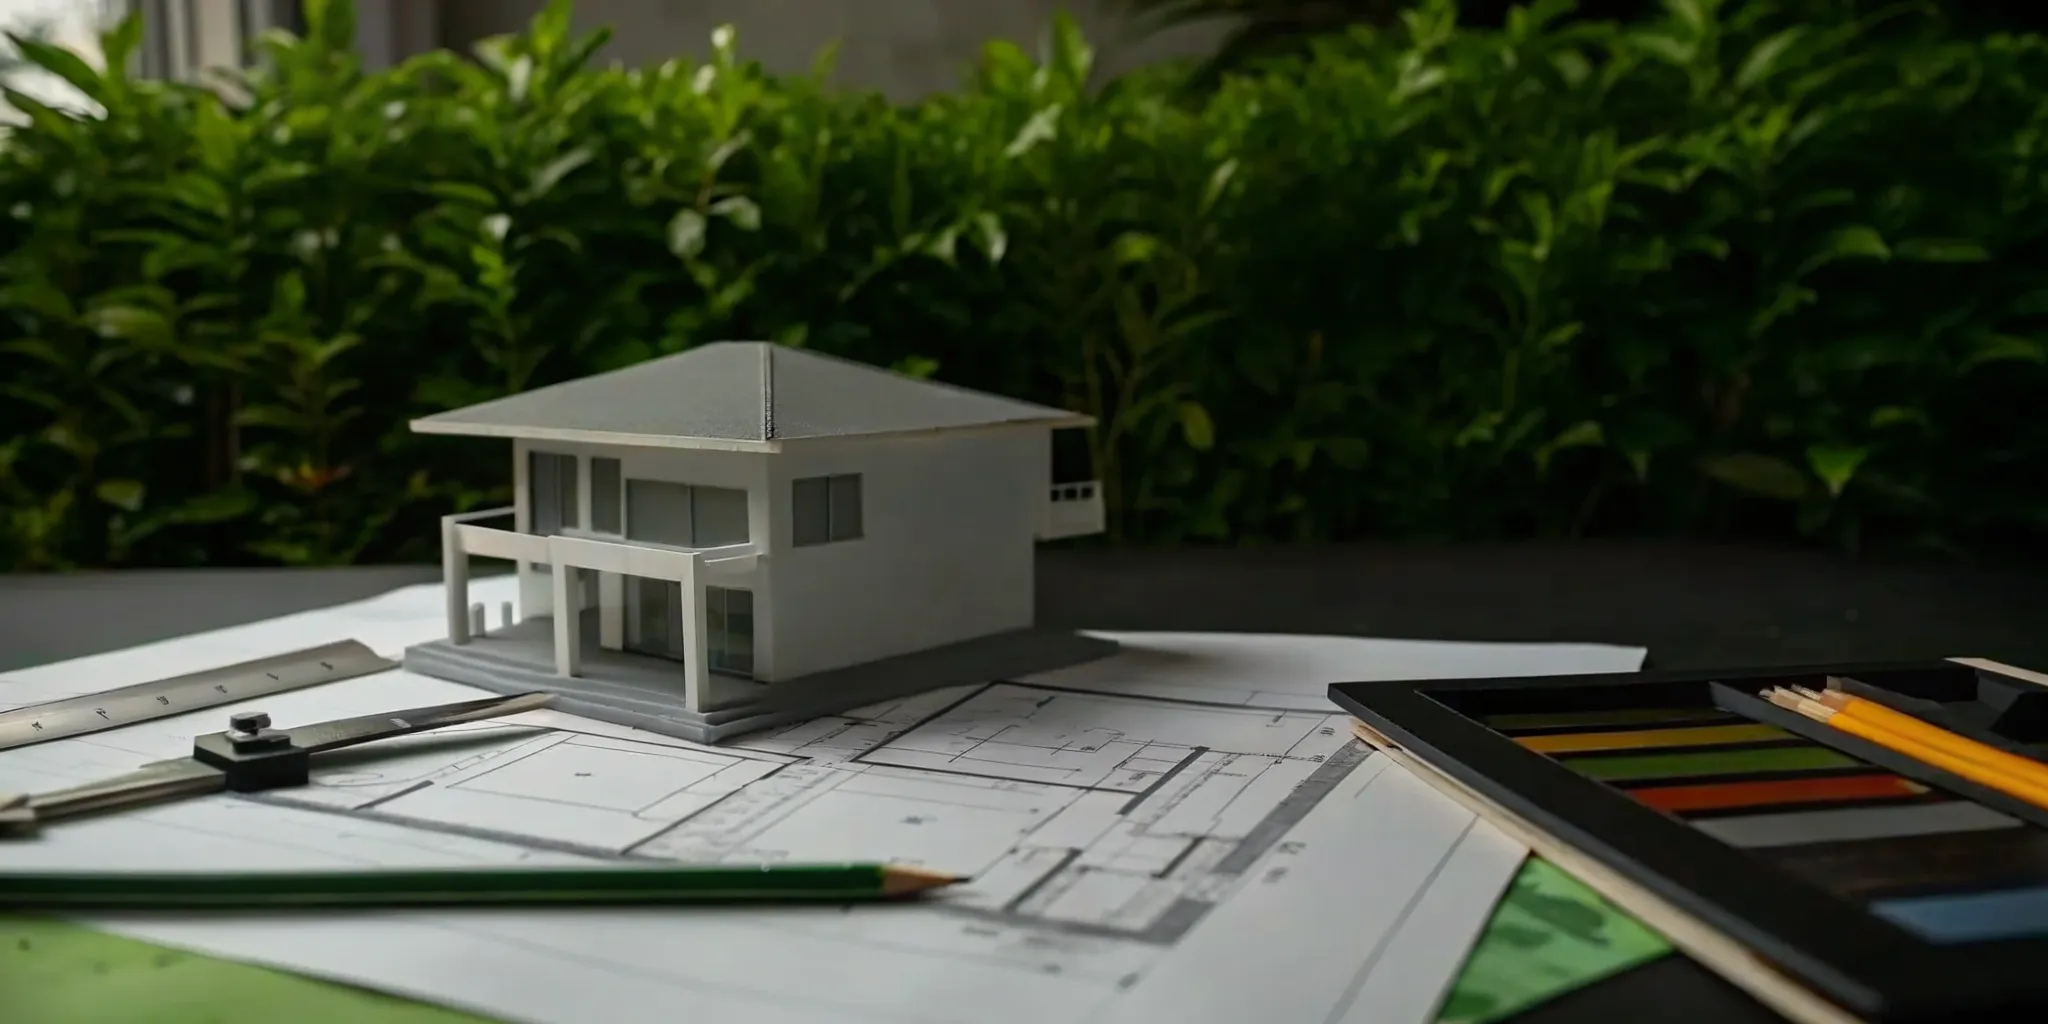
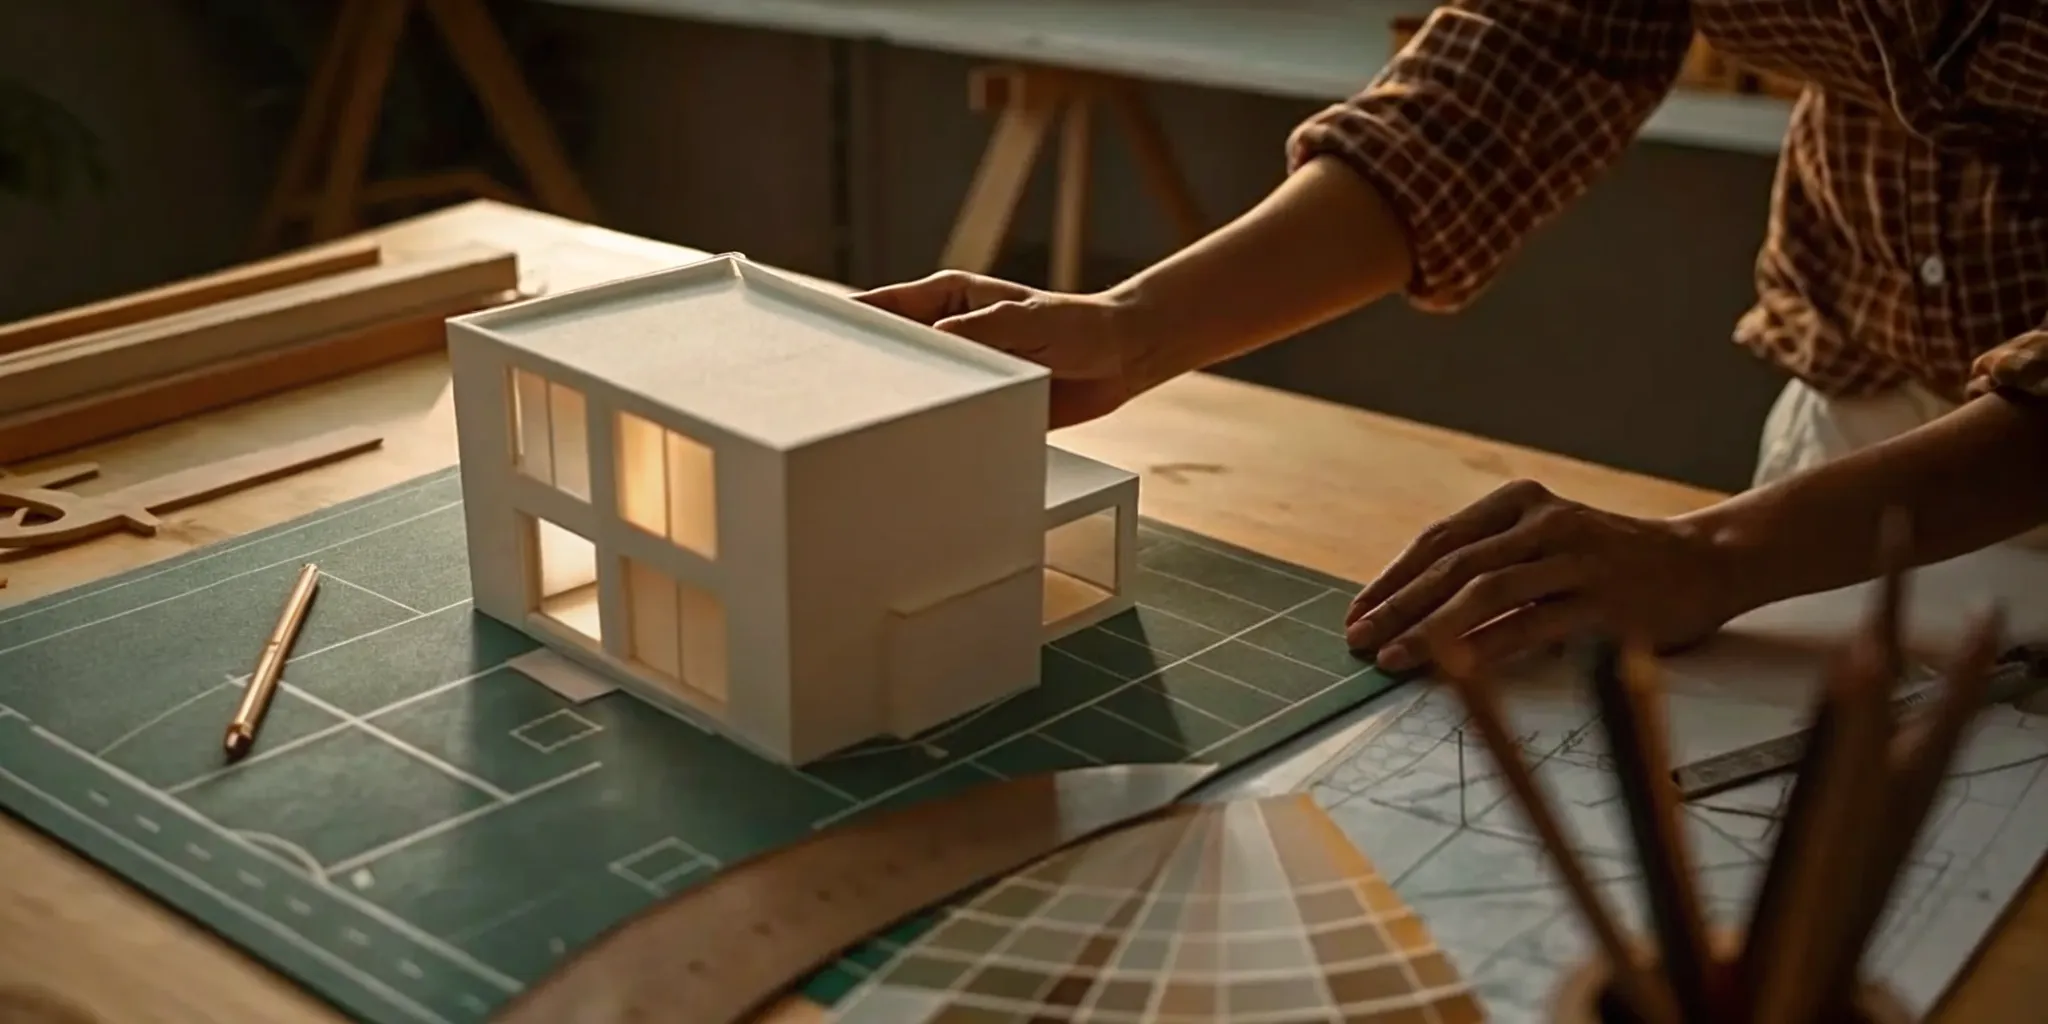
Define Your Goals and Vision
It’s so easy to get swept up in the excitement of a renovation. But before you get lost in inspiration photos, take a step back and think about the why. The biggest mistake homeowners often make is focusing on aesthetics while losing sight of how the space needs to function for their family. Your home should be beautiful, but it also has to work for your real life. Think about your daily routines. What are the current pain points? What do you hope to solve with this project? A clear, detailed plan that balances form and function is your most important tool. Having a solid vision from the start helps you and your team make smart decisions every step of the way.
Set a Realistic Timeline
We all want our dream home finished yesterday, but rushing the planning phase is a recipe for disaster. In fact, studies show that nearly half of homeowners underestimate how long their renovation will actually take. A realistic timeline isn’t just about the construction phase; it needs to account for everything that comes before it. This includes time for design, getting permits approved, ordering materials, and potential shipping delays. Building this buffer into your schedule from the beginning will save you a ton of stress down the road. A well-paced project is a well-managed project, giving you a much smoother renovation experience from start to finish.
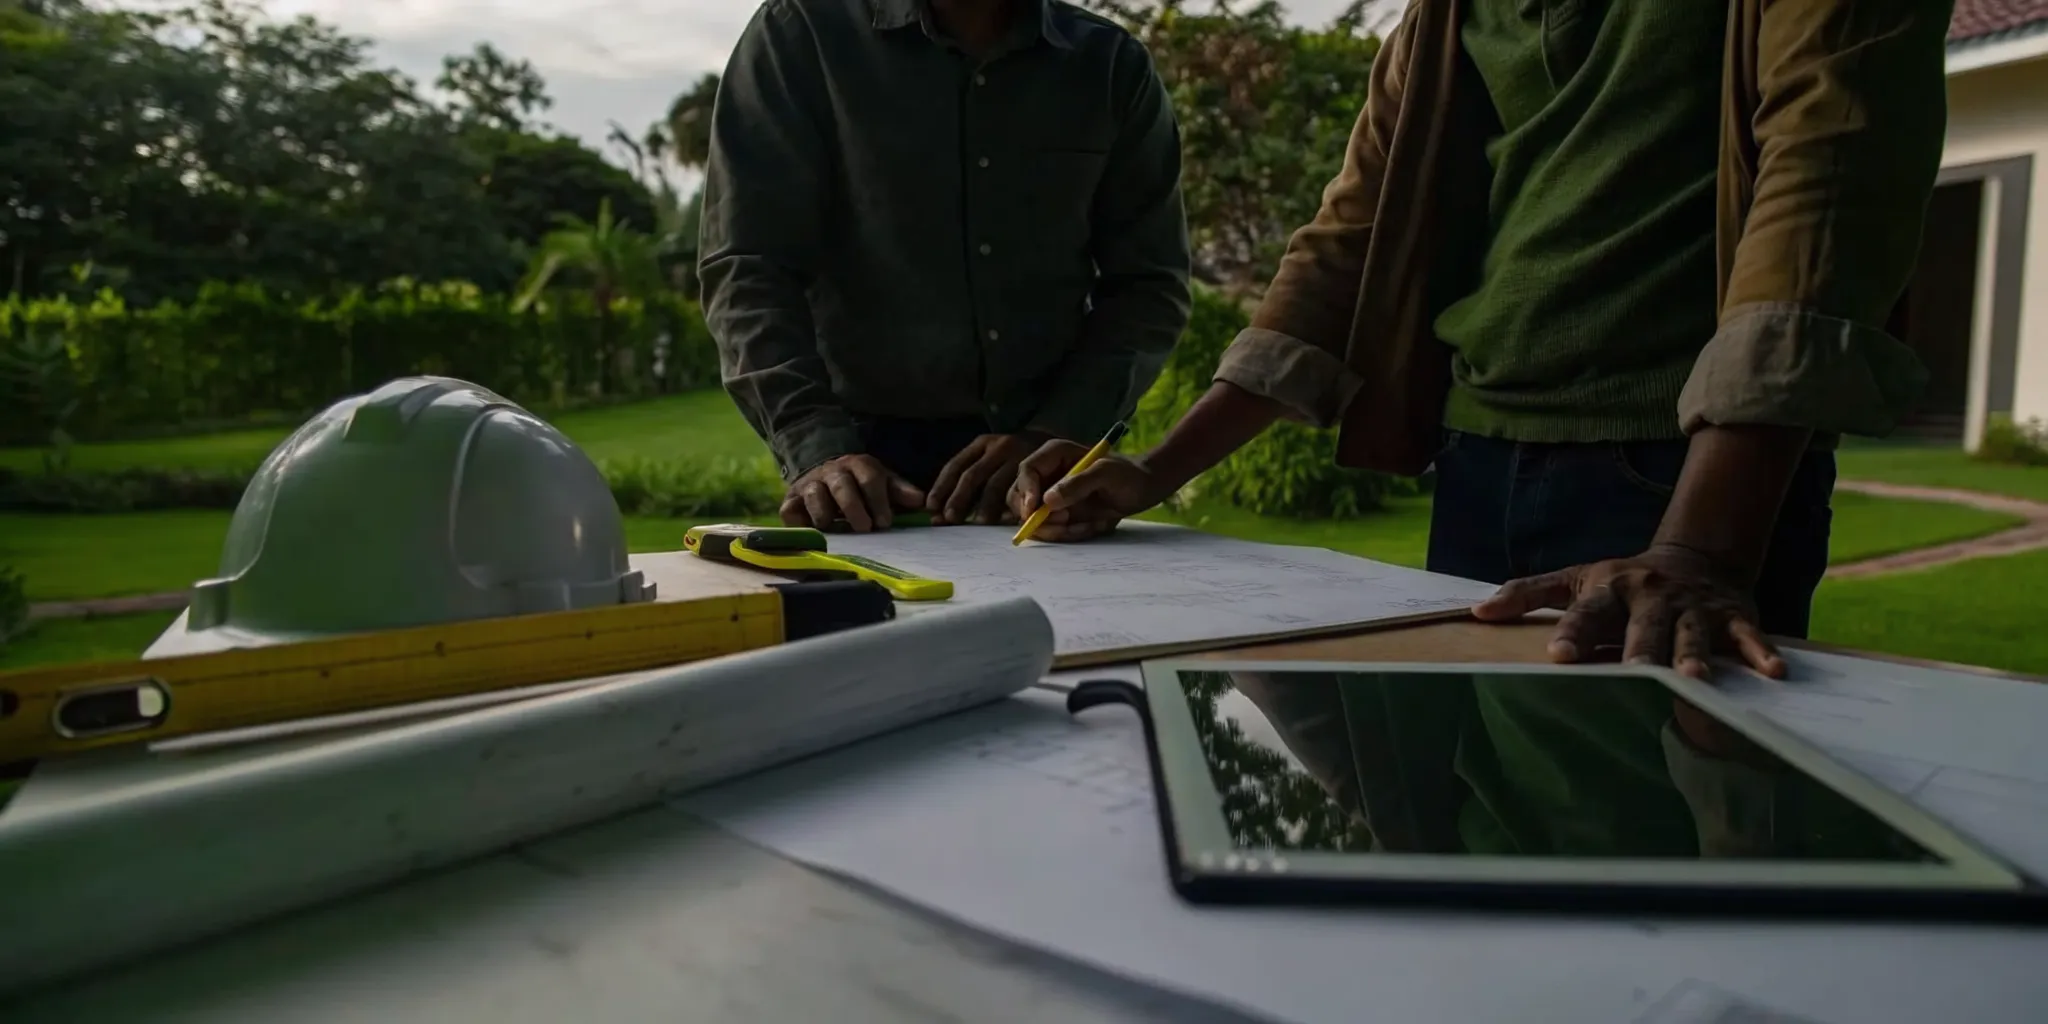
Find and Hire the Right Professionals
Your renovation is only as good as the team you hire to build it. This is one of the most important decisions you’ll make, so it’s critical to do your homework. Hiring an unqualified or unreliable contractor is a common mistake that can lead to shoddy work, budget overruns, and major headaches. You need to find a reputable builder who understands your vision, uses quality materials, and has a proven track record. Always check references, review their past projects, and confirm that they are properly licensed and insured. Working with vetted, high-quality professionals ensures your project is in capable hands and that your dream home becomes a reality.
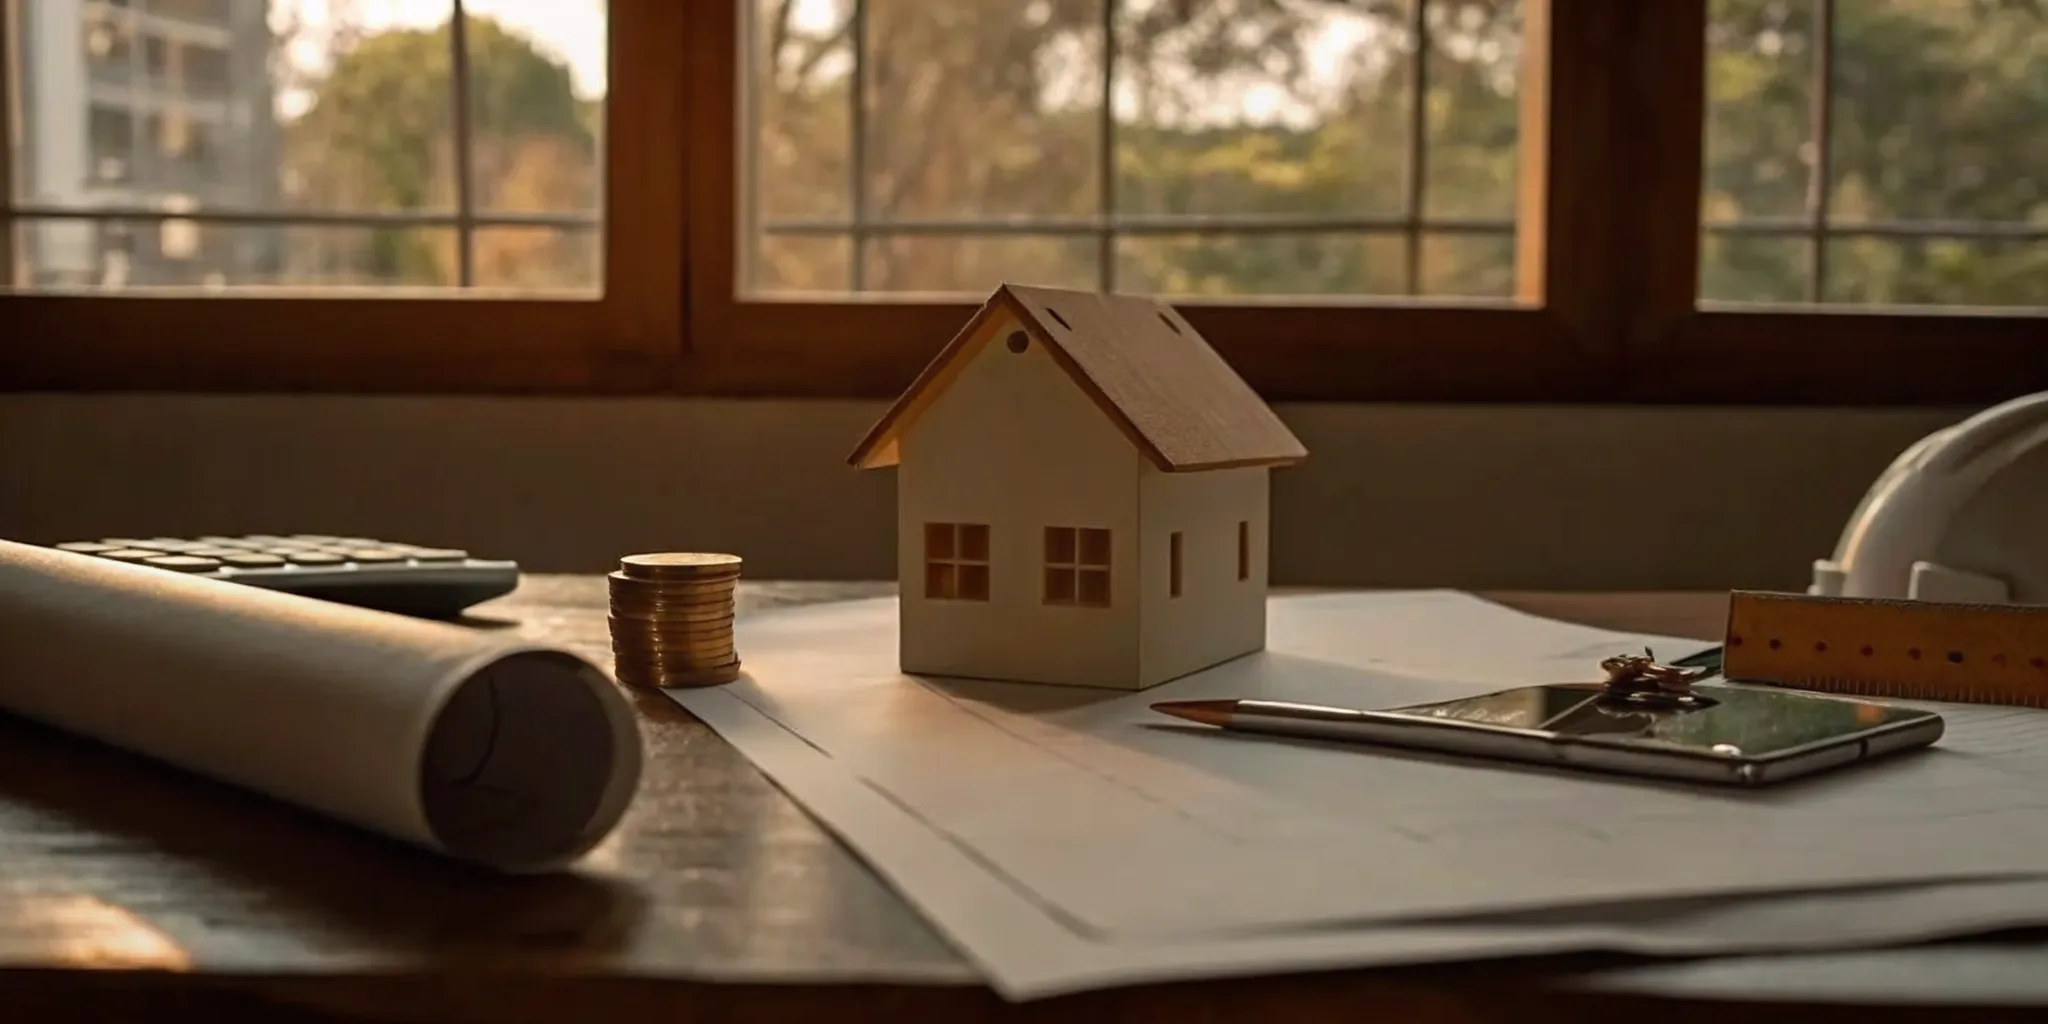
How to Create a Realistic Renovation Budget
Let’s talk about money. While it might not be the most exciting part of your renovation, setting a realistic budget is the single most important thing you can do to ensure your project is a success. A solid budget acts as your financial roadmap, guiding your decisions and preventing stressful surprises down the line. It’s about more than just picking out finishes; it’s about understanding the full scope of your investment from start to finish.
Creating a budget that works involves three key steps: accurately estimating your total costs, setting aside a cushion for the unexpected, and figuring out how you’ll pay for it all. When you have a clear financial plan, you can move forward with confidence, knowing you’re prepared for whatever comes your way. At Realm, we help homeowners get a clear picture of their project's scope and costs, so you can start your renovation with a budget you can trust. A well-planned budget doesn’t limit your creativity—it empowers you to make smart choices that bring your vision to life without breaking the bank.
Estimate Your Total Project Costs
A realistic budget accounts for every single expense, not just the obvious ones. To get a true sense of the total cost, you need to think beyond labor and materials. A comprehensive budget should include line items for design fees, building permits, fixtures, finishes, and even the cost of new furniture or decor to complete the space. Start by making a detailed list of everything you want to accomplish and then begin gathering quotes.
Getting multiple bids from contractors is essential for understanding the potential range of labor costs. When you review these quotes, make sure they are itemized so you can see exactly what you’re paying for. This detailed approach helps you plan for all costs, including construction, design, and materials, ensuring there are no major gaps in your financial plan.
Build a Contingency Fund for Surprises
If there’s one rule in home renovation, it’s this: expect the unexpected. No matter how carefully you plan, surprises are almost inevitable. You might open up a wall and discover old wiring that needs replacing or find that the flooring you love is suddenly on backorder. This is where a contingency fund comes in. This is not "extra" money for upgrades; it's a dedicated safety net built directly into your budget.
Most experts recommend setting aside an additional 10% to 15% of your total project cost for this fund. For example, if your renovation is budgeted at $100,000, your contingency fund should be between $10,000 and $15,000. Having this cushion allows you to handle unforeseen expenses without derailing your project or causing major financial stress. It’s the key to staying on track when things don’t go exactly as planned.
Explore Your Financing Options
Once you have a solid estimate and a contingency fund planned, the next step is to decide how you’ll pay for the renovation. For many homeowners, this involves a combination of savings and financing. It’s important to explore all your options to find the one that best suits your financial situation. Common choices include a home equity line of credit (HELOC), a home equity loan, a cash-out refinance, or a personal loan.
Each option has its own set of pros and cons, so take the time to understand them. Talk to your bank or a financial advisor to learn more about interest rates, repayment terms, and eligibility requirements. The goal is to choose a payment method that you feel good about, both emotionally and financially, so you can enjoy your new space without worrying about the payments.
What You Need to Know About Permits and Regulations
Let's talk about the part of renovating that can feel a little intimidating: permits. It’s easy to see them as just another piece of paperwork, but they’re actually a crucial part of the process. Think of them as a safety net for your project. Permits ensure that all the work done on your home is safe, sound, and up to code, protecting both your family and your investment. They are an official record that your project was inspected and approved by your local building authority, which is essential for both safety and insurance purposes.
Working through the world of permits and local regulations can feel like learning a new language, but it doesn't have to be a headache. When you work with experienced professionals, they handle the heavy lifting, making sure every 'i' is dotted and 't' is crossed. This step is non-negotiable for any major renovation. Getting it right means you can rest easy knowing your beautiful new space is also structurally sound and legally compliant. Plus, having the proper permits on file is a huge asset if you ever decide to sell your home, as it shows potential buyers that all changes were done correctly. A dedicated team, like the one you get with Realm's renovation experts, makes this process seamless.
Understand Local Building Codes
Every city and county has its own set of rules for construction, known as building codes. These codes cover everything from the type of wiring you can use to the structural requirements for a new wall. At their core, building permits are the legal documents that confirm your renovation plans meet local safety codes and regulations. Because these rules can vary from one town to the next, it’s essential to know exactly what your local municipality requires. This is where a good contractor or design-build firm becomes your best friend—they’re experts in the local codes and can ensure your project is designed to comply from the very beginning.
Identify the Permits Your Project Needs
So, how do you know if your project needs a permit? A good rule of thumb is that any project involving changes to your home's structure, electrical, plumbing, or HVAC systems will require one. This includes things like moving walls, adding a bathroom, rerouting pipes, or updating your electrical panel. On the other hand, simple cosmetic updates like painting, installing new countertops, or refinishing floors typically don't require a permit. Your general contractor will be your guide here, helping you identify exactly which permits your specific project scope calls for before any work begins.
Work With Your Contractor on Compliance
You shouldn’t have to become a permit expert overnight. Your contractor is your partner in ensuring full compliance. They will typically manage the entire permit application process, from submitting architectural plans to scheduling inspections with the city. By obtaining a permit, you ensure that your project adheres to local building codes, zoning regulations, and safety standards. This collaboration not only keeps your project on track but also provides official oversight, confirming the work is done correctly. This official sign-off is what gives you peace of mind and adds documented value to your home.
Your Pre-Construction Prep Checklist
With your plans finalized and your team assembled, the excitement really starts to build. But before the first hammer swings, there are a few crucial steps to take to prepare your home and your life for the construction phase. This pre-construction prep work is all about minimizing disruption and ensuring the project runs as smoothly as possible from day one. Think of it as setting the stage for a successful performance. By taking care of these logistics now, you can protect your belongings, maintain some normalcy in your daily routine, and help your contractor stay on schedule. A little bit of planning here goes a long way in preventing headaches later. Your Realm advisor can help you think through these details, ensuring nothing gets missed before the real work begins.
Arrange for Temporary Living Space
If your renovation involves major areas like the kitchen or the only bathroom, living at home might not be realistic—or pleasant. Deciding where you'll stay during construction is a big decision. For shorter projects, you might be able to get by with a makeshift kitchen in the garage. For a full-gut renovation, you’ll likely need to move out completely. Consider staying with family, finding a short-term rental, or booking an extended-stay hotel. Discuss the project timeline with your contractor to get a clear idea of how long you'll be displaced. Planning this early relieves a major source of stress once the project is underway.
Protect Your Furniture and Valuables
Even if you’re moving out, you’ll have items staying behind. Construction is messy, and dust has a way of getting everywhere. Start by decluttering and packing up anything you won’t need. Move valuable or sentimental items—like artwork, electronics, and heirlooms—to a secure off-site storage unit or a locked room that’s far from the construction zone. For large furniture that’s staying, cover it completely with heavy-duty plastic sheeting and secure it with tape. Your contractor should also put up plastic barriers to seal off the work area, but taking these extra steps provides another layer of protection for your belongings.
Set Up Temporary Utilities
Losing access to your kitchen or bathroom can throw your whole routine into chaos. Before the demolition starts, work with your contractor to plan for temporary solutions. This could be as simple as setting up a mini-fridge, microwave, and coffee maker in another room to serve as a makeshift kitchenette. If your water needs to be shut off for plumbing work, make sure you have a plan for an alternative water source. It’s also a good idea to confirm that your contractor has arranged for any necessary site services, like a portable toilet for the crew, to keep your private spaces private.
Order Materials and Schedule Deliveries
Waiting on materials is one of the most common causes of renovation delays. To keep your project on track, it’s essential to order items with long lead times well in advance. Things like custom cabinetry, windows, doors, and certain types of tile or flooring can take weeks or even months to arrive. Your contractor or design-build team should manage this process, but it’s smart to stay informed. Confirm that orders have been placed and get estimated delivery dates. You’ll also need a plan for where to store materials when they arrive, ensuring they are safe, dry, and out of the way of the construction crew.
How to Manage the Design and Planning Phase
This is where your renovation dream starts to look like a real project. The design and planning phase is all about turning your vision into a concrete, actionable blueprint. It can feel like you’re juggling a million decisions at once, from finalizing floor plans to picking out drawer pulls. But with a structured approach, you can move through this stage with confidence. Think of it as creating a detailed roadmap for your contractor—the more thorough you are now, the smoother the construction journey will be.
This is also the point where having an expert in your corner makes a world of difference. A dedicated Realm advisor can help you translate your ideas into technical plans, connect you with designers, and ensure every detail is accounted for before a single wall comes down. Taking the time to get this phase right prevents costly changes and stressful delays down the road, setting your project up for success from the very beginning.
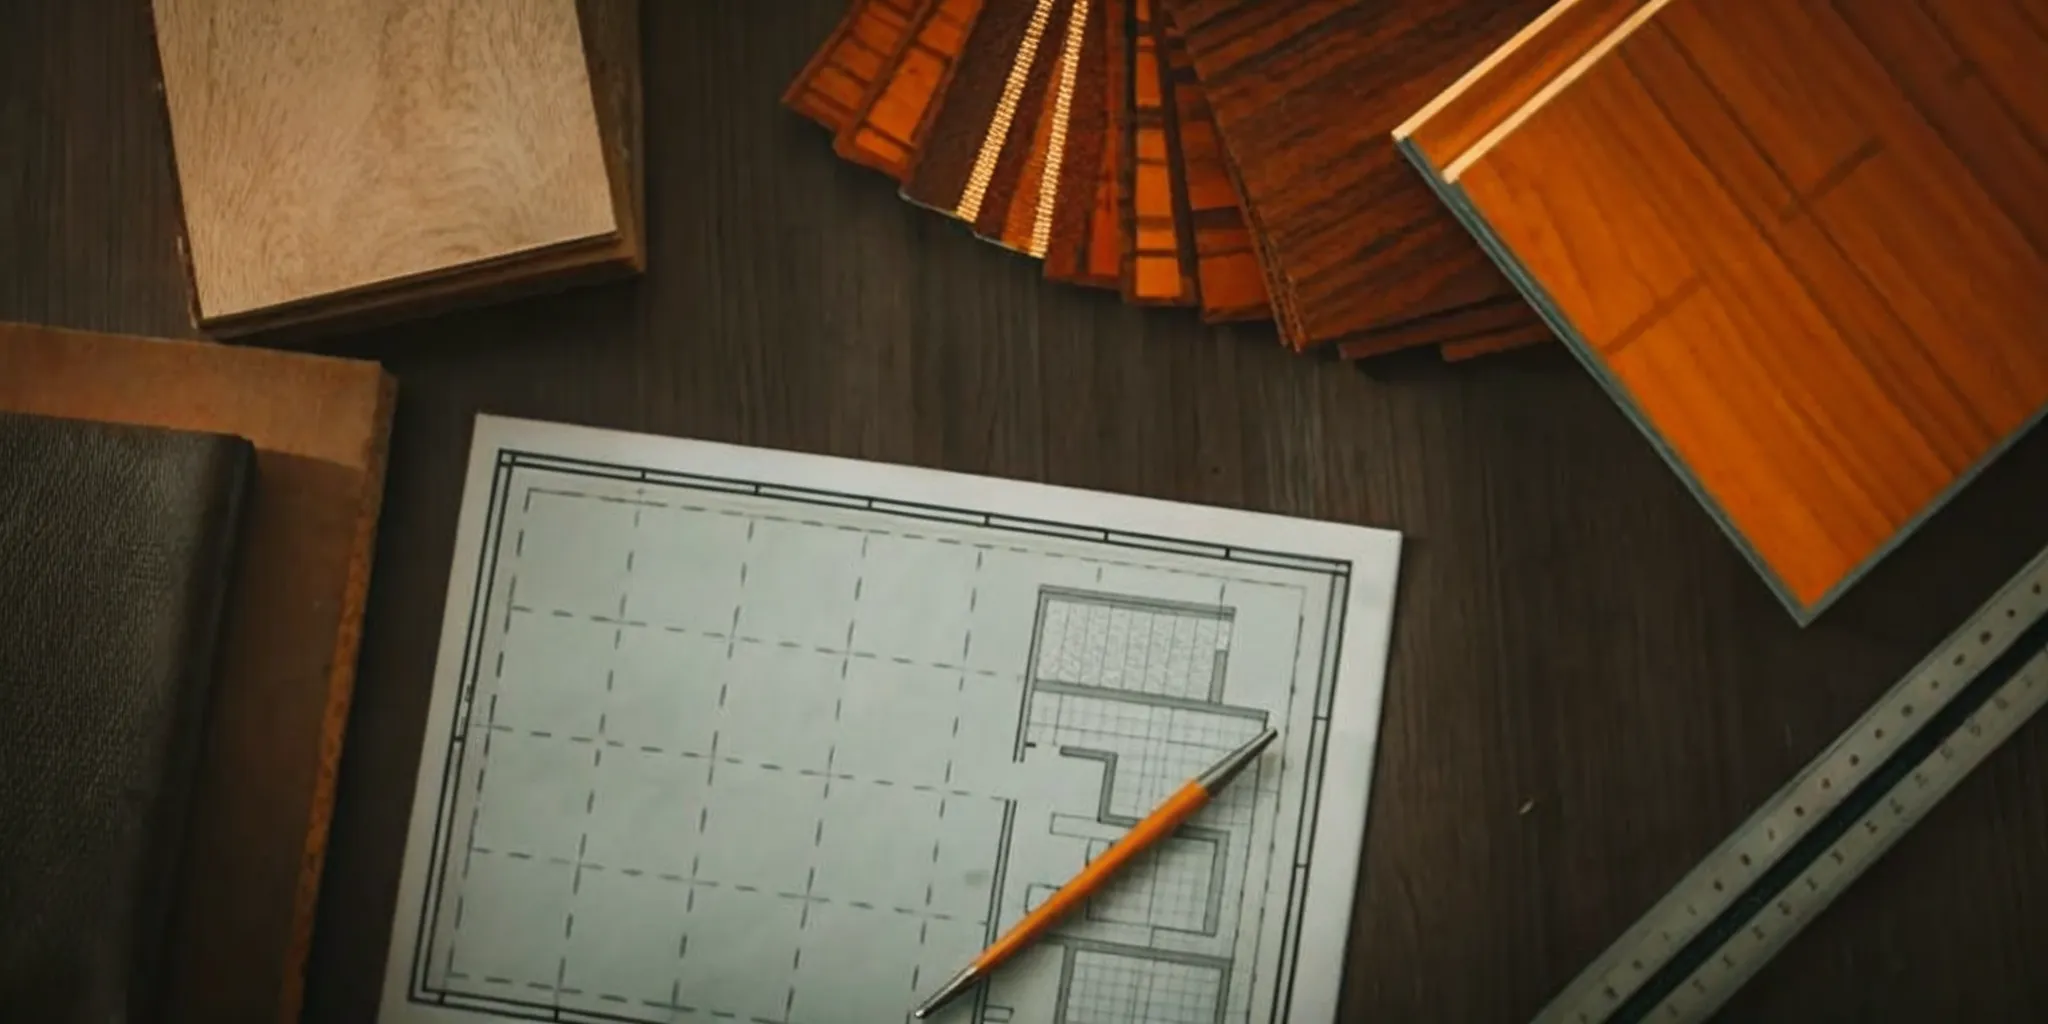
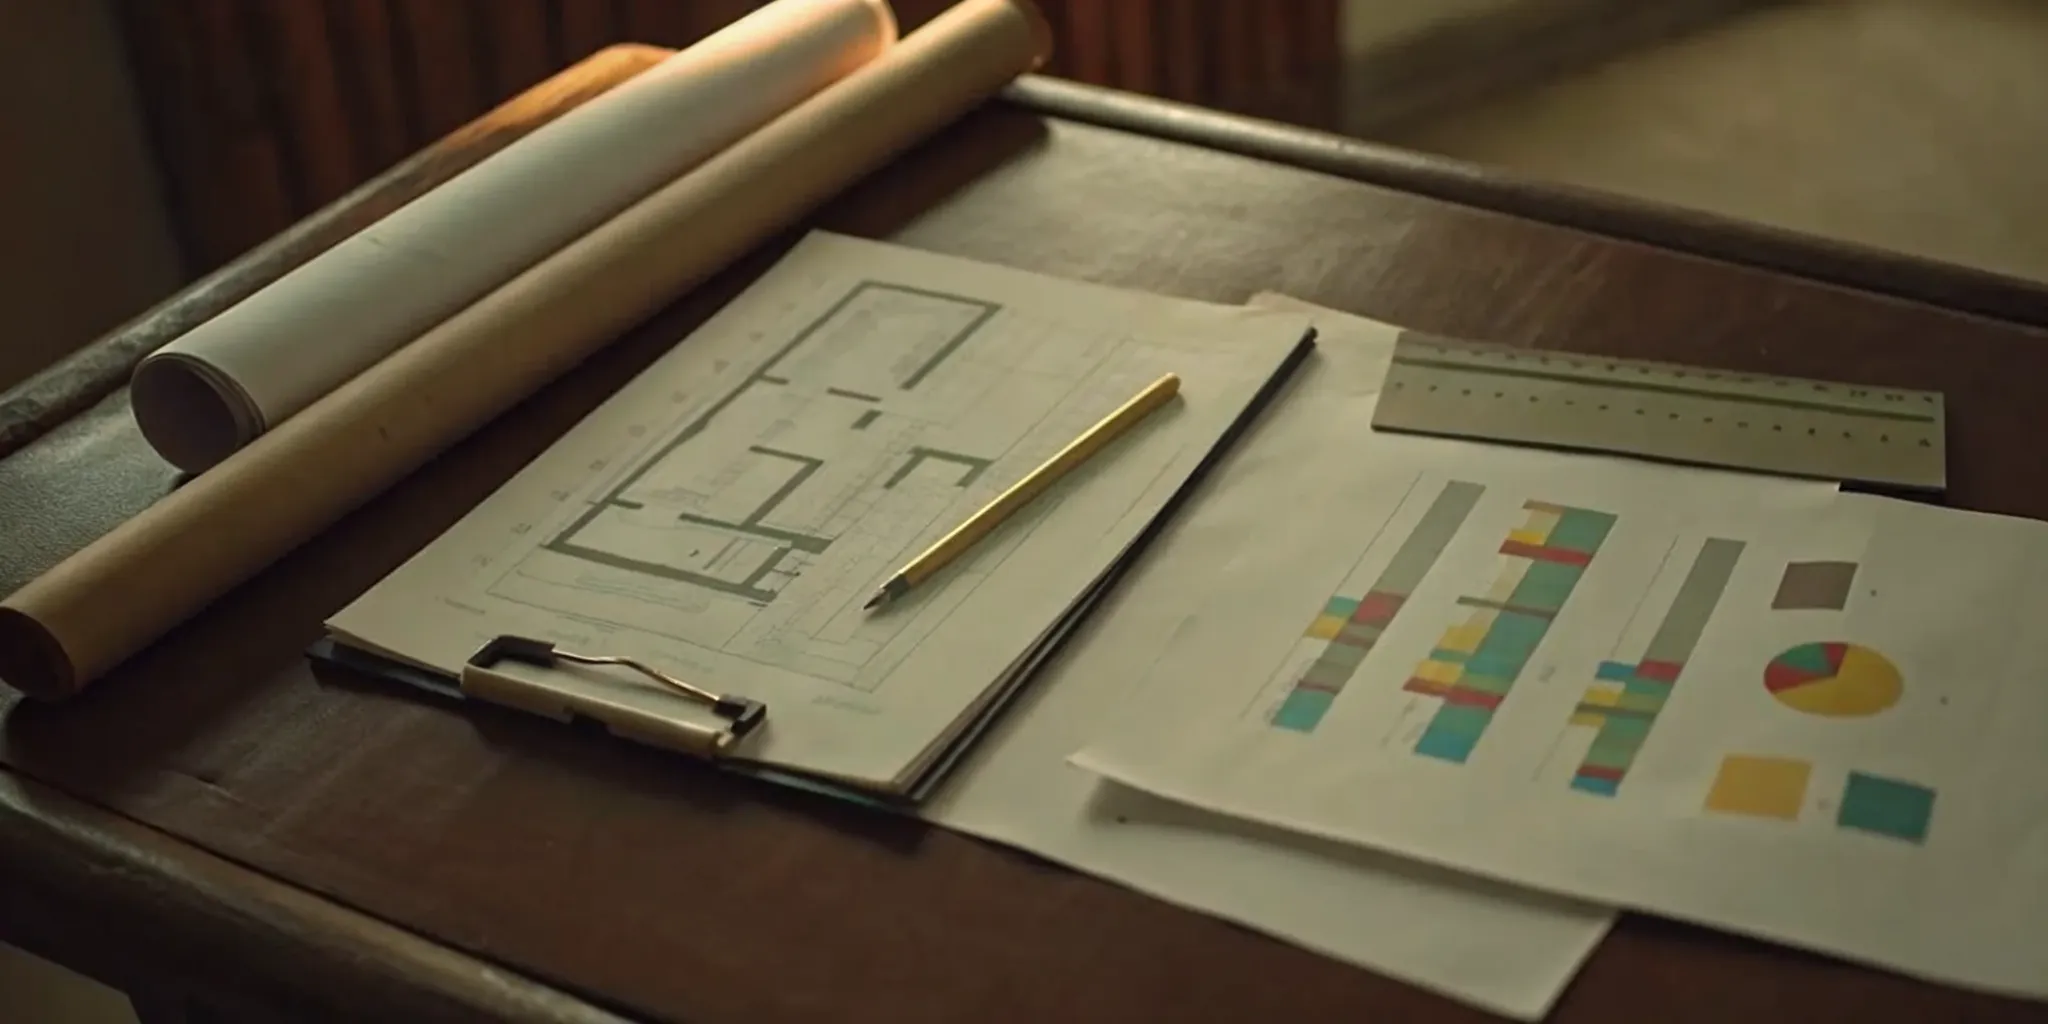
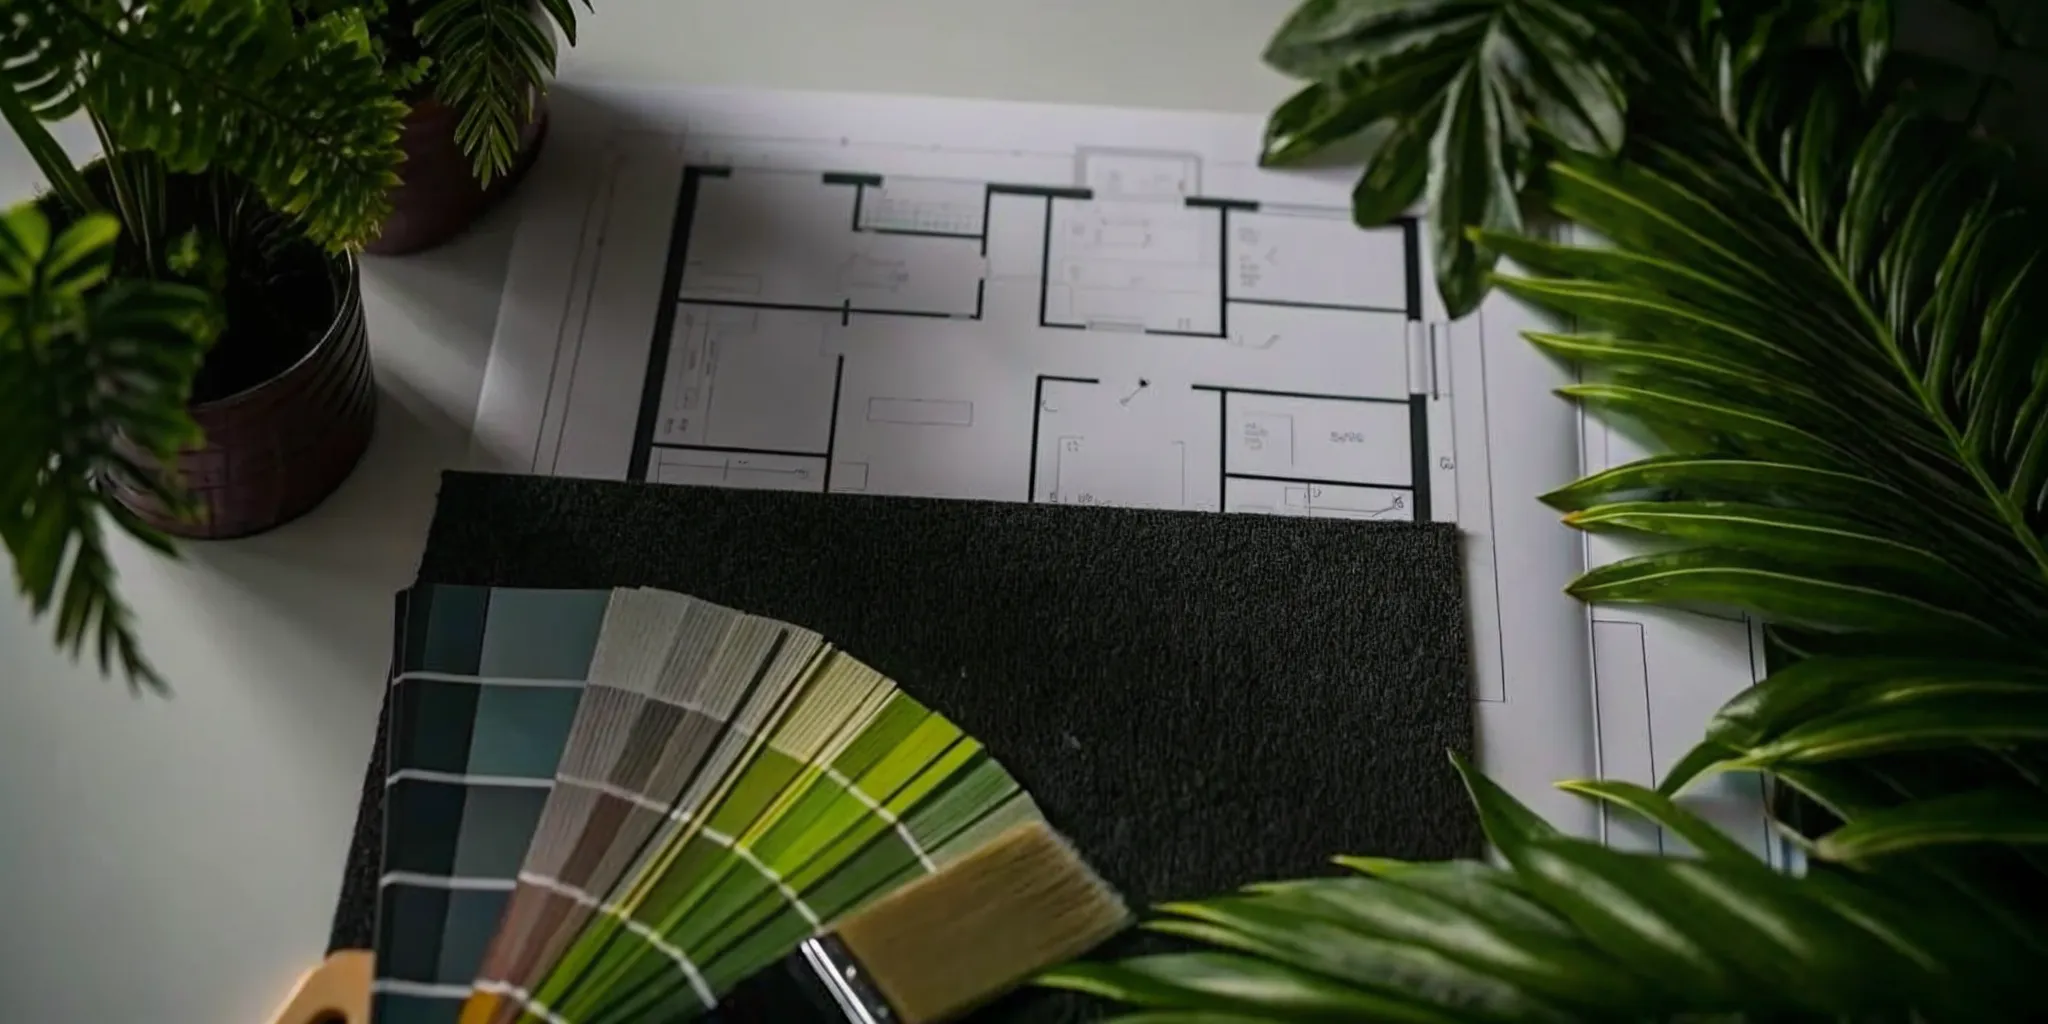
Finalize Your Architectural Plans
Your architectural plans are the official instruction manual for your renovation. They go beyond simple sketches to include precise measurements, structural details, and electrical and plumbing layouts. Before you sign off, review every single page with your designer or architect. Imagine yourself walking through the finished space. Does the layout flow? Are the outlets where you need them? Is there enough clearance for doors to open? Finalizing these plans creates a clear roadmap for your build team, ensuring everyone is working toward the exact same goal and minimizing the chance of expensive on-the-fly changes later.
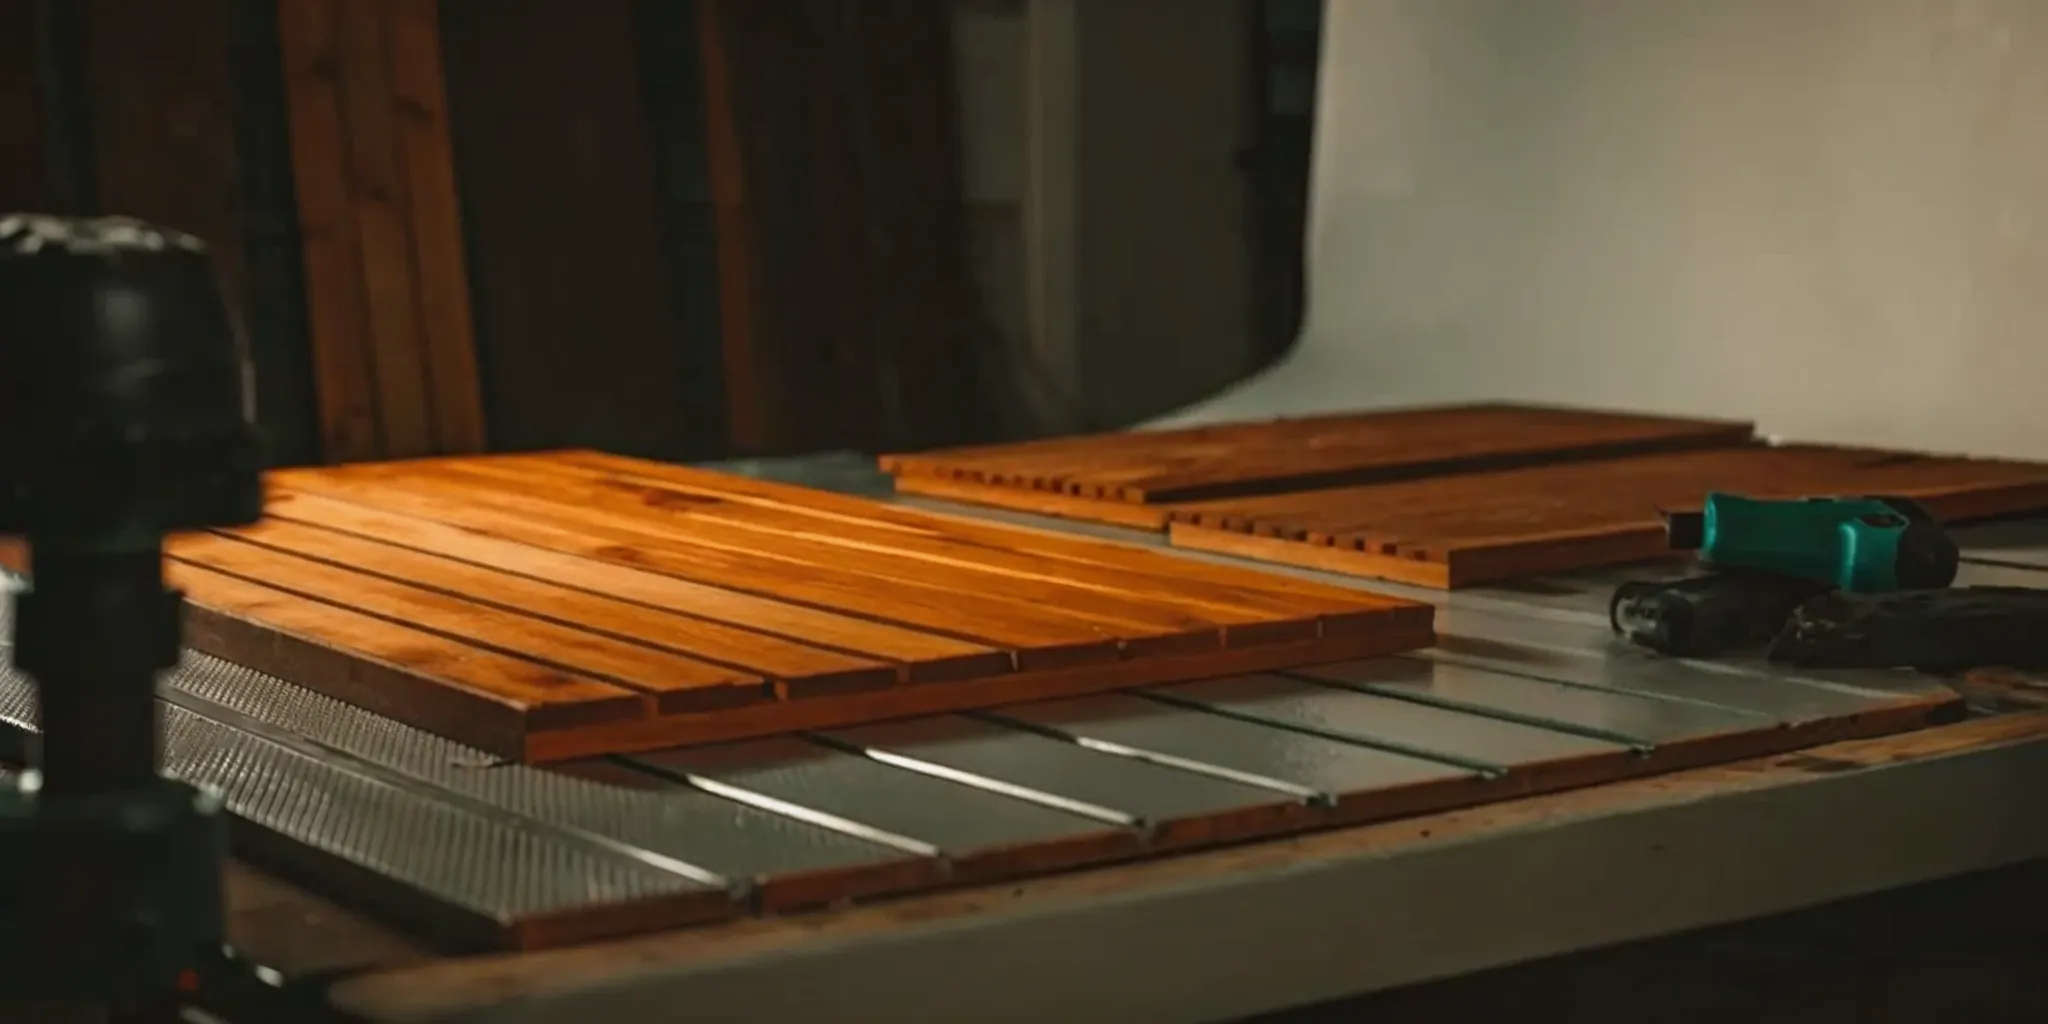
Select Materials, Fixtures, and Finishes
Now for the fun part: choosing the elements that will define your home’s new look and feel. When you select materials, think about the intersection of style, durability, and health. For instance, opting for low-VOC paints or sustainable flooring can create a healthier living environment. It’s crucial to make these decisions before construction begins. Confirming your choices for everything from tiles and countertops to faucets and light fixtures early helps your contractor place orders and build an accurate schedule. This simple step is one of the best ways to prevent the kind of supply chain delays that can derail a project timeline.
Create a Detailed Project Timeline
A successful renovation runs on a well-defined schedule. Work with your contractor to create a detailed project timeline that breaks the entire process down into phases, from demolition to the final walkthrough. This timeline should outline each major task, its expected duration, and how different stages depend on one another (for example, drywall can't go up until electrical and plumbing are inspected). This document is your guide for the entire project. It helps you understand what’s happening when, anticipate key milestones, and keep everyone accountable for staying on track.
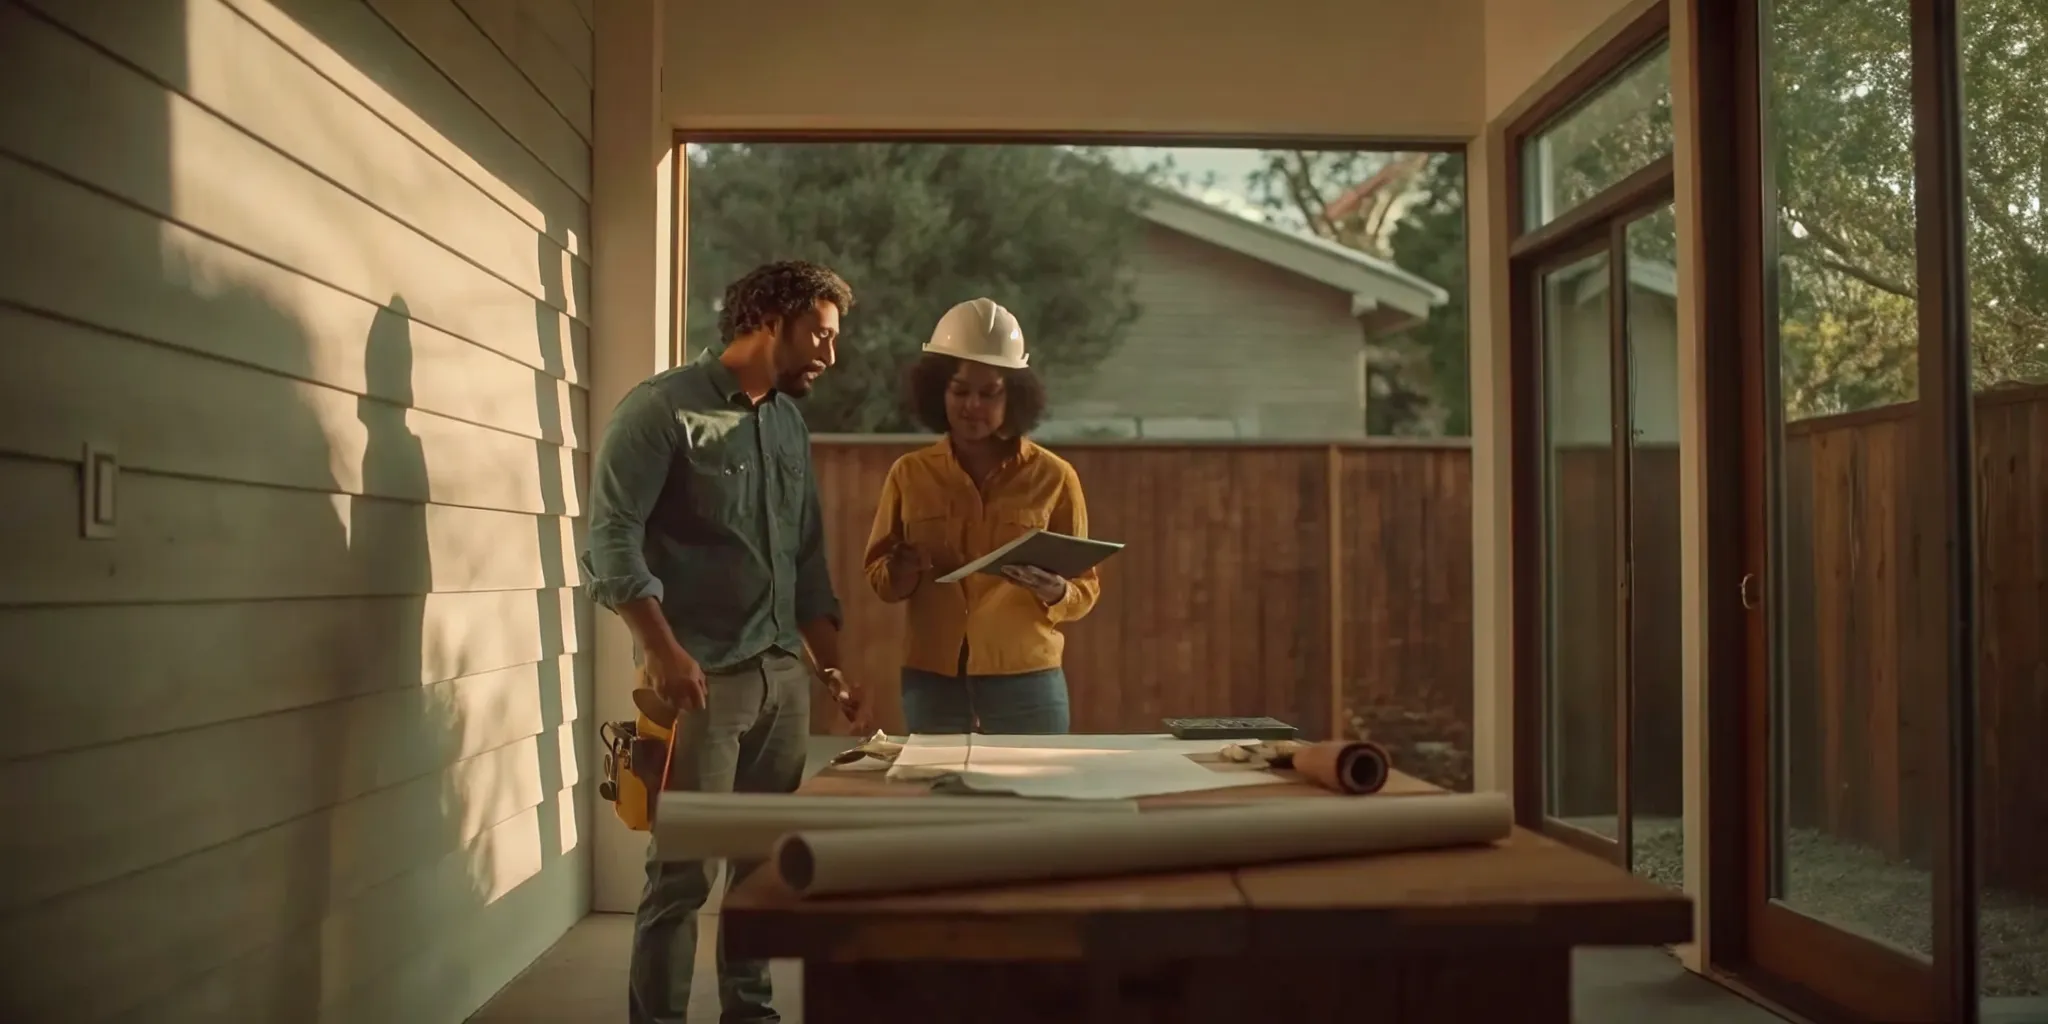
Coordinate With Your Renovation Team
Clear and consistent communication is the glue that holds a renovation project together. Establish a regular check-in schedule with your project manager or contractor, whether it’s a daily text or a weekly site meeting. Don’t hesitate to ask questions or voice concerns as they come up. Working with a team of vetted professionals who understand local building codes and requirements is essential, as they can anticipate potential issues before they become problems. Openly talking with your team ensures that everyone is aligned and allows you to address any challenges collaboratively and efficiently.
Your Checklist for the Construction Phase
This is where the magic happens. After all the planning, budgeting, and designing, you finally get to see your vision start to take shape. The construction phase can feel like a whirlwind, but it follows a logical sequence of events. Think of it as building from the inside out—starting with the structural bones, moving to the essential systems behind the walls, and finishing with the beautiful surfaces you’ll see and touch every day. Your role during this time is to stay informed and communicate clearly with your team, ensuring the project stays on track and meets your standards. Let’s walk through the key steps.
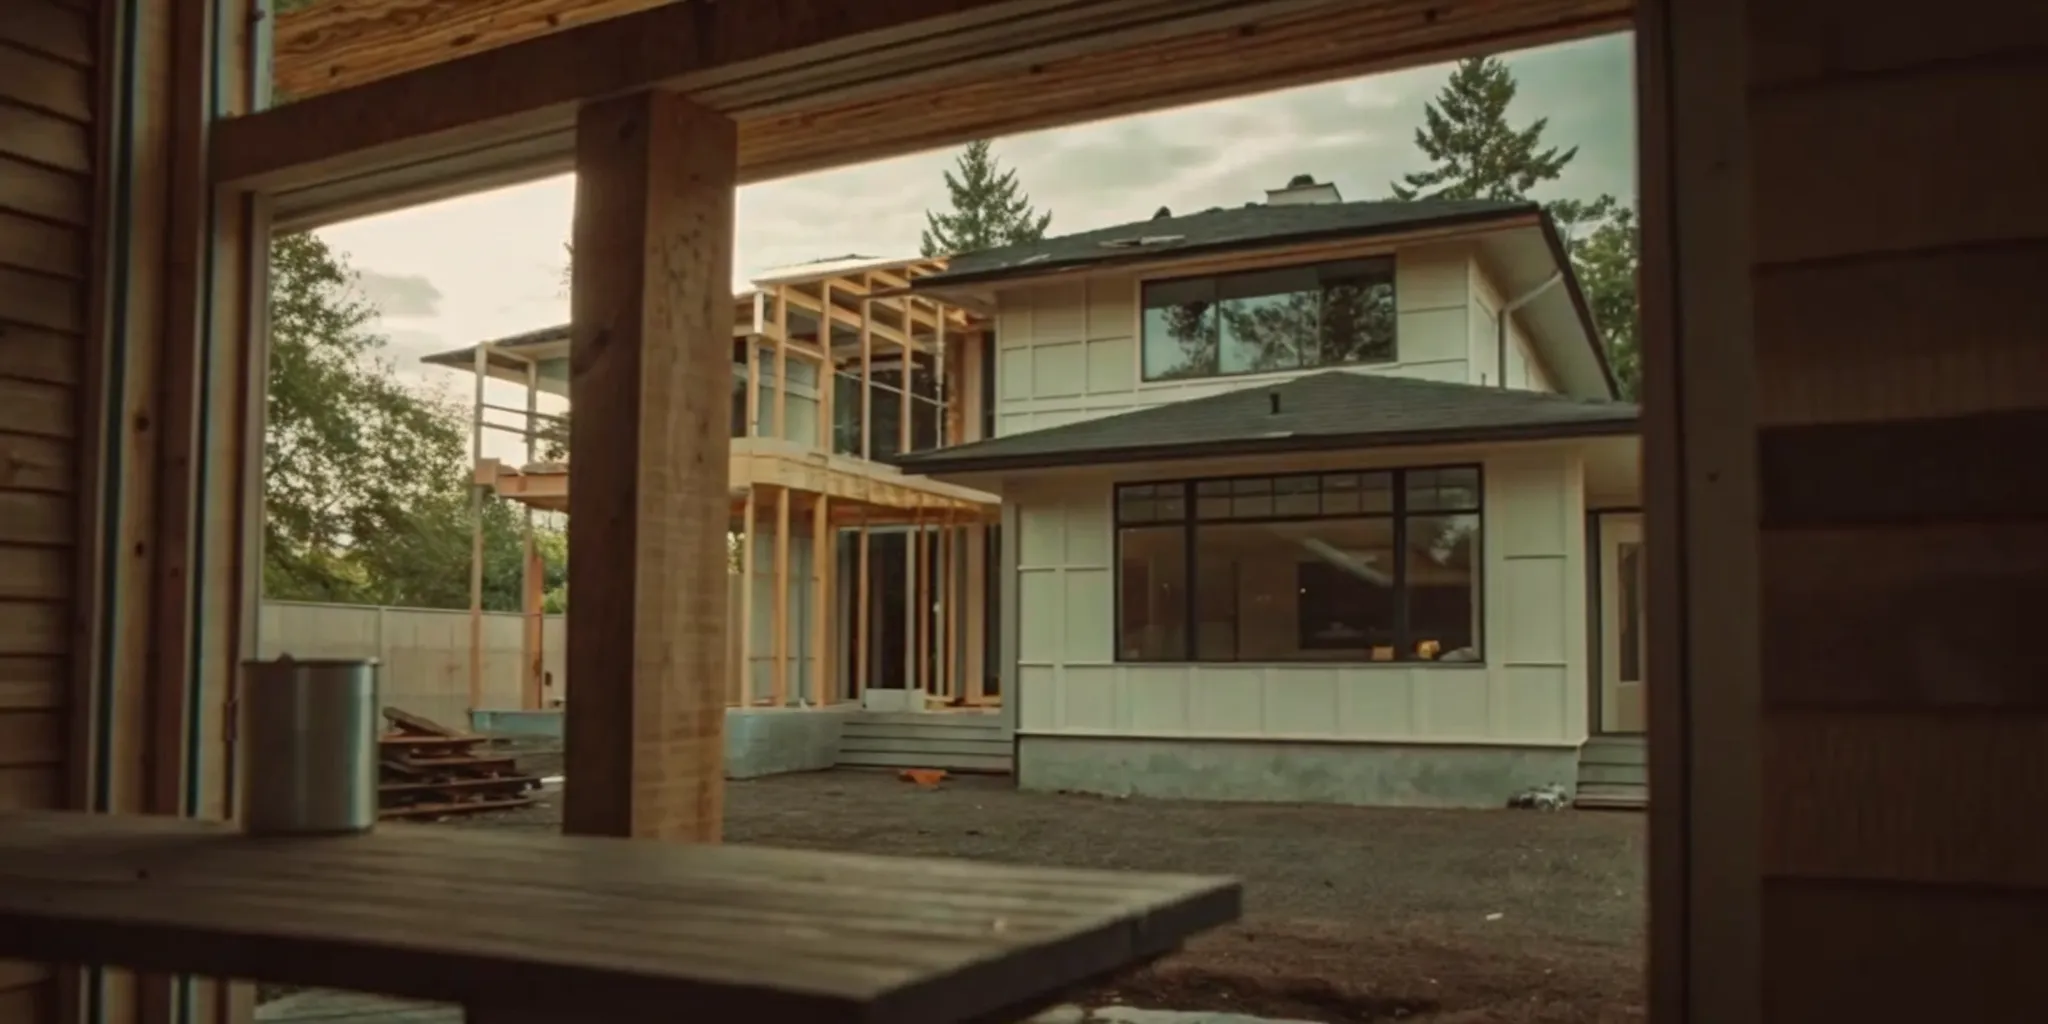
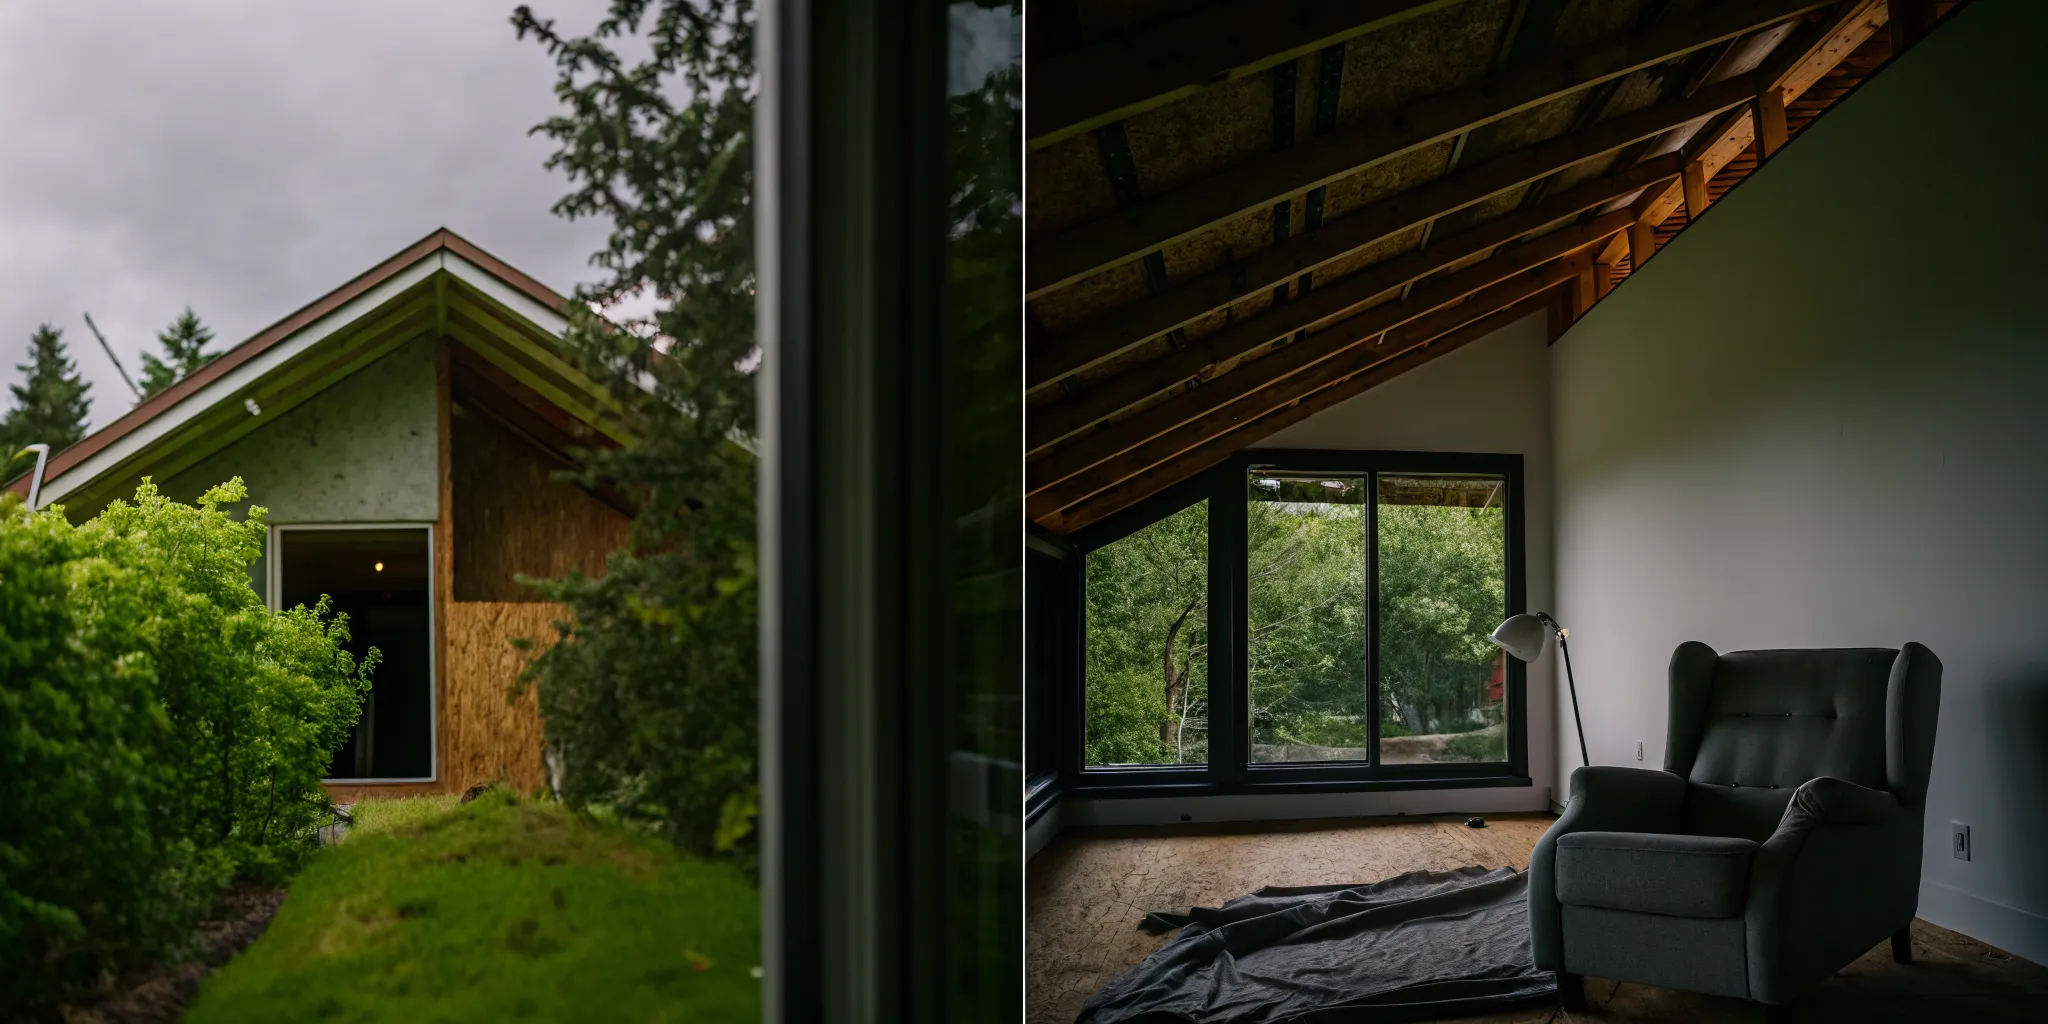
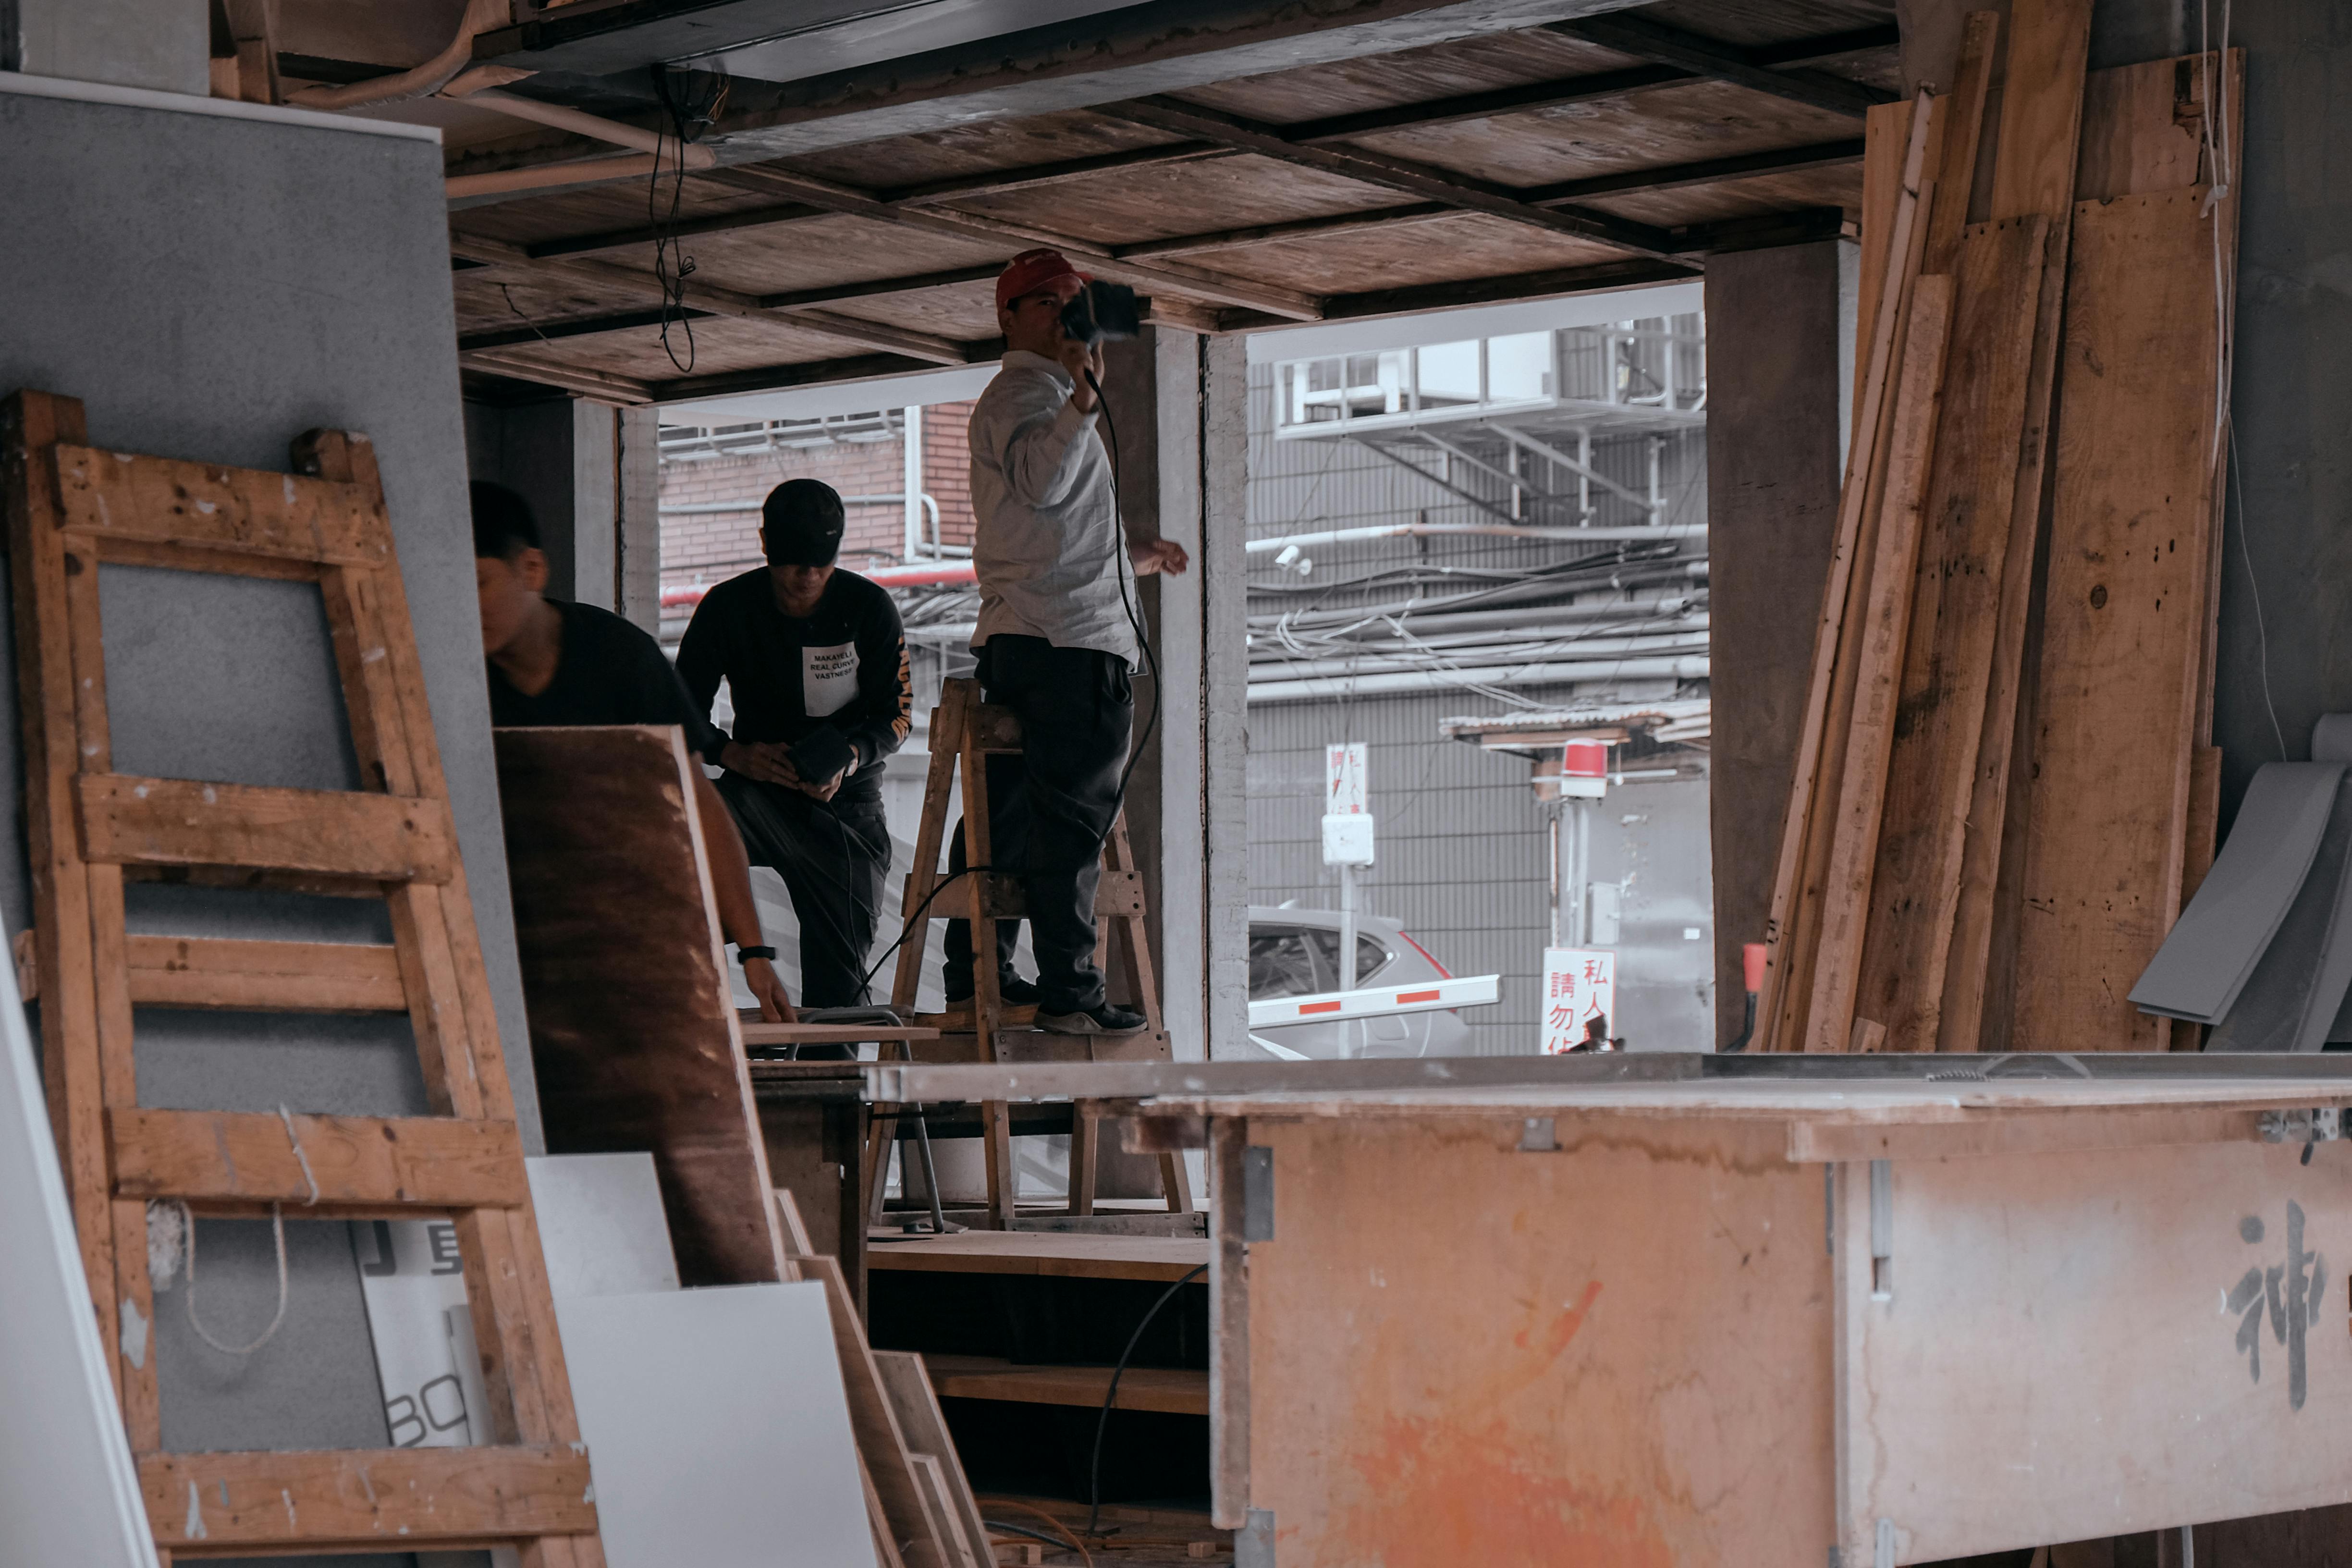
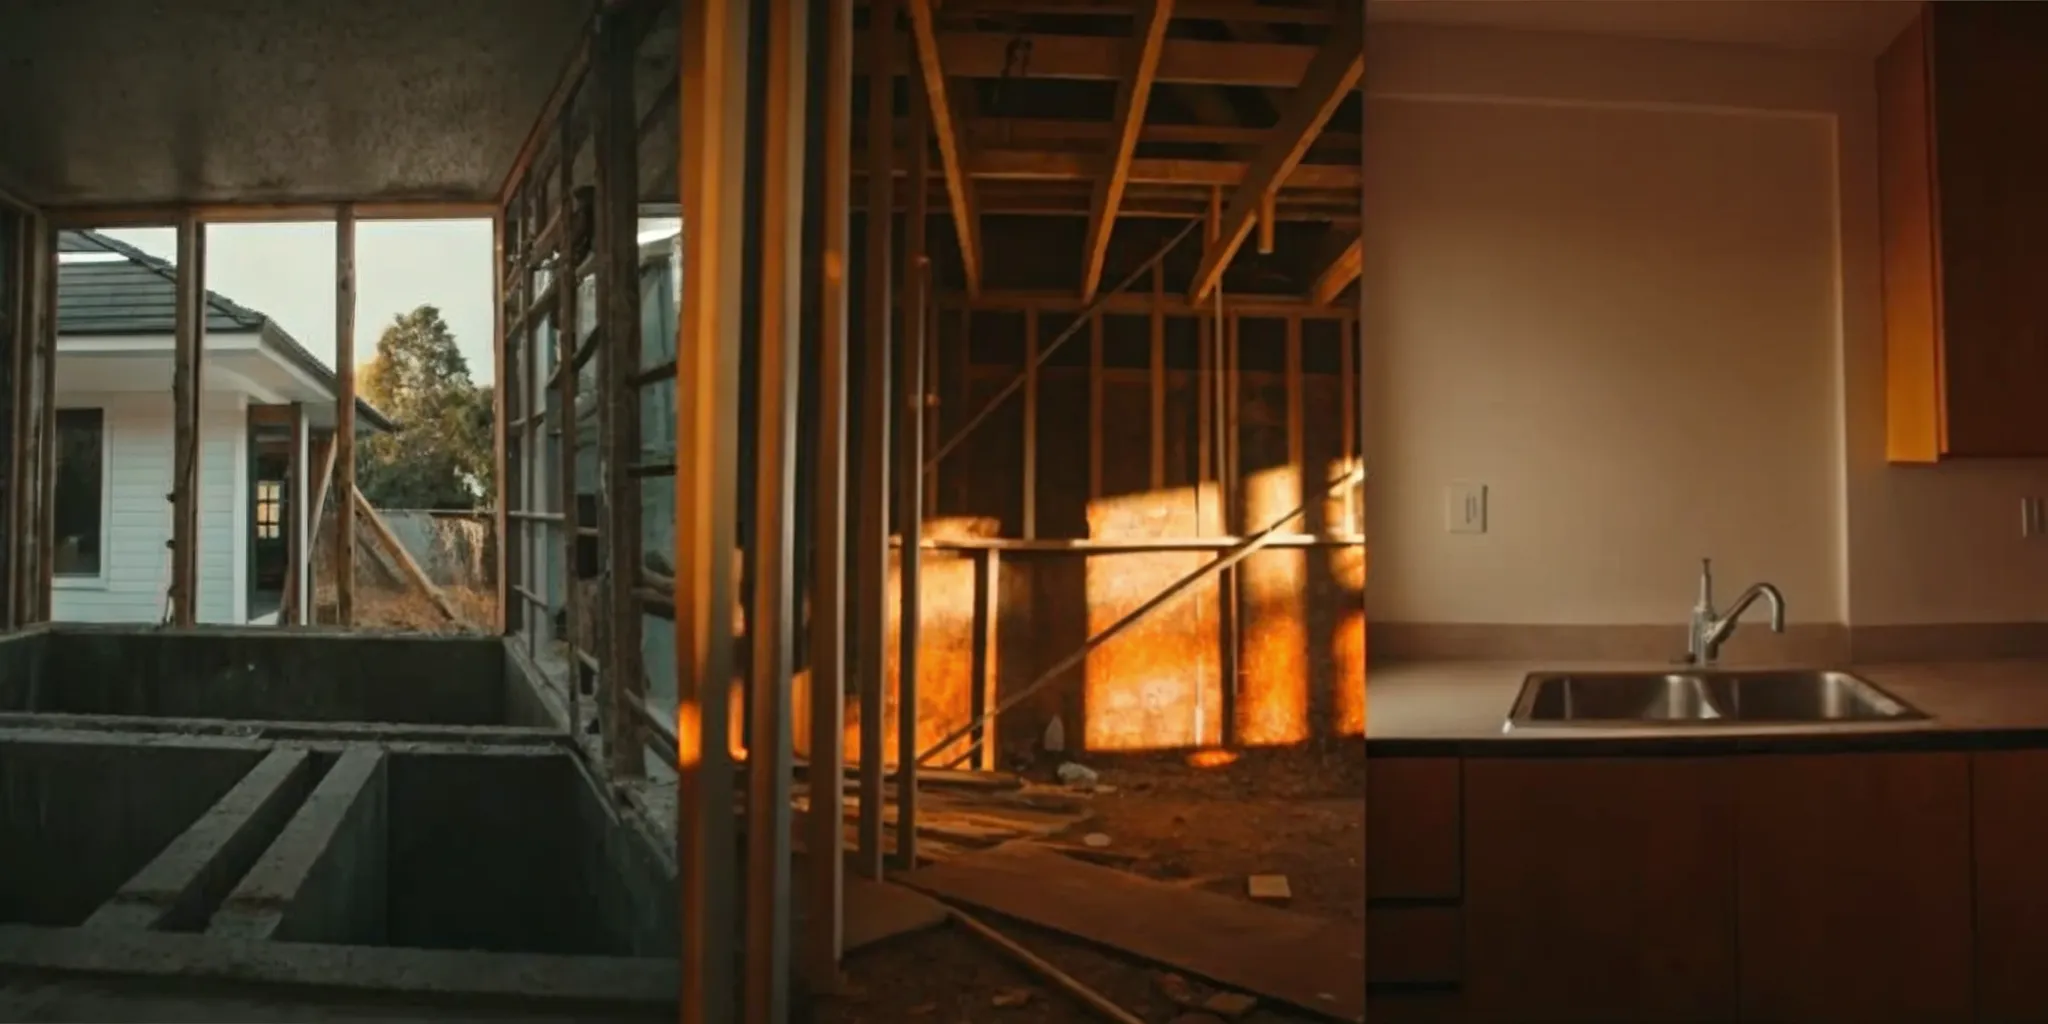
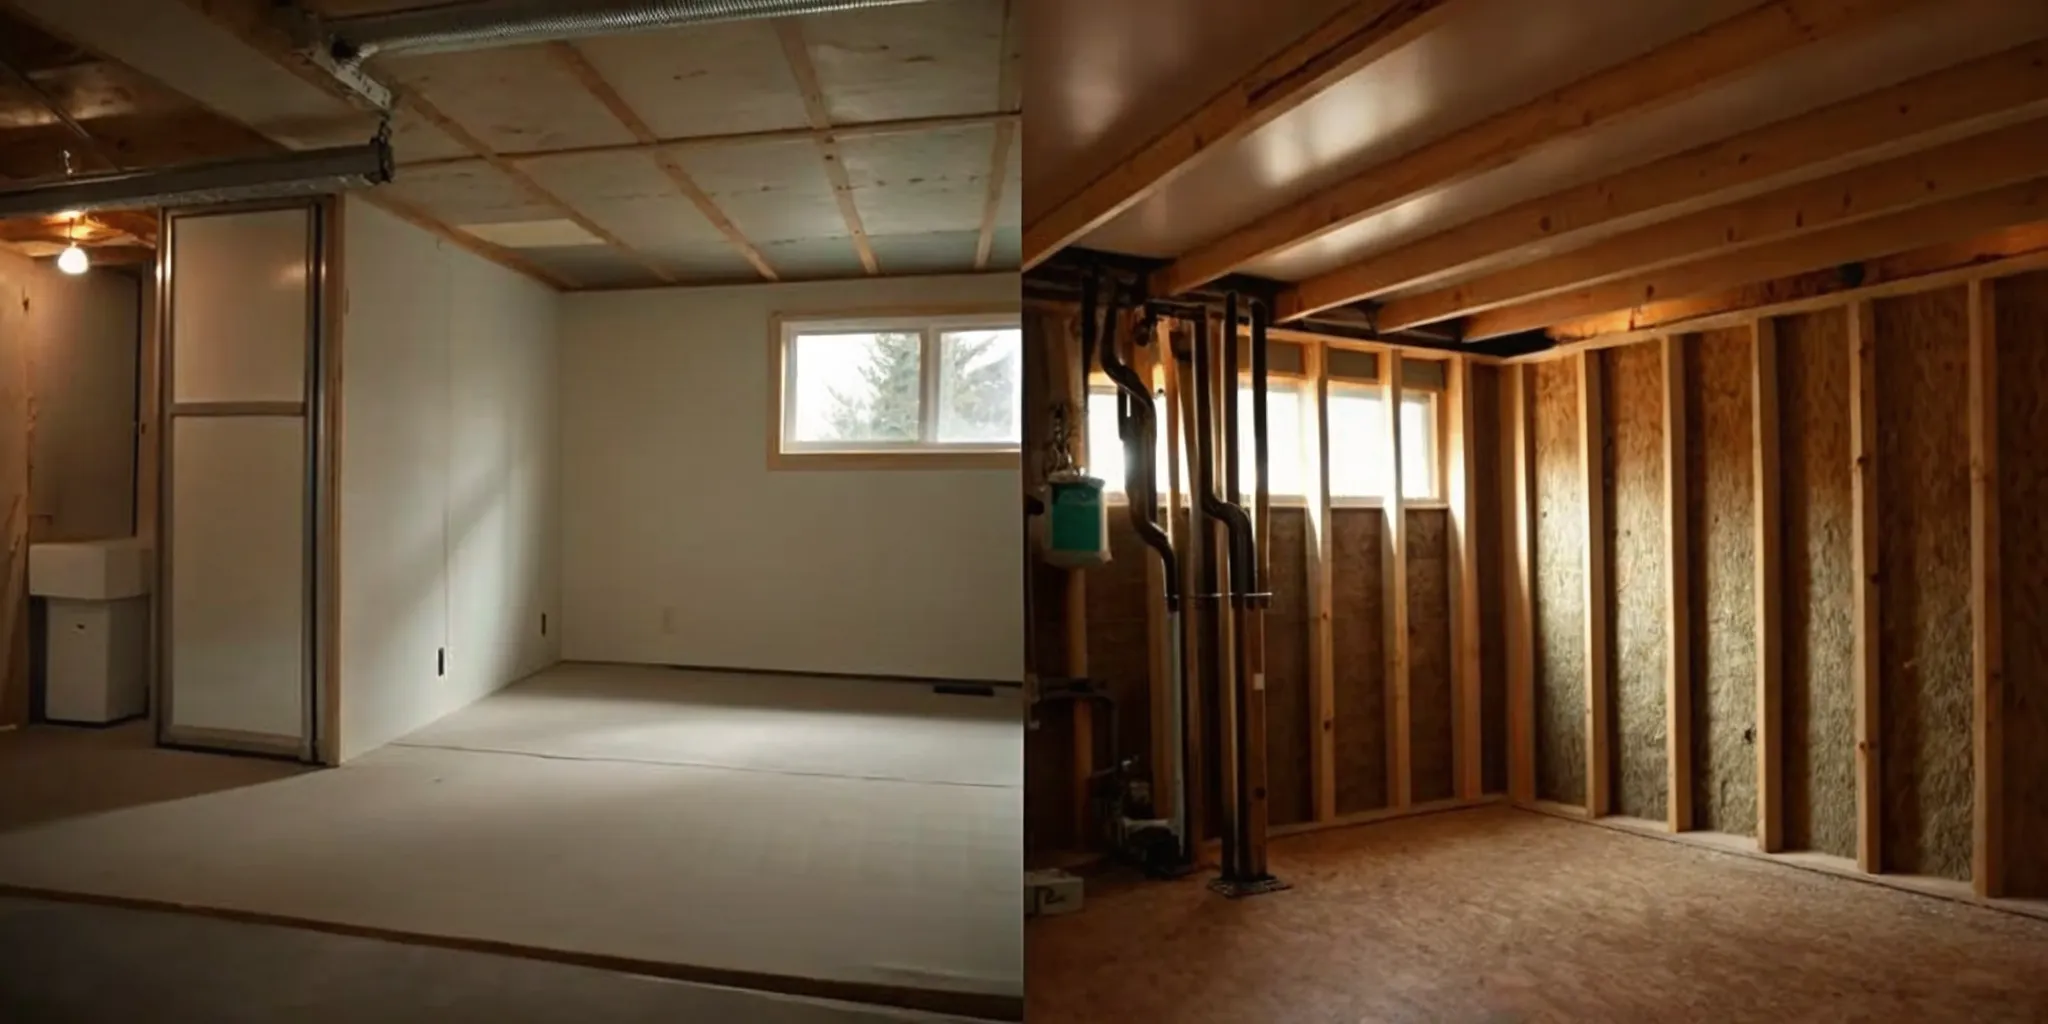
Demolition and Structural Work
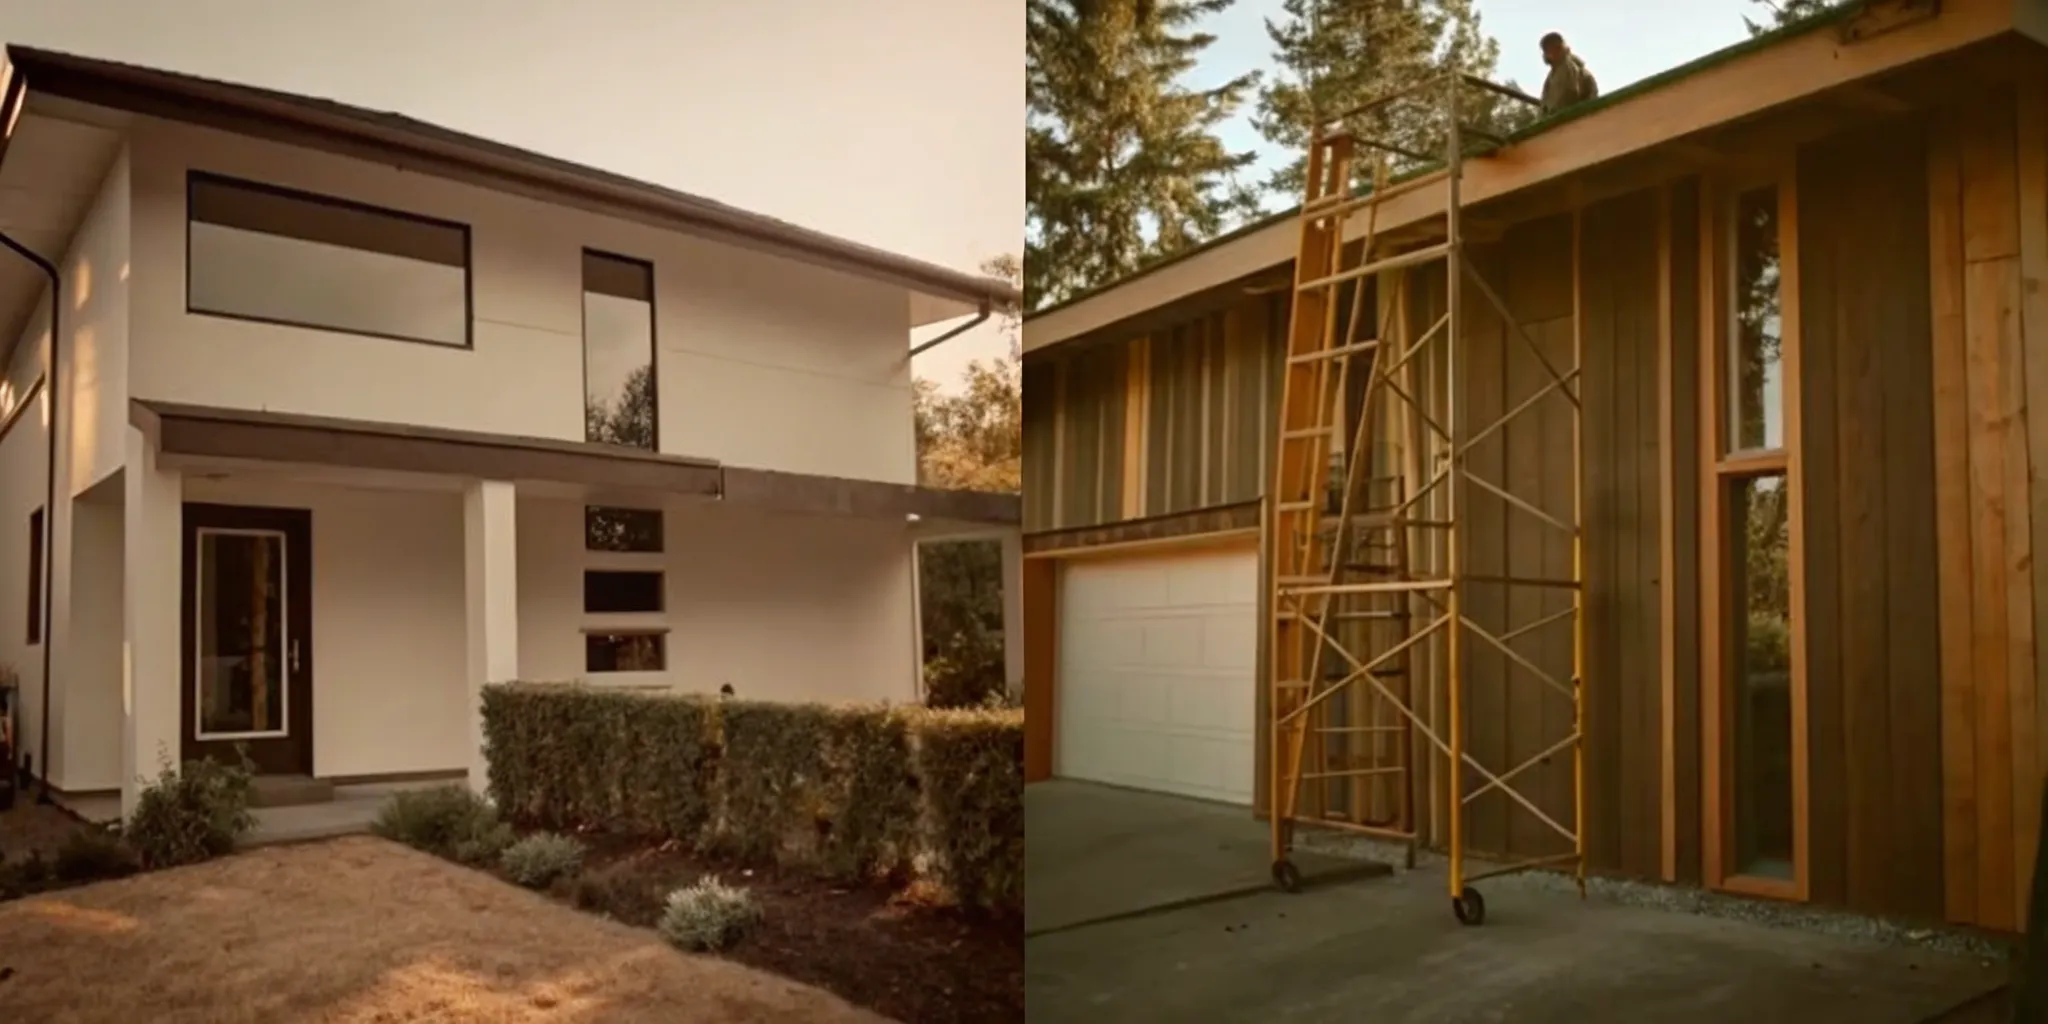
Before you can build up, you have to tear down. The first step in construction is demolition, which involves clearing out the old to make way for the new. This is when old flooring gets pulled up, dated cabinets are removed, and non-essential walls come down. While it can look chaotic, it’s a necessary and exciting part of the process. Once the space is cleared, your contractor will focus on any structural work. This is the time to address the home’s core integrity, including the foundation, framing, and load-bearing walls. To protect all the work to come, the crew will also make the home weathertight by installing new windows, doors, and any necessary roofing or siding.
Electrical, Plumbing, and HVAC Installation
With the structure sound and the old materials gone, it’s time to work on the systems that make your home functional. This stage is often called the "rough-in," and it involves installing all the hidden components that run behind your walls, floors, and ceilings. This includes all the new electrical wiring, plumbing pipes, and HVAC ducts. While you won’t see this work once the drywall is up, getting it right is absolutely critical for the safety and comfort of your home. This is one area where hiring vetted professionals is essential, as they will ensure everything is installed correctly and up to code before the walls are closed up.
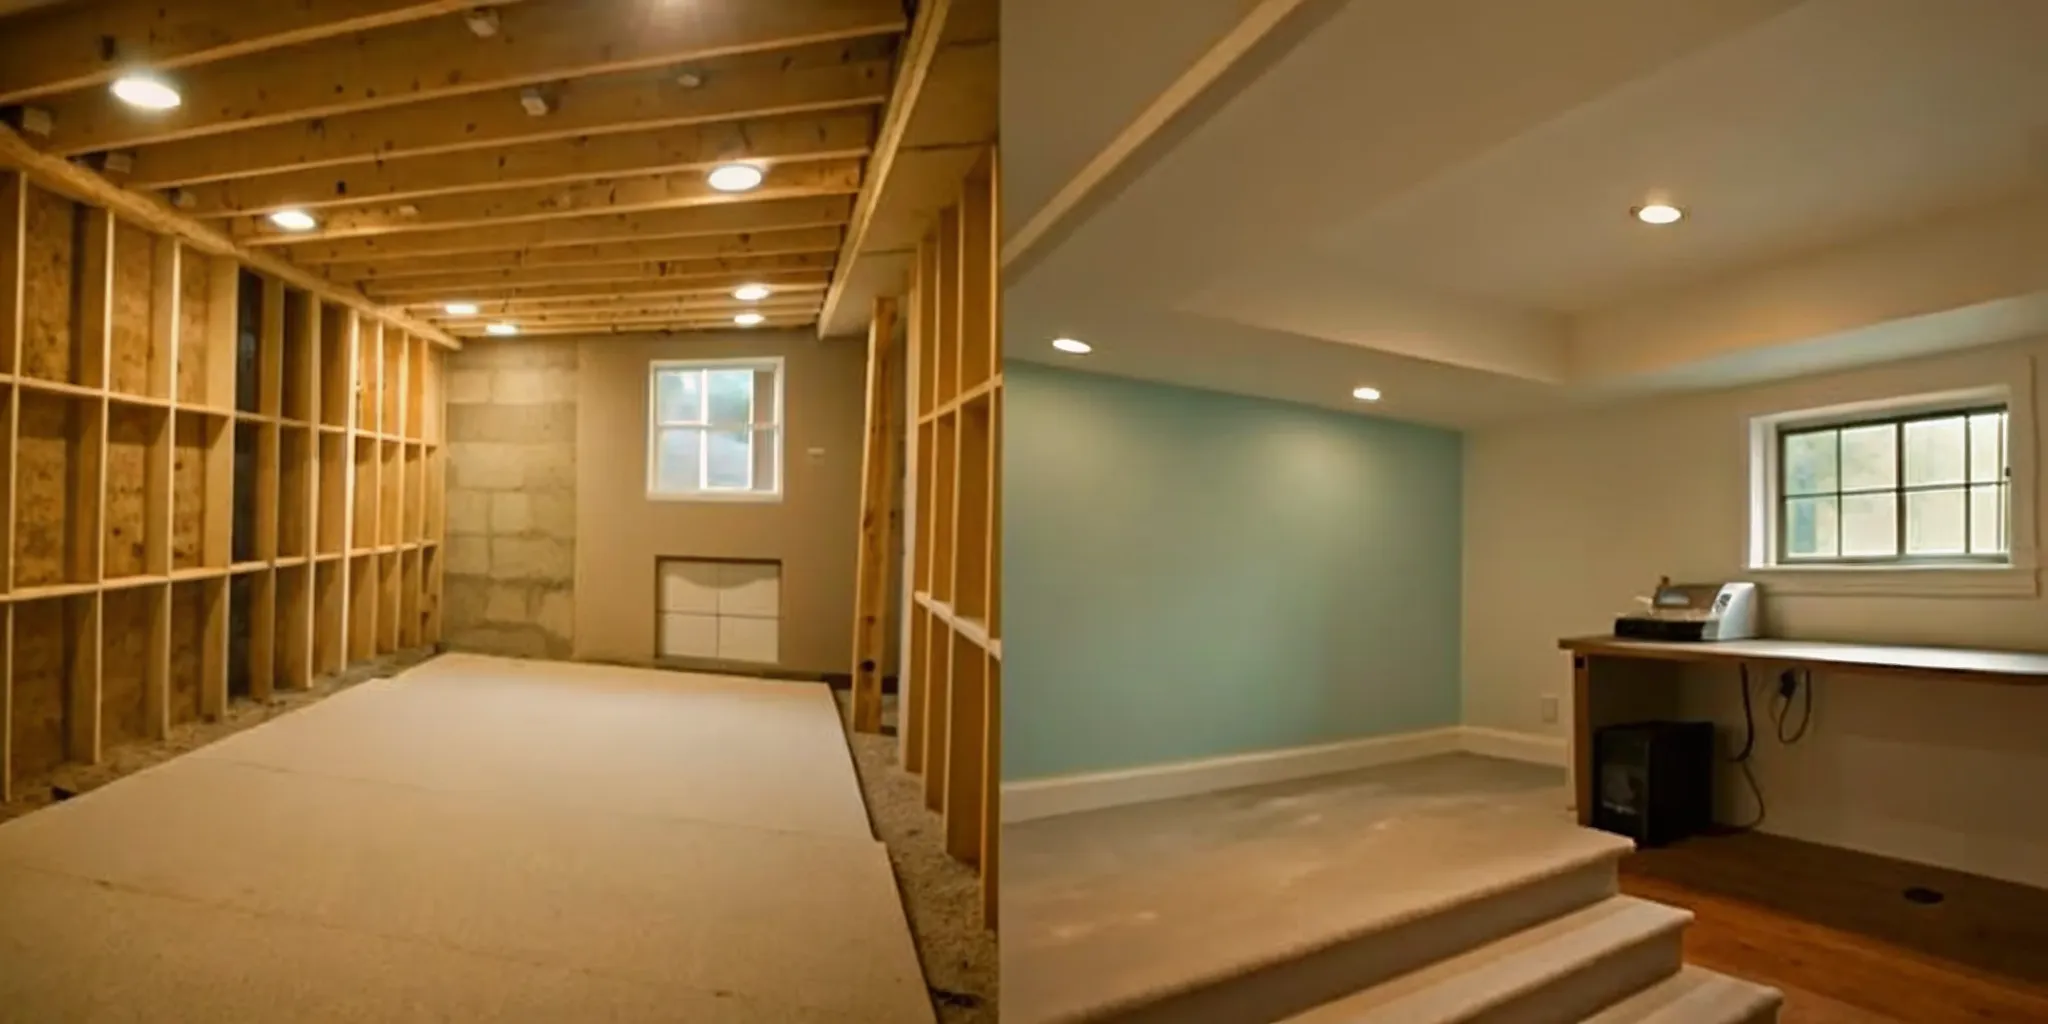
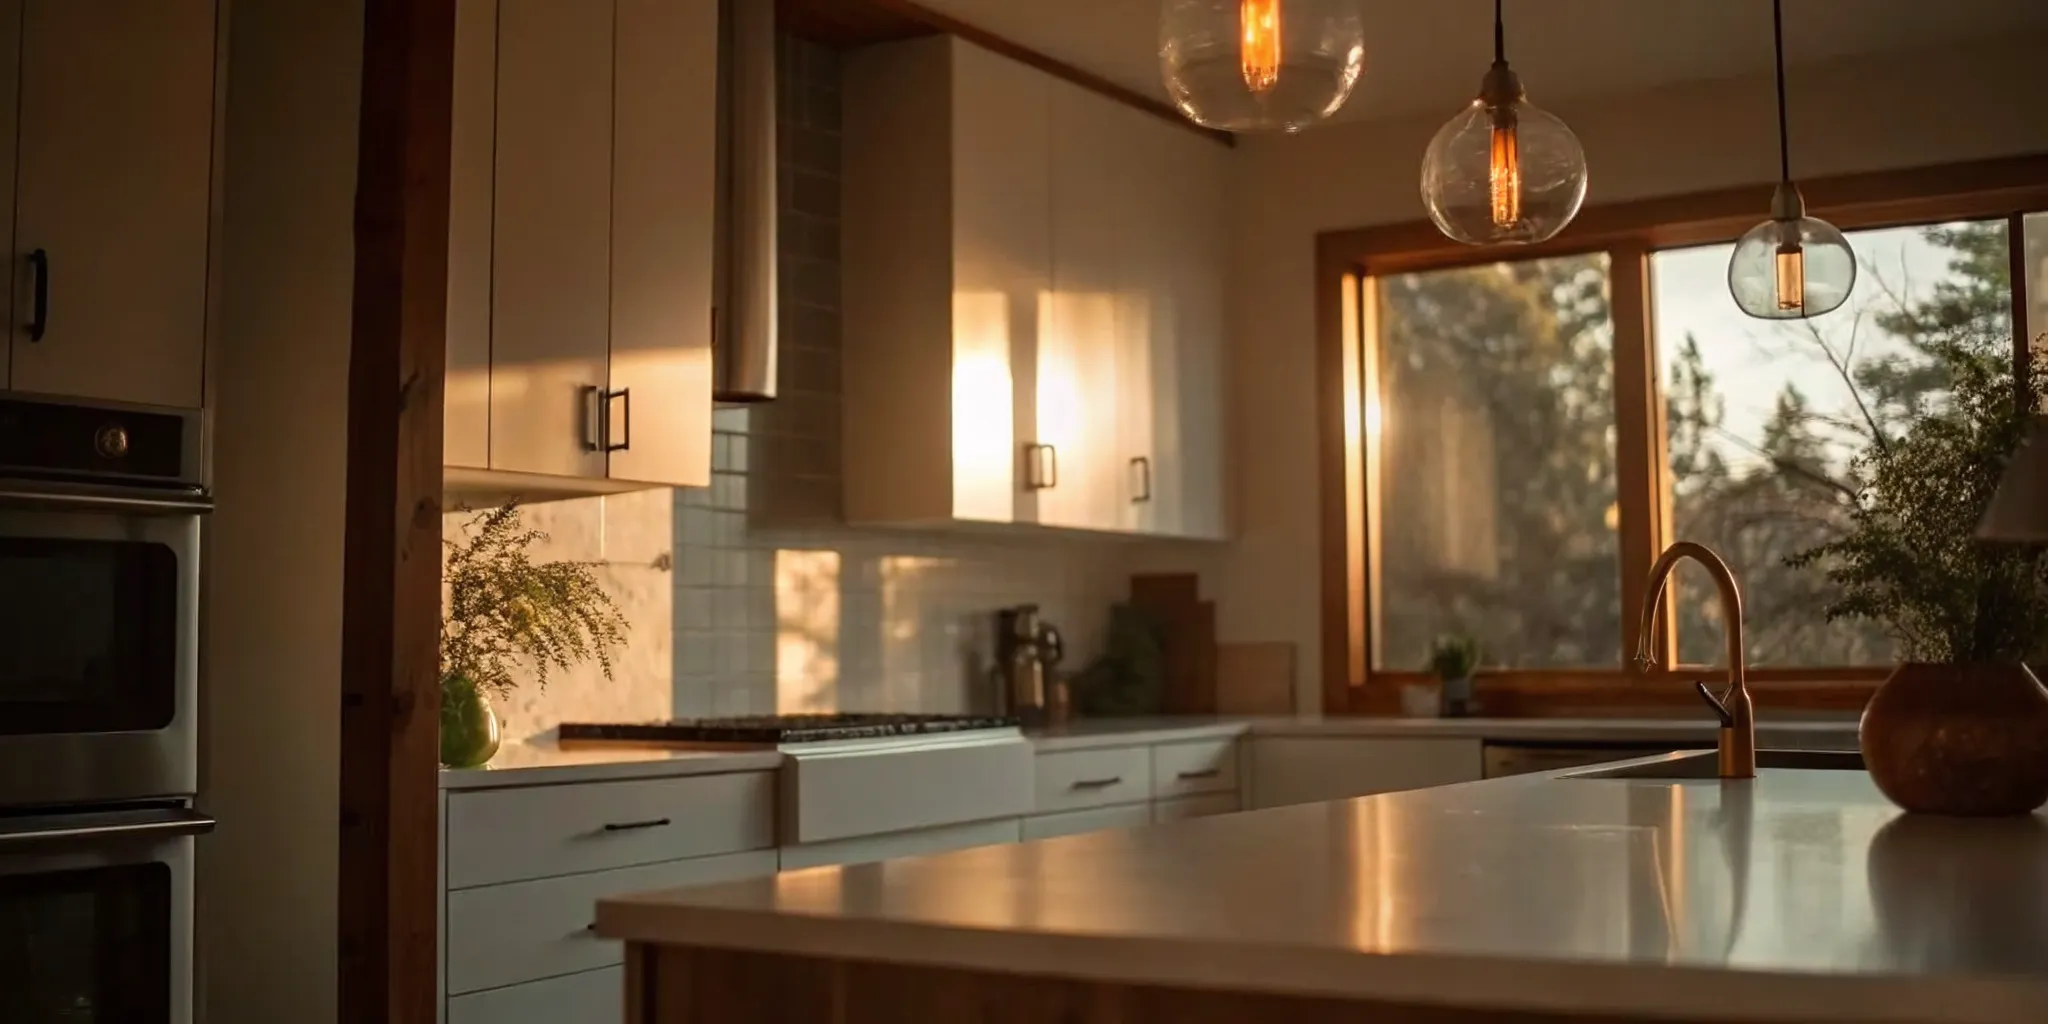
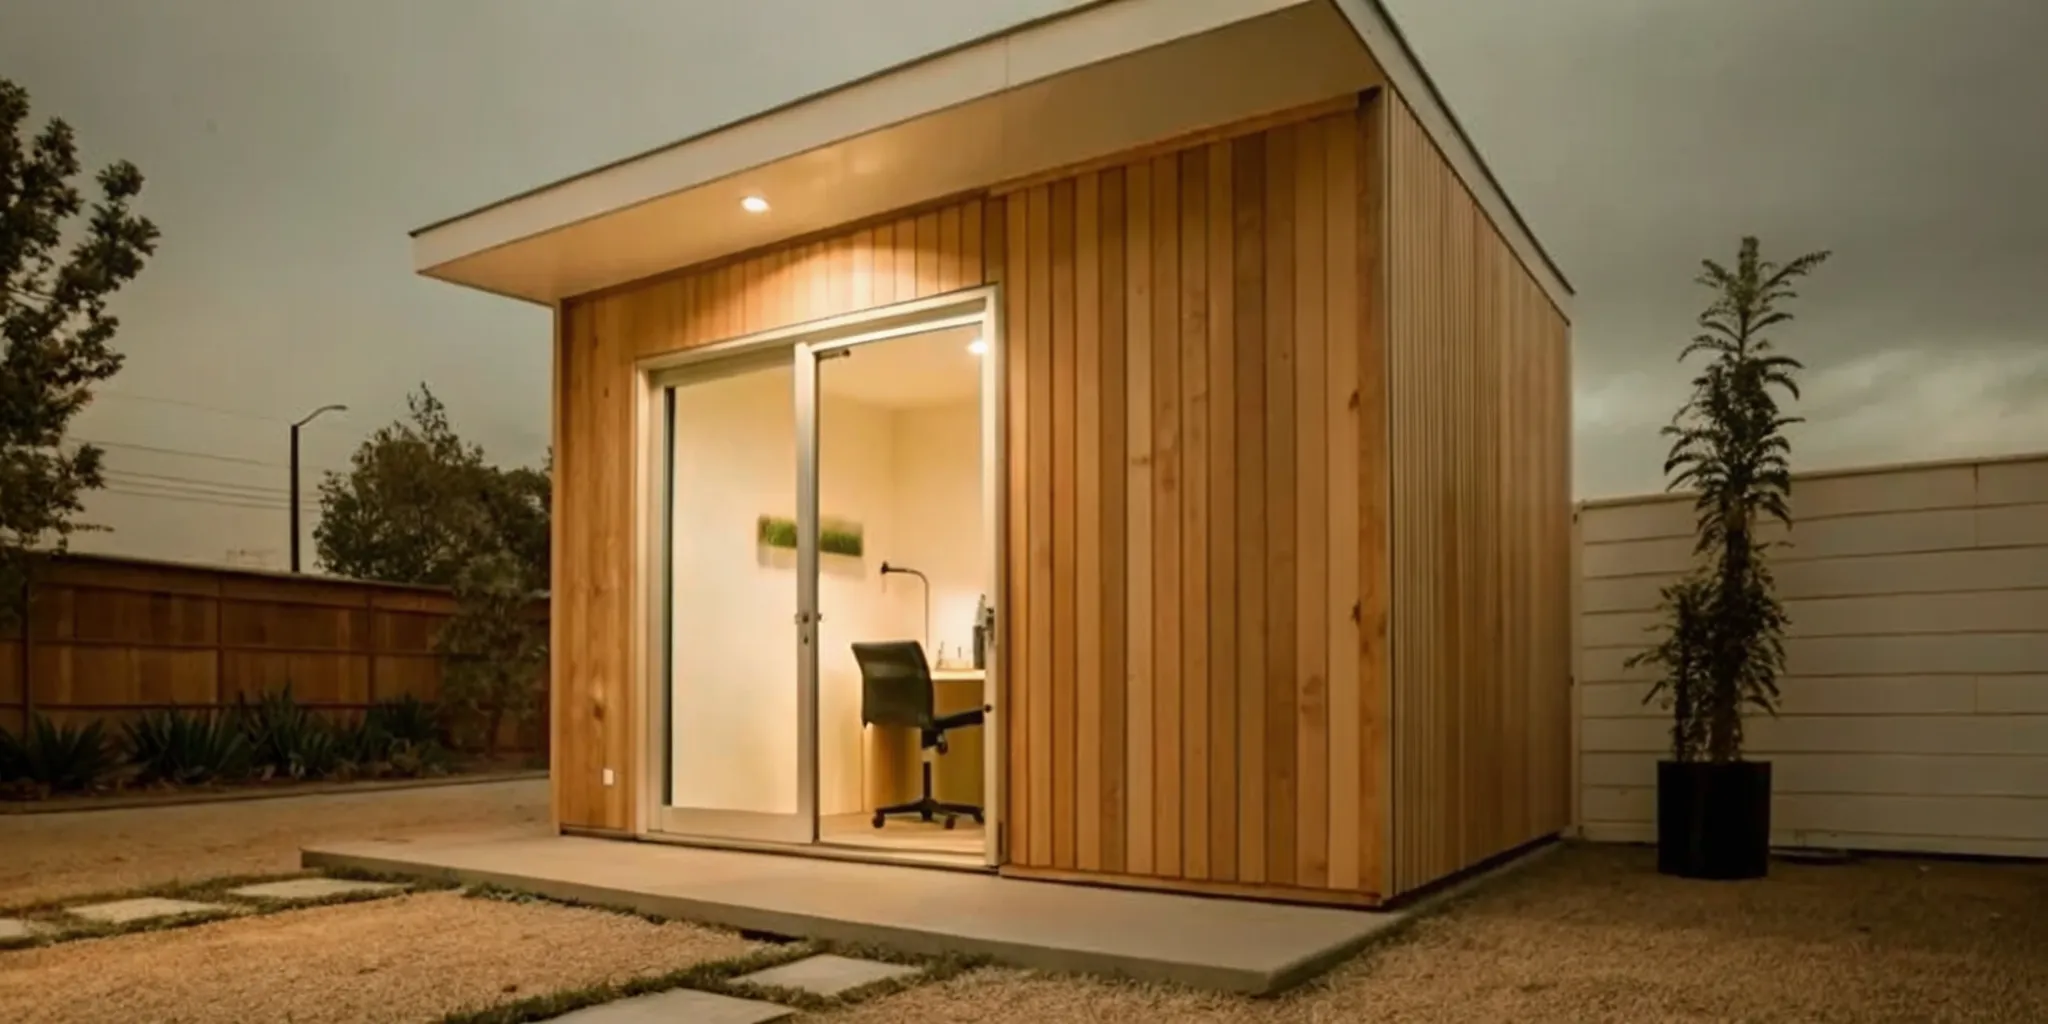
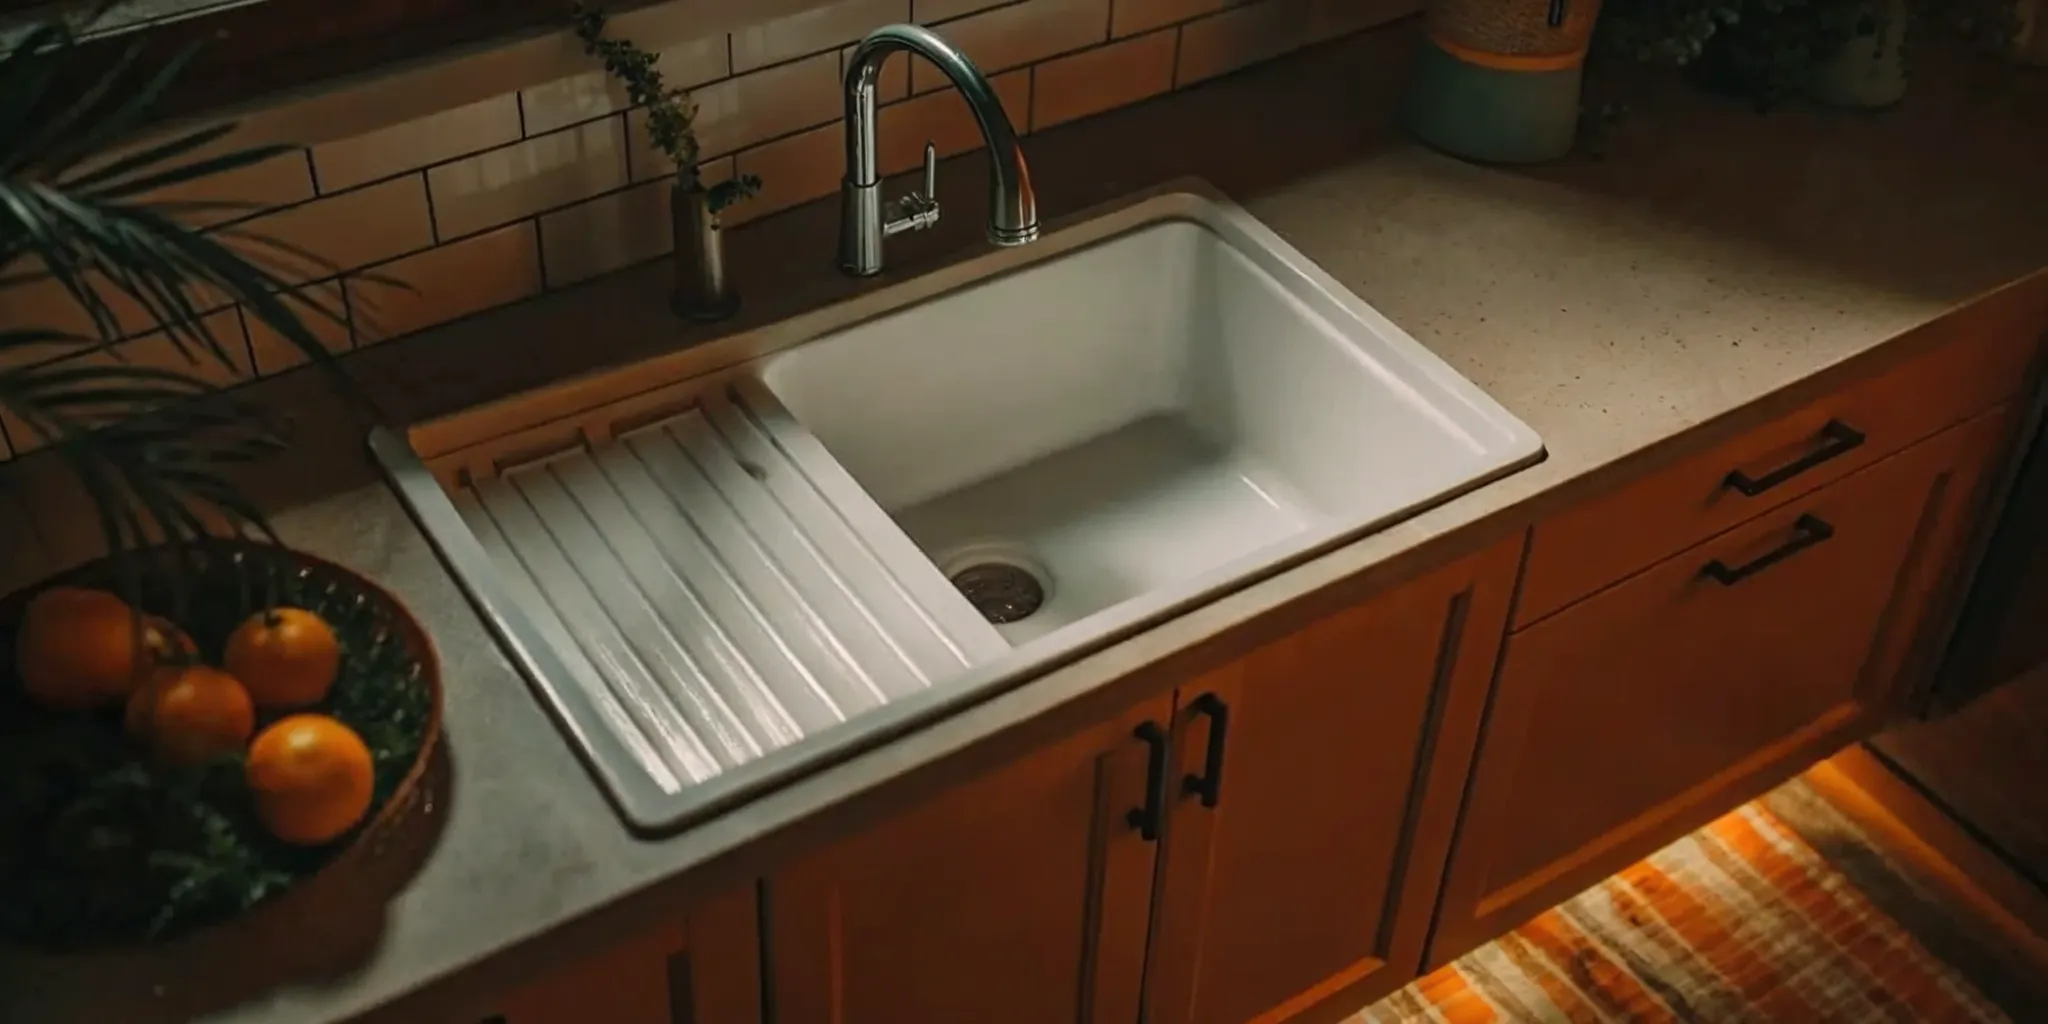
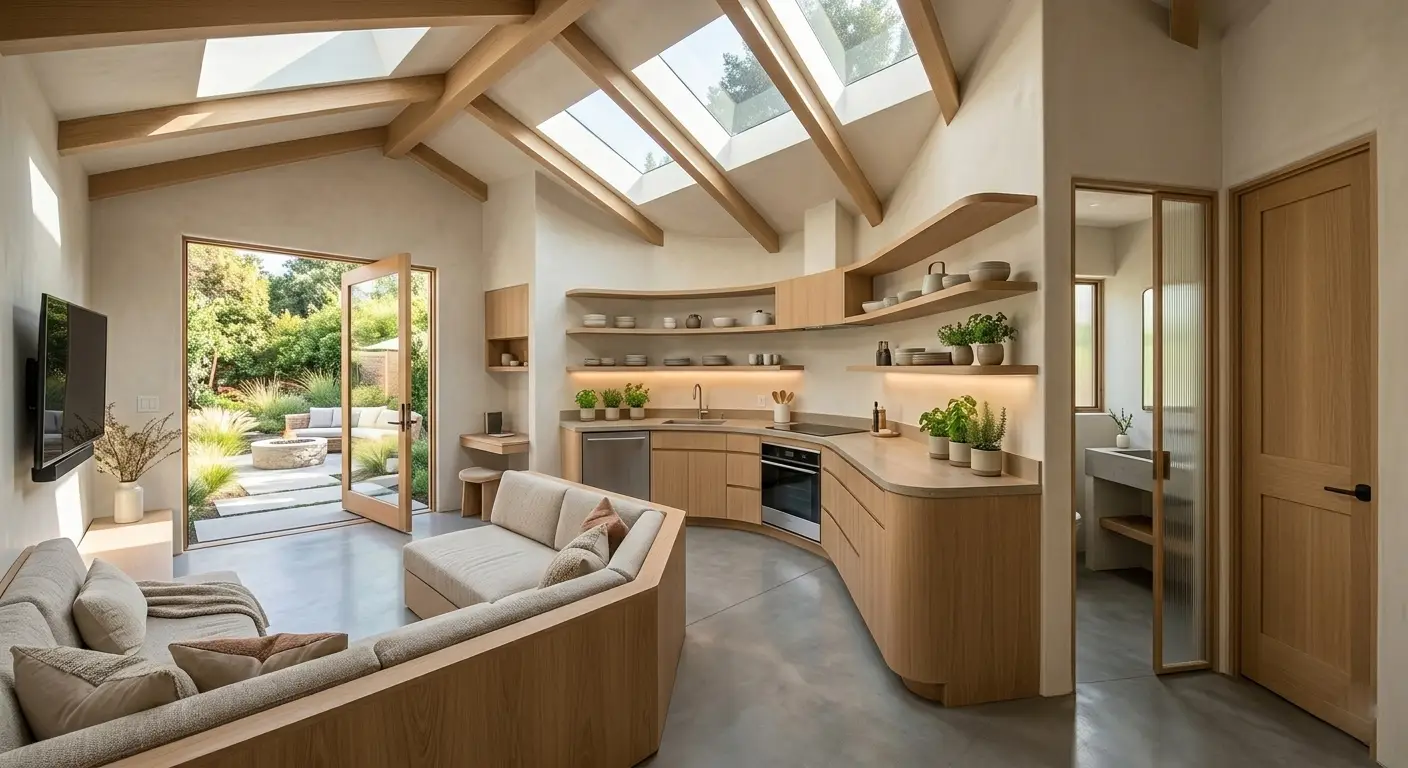
Flooring, Painting, and Final Touches
Now for the fun part—seeing the personality of your home come to life. Once the drywall is up, taped, and sanded, the finishing work begins. Typically, your crew will start with painting the walls, ceilings, and trim. Doing this first prevents accidental drips on your brand-new floors. Next, the flooring is installed, whether you’ve chosen hardwood, tile, or carpet. Finally, it’s time for the finishing touches that complete the look. This includes installing cabinet hardware, light fixtures, outlet covers, backsplashes, and vents. These small details make a huge impact and are the last step before the space is truly yours.
Monitor Progress and Check for Quality
Throughout construction, it’s important to stay engaged without micromanaging your crew. The best way to do this is through clear communication. Schedule regular check-ins with your contractor to walk through the site, ask questions, and see the progress firsthand. A dedicated advisor can make this process much smoother by handling the day-to-day coordination, which is a core part of how Realm works. As the project nears completion, you’ll do a final walkthrough with your contractor to create a "punch list." This is simply a list of any small fixes or adjustments needed before you give your final approval and sign off on the project.
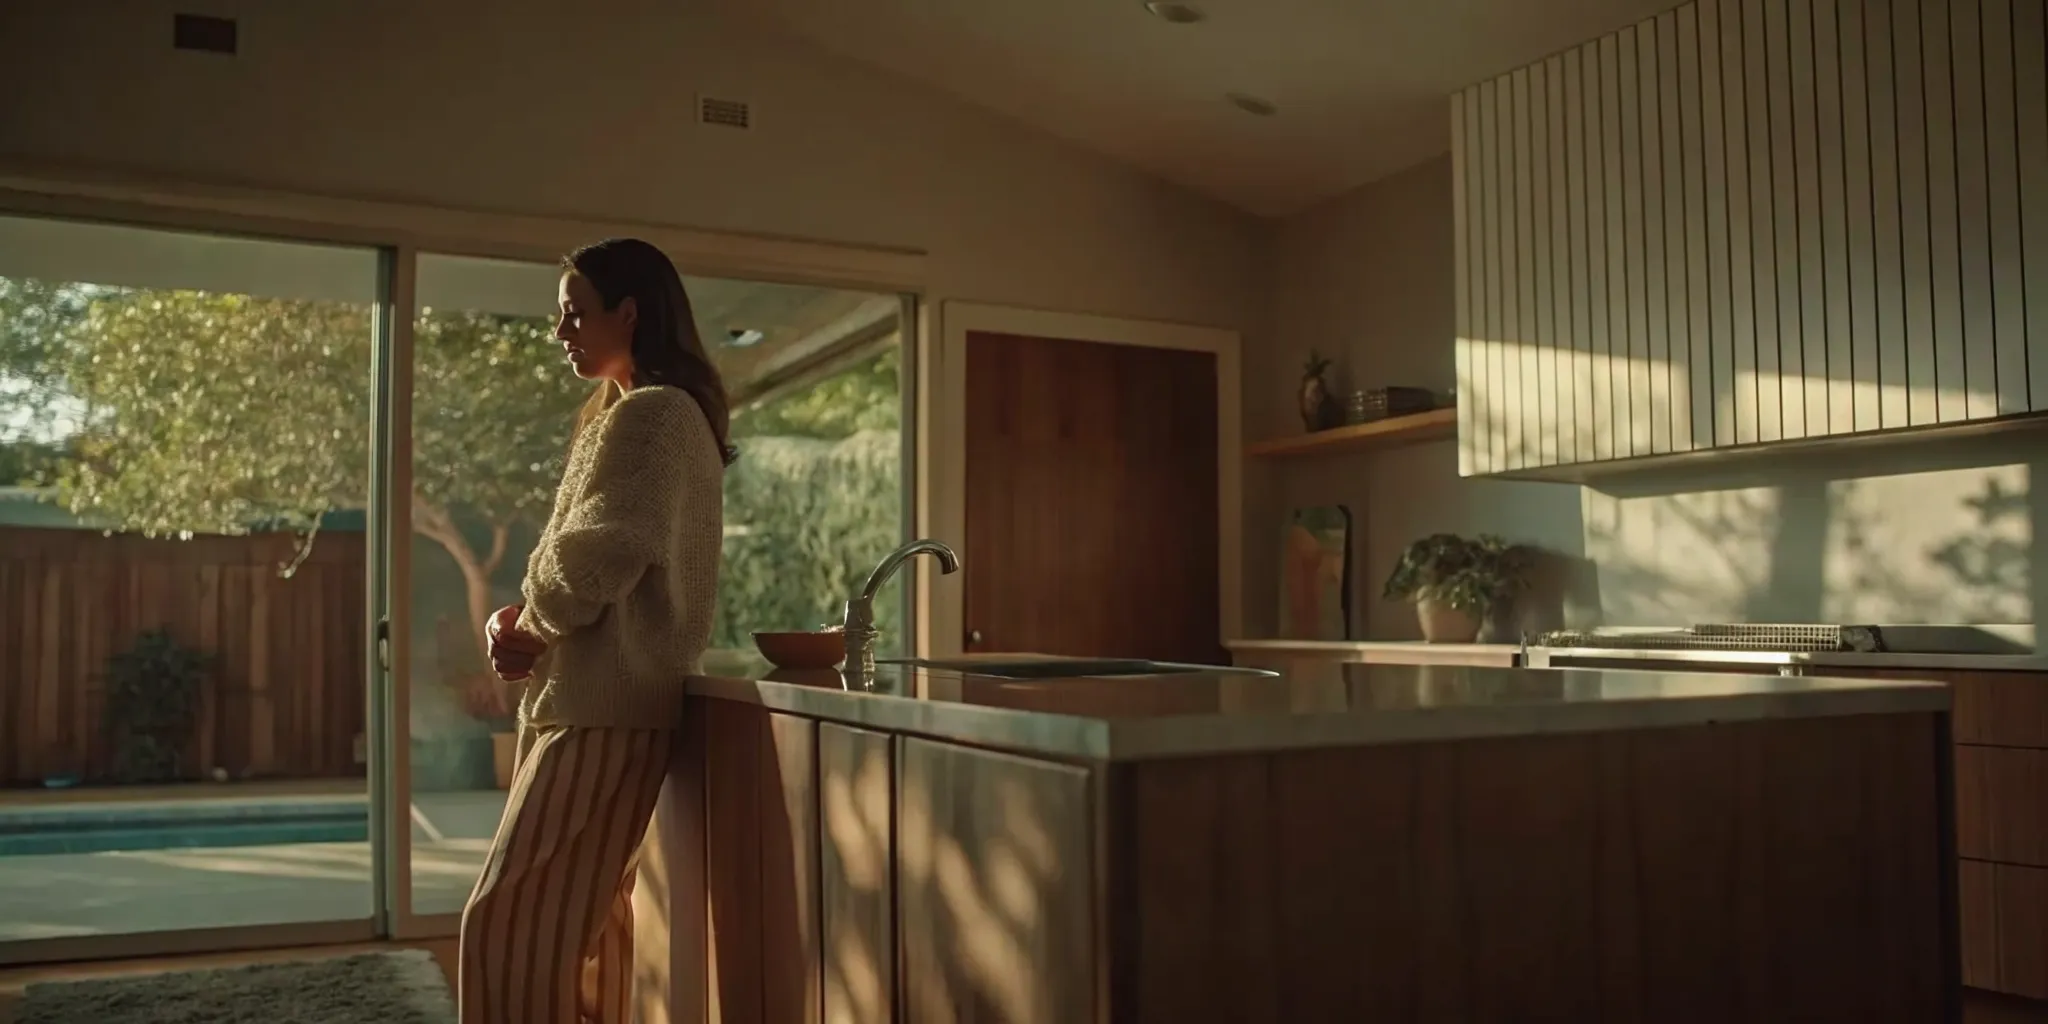
How to Ensure a High-Quality Finish
As your renovation project nears the finish line, it’s easy to get swept up in the excitement of seeing your new space come to life. But these final stages are where your attention to detail matters most. This is the time to shift from big-picture planning to focusing on the small details that make a project feel truly complete and polished. A high-quality finish doesn't happen by accident; it’s the result of clear communication, careful inspection, and a systematic approach to finalizing the work.
Taking the time to thoroughly review your project with your contractor ensures that the final product matches your vision and meets your standards. This process protects your investment and helps you avoid lingering issues after the crew has packed up. By staying engaged and methodical during these last steps, you can make sure every element is just right. At Realm, we provide you with a dedicated advisor who helps you manage these final quality checks, ensuring nothing gets overlooked before you sign off on the project.
Conduct Regular Progress Inspections
Throughout the construction phase, it’s important to check in on the work regularly. This isn’t about micromanaging your crew, but about staying informed and catching potential issues early. A good approach is to schedule brief, consistent walkthroughs with your project manager. This allows you to ask questions and see the progress firsthand.
Remember to trust your team to handle the day-to-day details while you monitor the progress from a higher level. A quick check-in once or twice a week is usually enough to ensure the project is tracking with your design plan and timeline. Addressing a small problem, like a misplaced outlet, is much easier to fix mid-project than after the drywall is up and painted.
Create a Final "Punch List"
Once the major construction is done, it’s time for the final walkthrough with your contractor. During this inspection, you’ll work together to create a "punch list"—a detailed document of any remaining tasks or minor fixes that need to be addressed before the project is officially complete. This could include anything from a paint scuff on a wall to a sticky cabinet door or a missing piece of trim.
Don’t be shy about pointing things out. Go through each room and carefully examine the details. Test light switches, open and close doors, and look closely at finishes. Creating a comprehensive punch list is a standard part of the renovation process and ensures that every last detail is finished to your satisfaction.
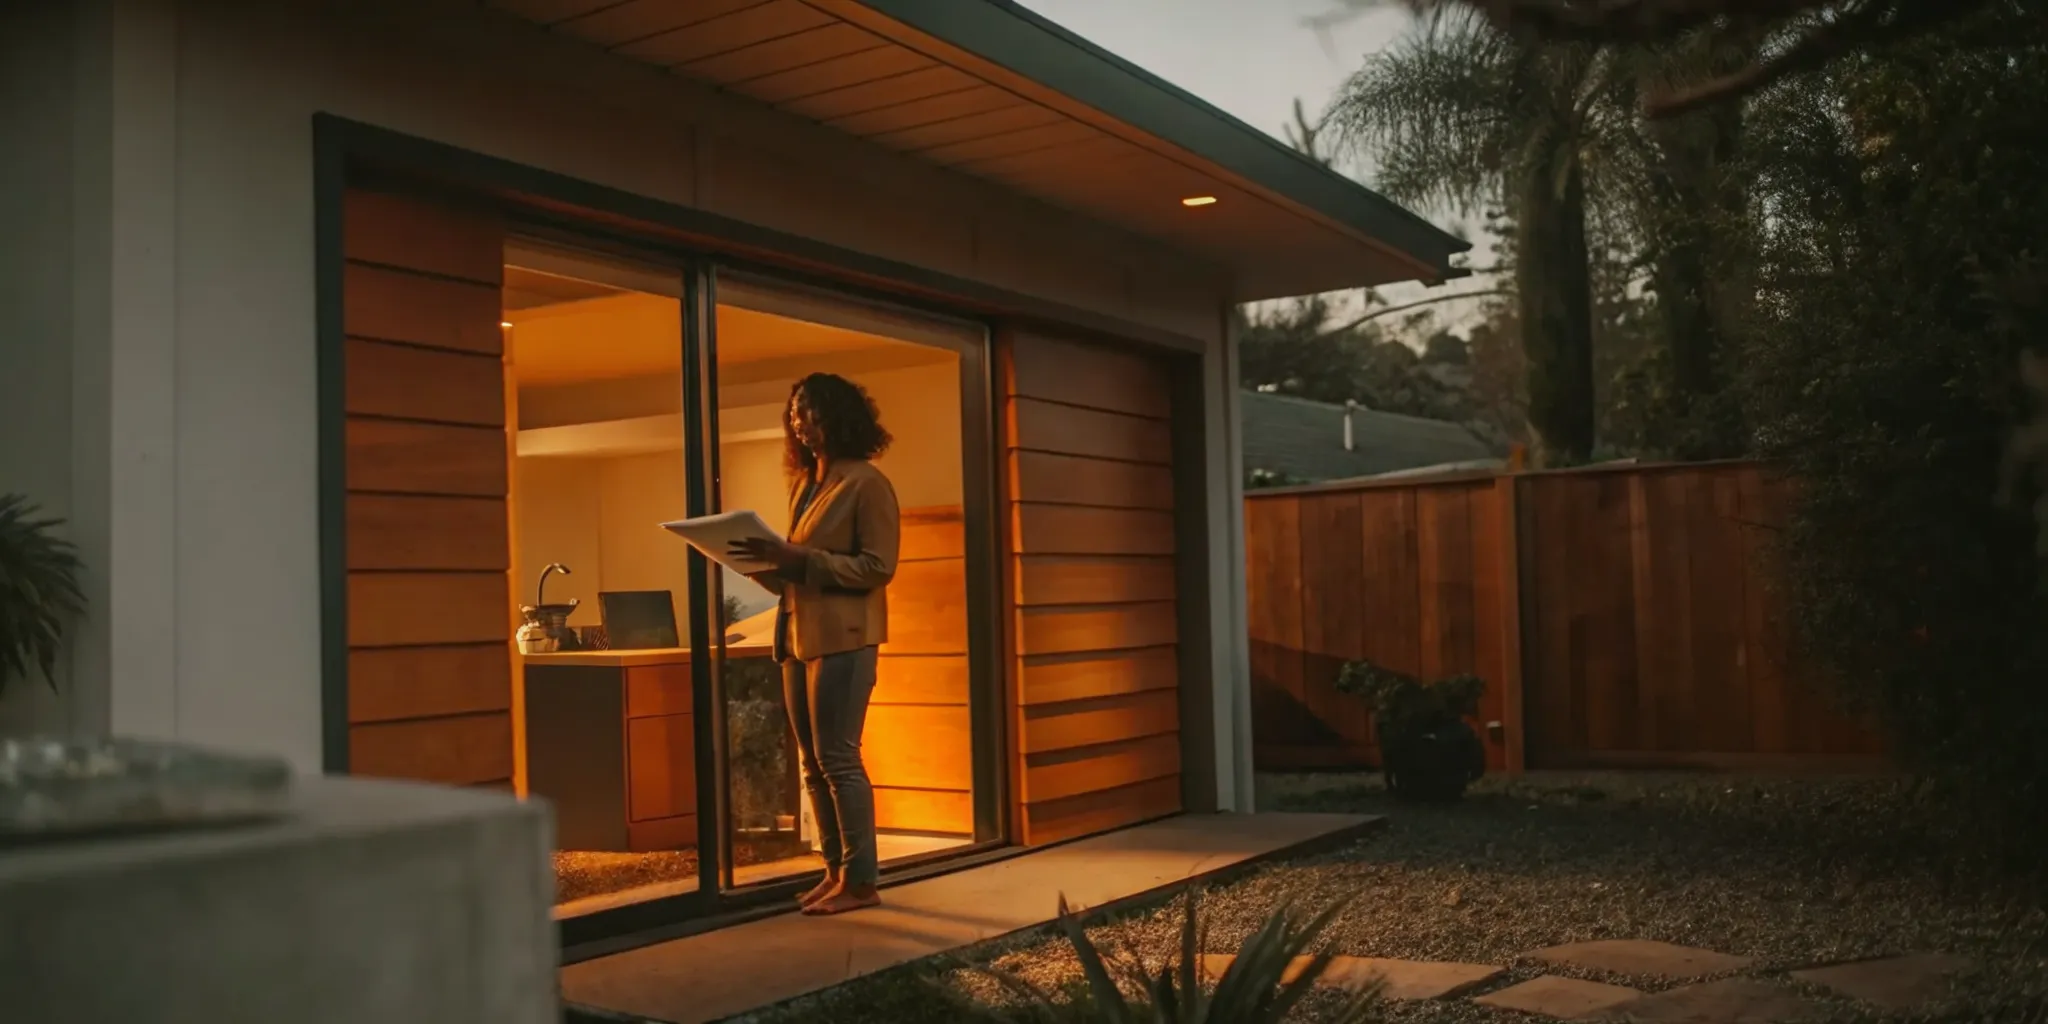
Complete the Final Walkthrough and Sign-Off
After your contractor has addressed every item on the punch list, you’ll do one last walkthrough. This is your final opportunity to confirm that the work has been completed correctly and that the quality meets your expectations. Take your time and be thorough. Once you’re satisfied, you can officially sign off on the project and make the final payment.
This final step is crucial because it formally concludes the project. Before you sign, evaluate the results to ensure everything aligns with your original goals and the agreed-upon plans. A successful sign-off means you can finally relax and enjoy your beautifully renovated home, confident that the job was done right.
Common Renovation Pitfalls (and How to Avoid Them)
A home renovation is a huge undertaking, and even with the best checklist, things can go sideways. The good news is that most major headaches aren't random acts of bad luck—they're common, predictable issues that you can get ahead of with a little foresight. Knowing what to watch for is half the battle. By understanding these typical pitfalls, you can steer your project toward a smooth, successful finish. Let's look at a few of the most frequent problems and how you can avoid them from the start.
Prevent Communication Breakdowns
Clear communication is the bedrock of a successful renovation. When homeowners, designers, and contractors aren't on the same page, it leads to mistakes, delays, and frustration. One of the most common errors is not clearly defining priorities before the work begins. To avoid this, establish a regular check-in schedule with your contractor—whether it's a daily text or a weekly call—to discuss progress and address questions. It’s also smart to keep all your decisions in a shared document. Having a dedicated project advisor can also streamline communication, ensuring your vision is clearly translated to the entire team and that everyone is working from the same detailed plan.
Stop Scope Creep and Budget Overruns
"Scope creep" is what happens when small changes and additions start piling up, pushing your project over budget and past its deadline. It often starts with rushing the planning phase or underestimating the full scope of work. The best way to prevent this is to finalize as many decisions as possible before demolition begins. If you do decide to make a change mid-project, use a formal change order process that clearly outlines the new costs and timeline adjustments. This prevents casual "while you're at it" requests from derailing your budget. Remember, even small deviations can lead to costly mistakes if they aren't properly managed.
Don't Skip the Planning Phase
It’s easy to get swept up in the excitement of choosing paint colors and finishes, but a successful renovation is about more than just aesthetics. One of the biggest mistakes homeowners make is focusing on the look of a space while losing sight of how it needs to function for their daily life. A detailed planning phase forces you to think through the practical details. Where do you need outlets for your appliances? How will foot traffic flow through the new layout? Do you have enough storage? Answering these questions upfront ensures your beautifully renovated space is also practical and comfortable. This is where expert guidance becomes invaluable, helping you balance design with functionality for a result you'll love for years.
Related Articles
- How to Estimate Bathroom Remodel Cost Accurately
- How to Hire a General Contractor for House Renovation
Frequently Asked Questions
How do I know if my renovation budget is realistic? A realistic budget is less about a specific number and more about how comprehensive it is. Your budget is on the right track if it accounts for every single cost—not just labor and materials, but also design fees, permits, and fixtures. The most critical element of a solid budget is a contingency fund of at least 10-15% of your total project cost. This isn't extra money for upgrades; it's your safety net for the inevitable surprises that pop up during construction.
What's the difference between a "punch list" and a change order? These two terms come up at different stages of a project. A change order is a formal document used during construction to approve an alteration to the original plan, like adding a window or choosing a different material. It outlines the new work and any changes to the cost and timeline. A punch list, on the other hand, is created at the very end of the project. It's a final to-do list of small fixes, like a paint touch-up or a sticky drawer, that your contractor needs to complete before you sign off on the job.
What's the most common reason renovation timelines get delayed? While unforeseen issues like discovering old wiring can cause delays, the most common holdup is often related to materials. Waiting for items with long lead times, like custom cabinets, windows, or specific tiles, can bring a project to a standstill. This is why finalizing all your material and finish selections during the planning phase is so important. When you make decisions early, your contractor can place orders well in advance and build a schedule around accurate delivery dates.
How involved do I need to be once construction starts? Your role during construction is to be an informed decision-maker, not a project manager. You don't need to be on-site every day, but you should establish a regular communication rhythm with your contractor. A weekly walkthrough or a scheduled call is a great way to stay updated, see the progress, and answer any questions that arise. The goal is to be available and engaged while trusting the professionals you hired to handle the day-to-day work.
Do I really need to move out during my renovation? This really depends on the scope of your project. If you're renovating a secondary bathroom or a single bedroom, you can probably manage to live at home. However, if the project involves your kitchen, your only full bathroom, or creates a lot of dust and noise throughout the house, moving out is often the best choice for your sanity. Talk to your contractor about the level of disruption to expect so you can make a plan that works for your family.