9 Contractor Payment Schedule Best Practices to Know
Get contractor payment schedule best practices to keep your renovation on track, avoid disputes, and ensure clear, fair payments at every project stage.
|
March 31, 2026

In this article:
We’ve all heard the renovation horror stories: projects that drag on for months past their deadline or budgets that spiral out of control. More often than not, these issues stem from a lack of financial clarity from the outset. A contractor payment schedule is your single best defense against these common pitfalls. It’s a simple document that creates accountability by tying payments directly to tangible progress. When your contractor knows exactly what needs to be completed to get paid, the project keeps moving forward. Understanding contractor payment schedule best practices is the key to maintaining control over your timeline and your wallet.
Key Takeaways
- Create a detailed payment schedule before work begins: This document is your financial roadmap, outlining exactly when and how your contractor gets paid to prevent misunderstandings and keep your project on budget.
- Tie payments to tangible progress, not the calendar: Structure your agreement so that payments are only made after specific milestones are completed and you have approved the work. This keeps the project moving and ensures you only pay for results.
- Write protective clauses into your contract: Include terms like retainage (holding back a final percentage) and requiring lien waivers. These simple additions provide crucial financial security and give you leverage to ensure the job is finished to your satisfaction.
What Is a Contractor Payment Schedule (And Why You Need One)
Embarking on a home renovation is exciting, but let's be honest, managing the financial side can feel overwhelming. One of the most effective tools for keeping your project on track and your budget in check is a contractor payment schedule. Think of it as a financial roadmap for your renovation. It clearly outlines when and how your contractor gets paid, ensuring everyone is on the same page from start to finish. Without one, you're essentially flying blind, which can lead to stressful conversations about money down the line.
This isn't just another piece of paperwork; it's a foundational agreement that builds trust and transparency. A well-defined schedule protects you from paying for unfinished work and gives your contractor the confidence that they'll be paid promptly for their efforts. It transforms a potentially vague arrangement into a clear, step-by-step process. By setting these expectations upfront, you can prevent misunderstandings, avoid delays, and maintain a positive working relationship throughout your project. With a solid payment plan in place, you can focus more on the creative parts of your renovation and less on the financial stress. It's a simple but powerful way to manage your project's budget, timeline, and overall risks.
What Is a Payment Schedule?
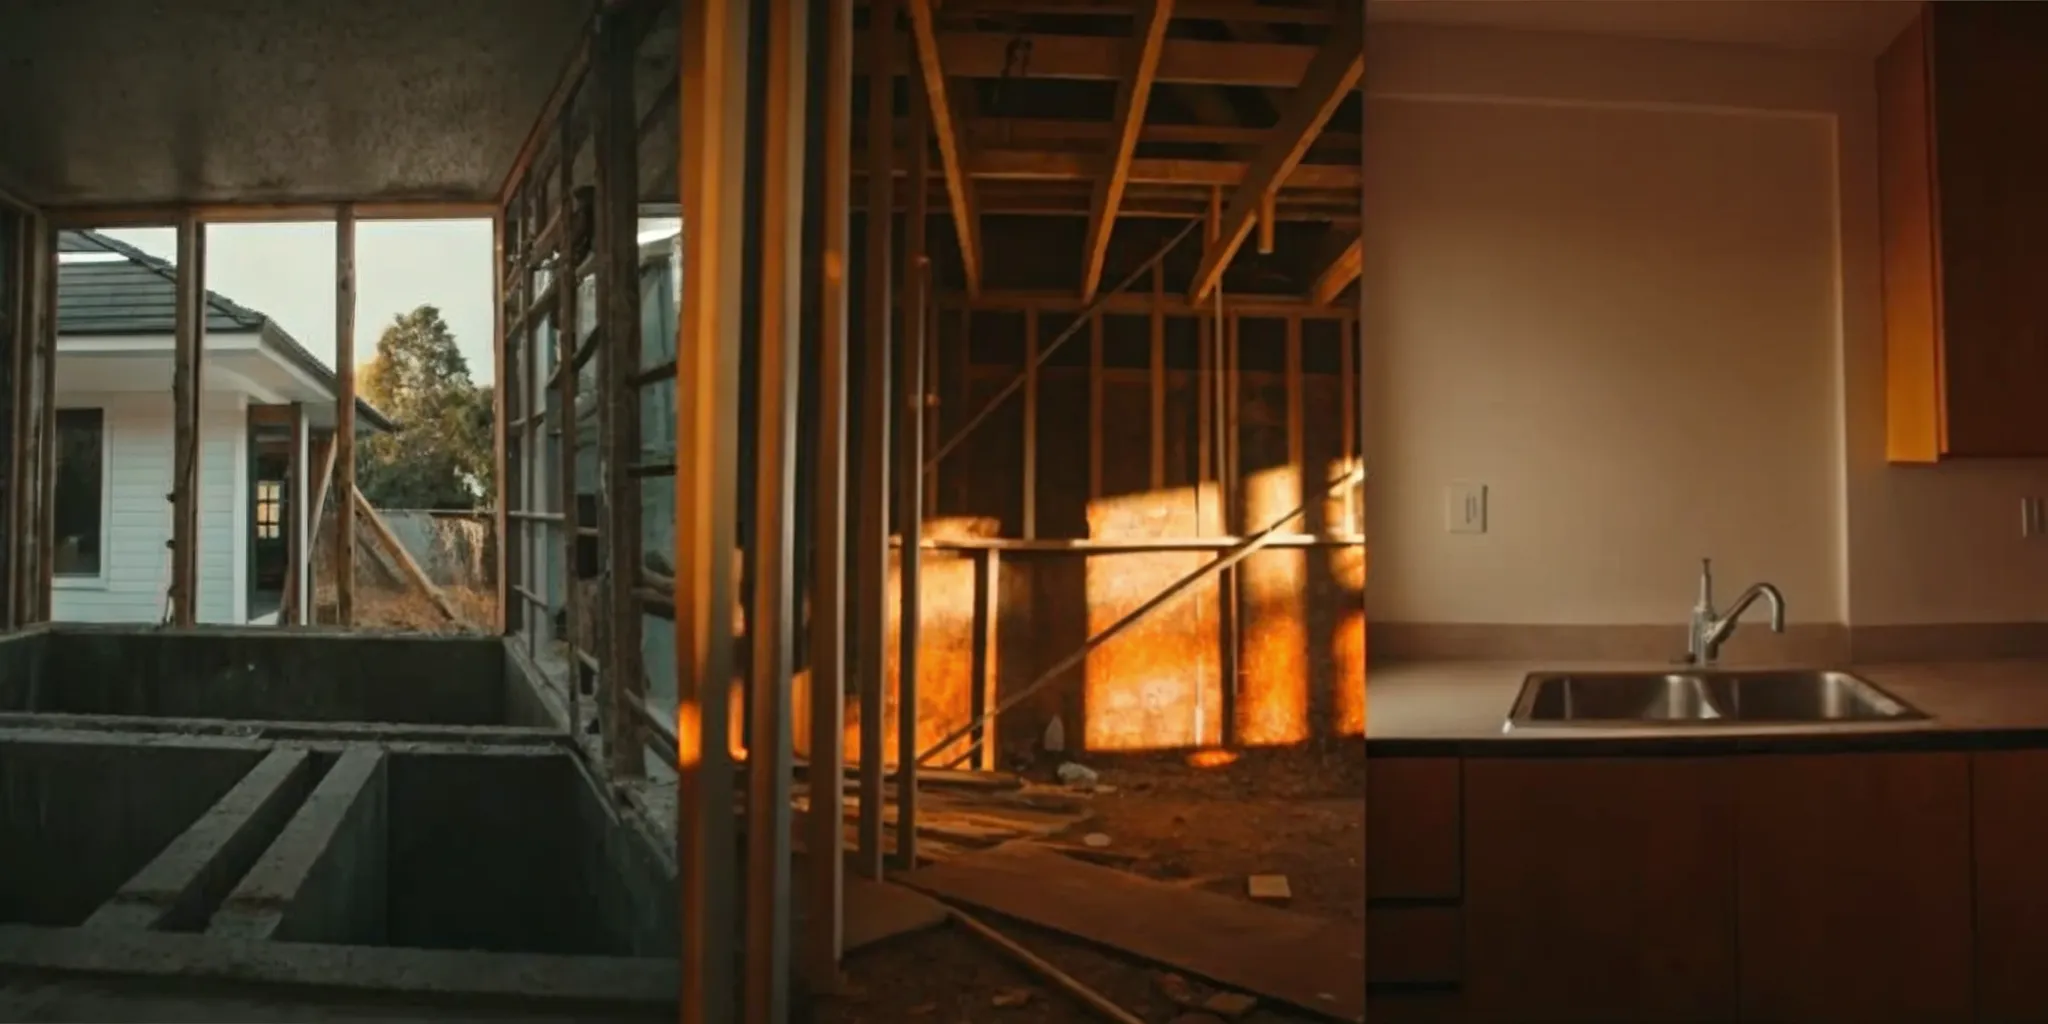
A contractor payment schedule is a written plan that breaks down the total cost of your project into a series of smaller, manageable payments. Instead of one lump sum, payments are tied to specific project milestones or phases of completion. For example, you might make a payment after the demolition is done, another after the framing is up, and so on. This document details exactly how much is due at each stage and what work needs to be completed to trigger a payment. It’s a core part of your construction contract and a key element of a successful project.
How a Payment Schedule Protects You and Your Contractor
A clear payment schedule is a win-win. For you, the homeowner, it provides control and peace of mind. Tying payments to progress ensures you’re only paying for work that has actually been completed to your satisfaction. This approach minimizes your financial risk and keeps the project moving forward. For the contractor, it guarantees a predictable cash flow, allowing them to pay their team and purchase materials without delay. This mutual understanding helps prevent disputes and builds a foundation of trust. When both parties feel secure, it creates a positive working relationship and keeps the focus on the quality of the work. It’s a simple way to ensure everyone’s goals are aligned.
Common Types of Contractor Payment Schedules
Not all payment schedules are created equal. The right one for your project depends on its size, timeline, and complexity. A small bathroom refresh might only need a simple deposit and a final payment, while a full home addition will require a more detailed plan. Think of the payment schedule as a financial roadmap for your renovation, keeping both you and your contractor on the same page from start to finish.
Understanding the common structures helps you negotiate a fair agreement that protects your investment and ensures your contractor has the funds they need to keep the work moving. A professional contractor will be happy to discuss these options and create a clear, written schedule that works for everyone. At Realm, we help homeowners establish these clear terms with vetted professionals, so there are no surprises along the way. Let’s look at the three most common types of payment schedules you’ll encounter.
Payments by Progress
For larger projects that span several months, a progress payment schedule is common. With this model, you make regular payments, often monthly, as the work gets done. This approach ensures the contractor has consistent cash flow to pay for labor and materials without requiring a massive upfront investment from you. It’s a pay-as-you-go system that ties directly to the amount of work completed in a specific period. This method works best when progress is easy to measure and track over time, giving you a predictable payment routine for long-term renovations like a major kitchen overhaul or a second-story addition.
Payments by Milestone
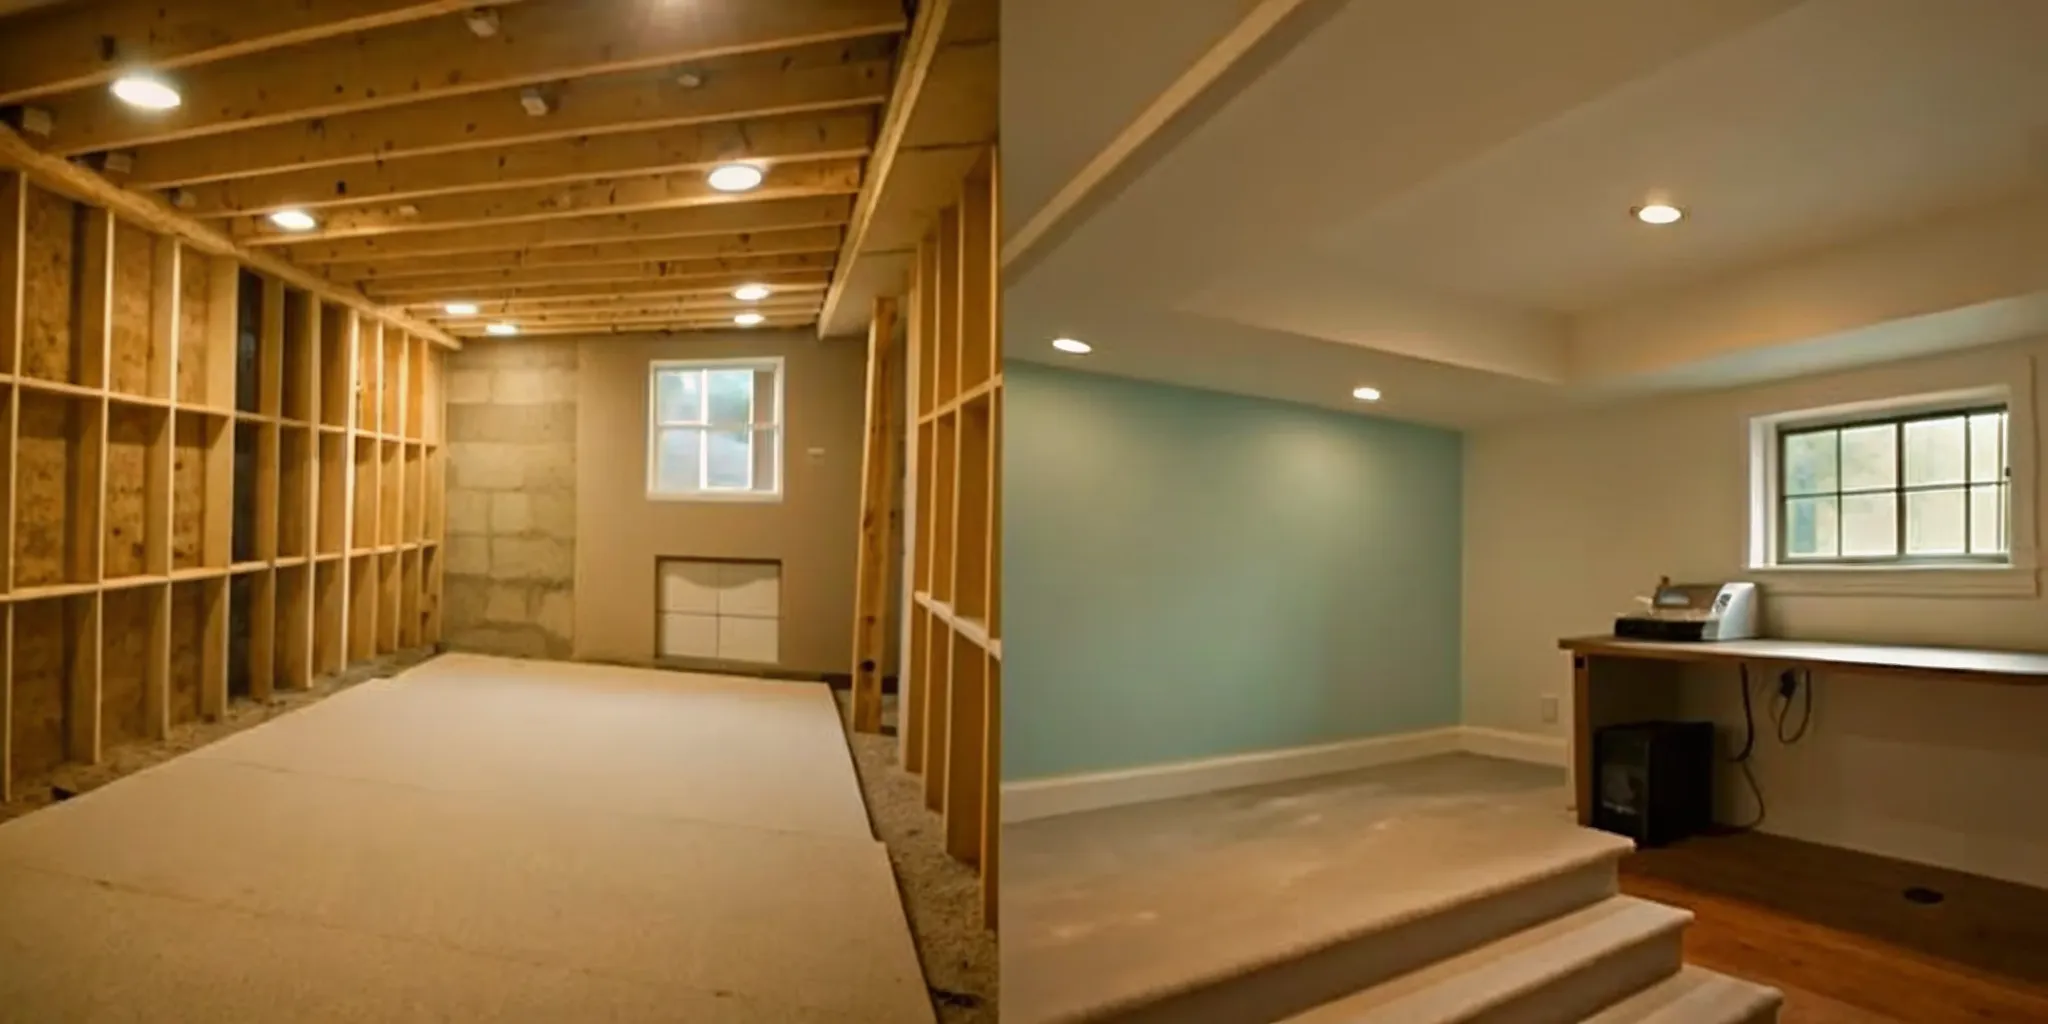
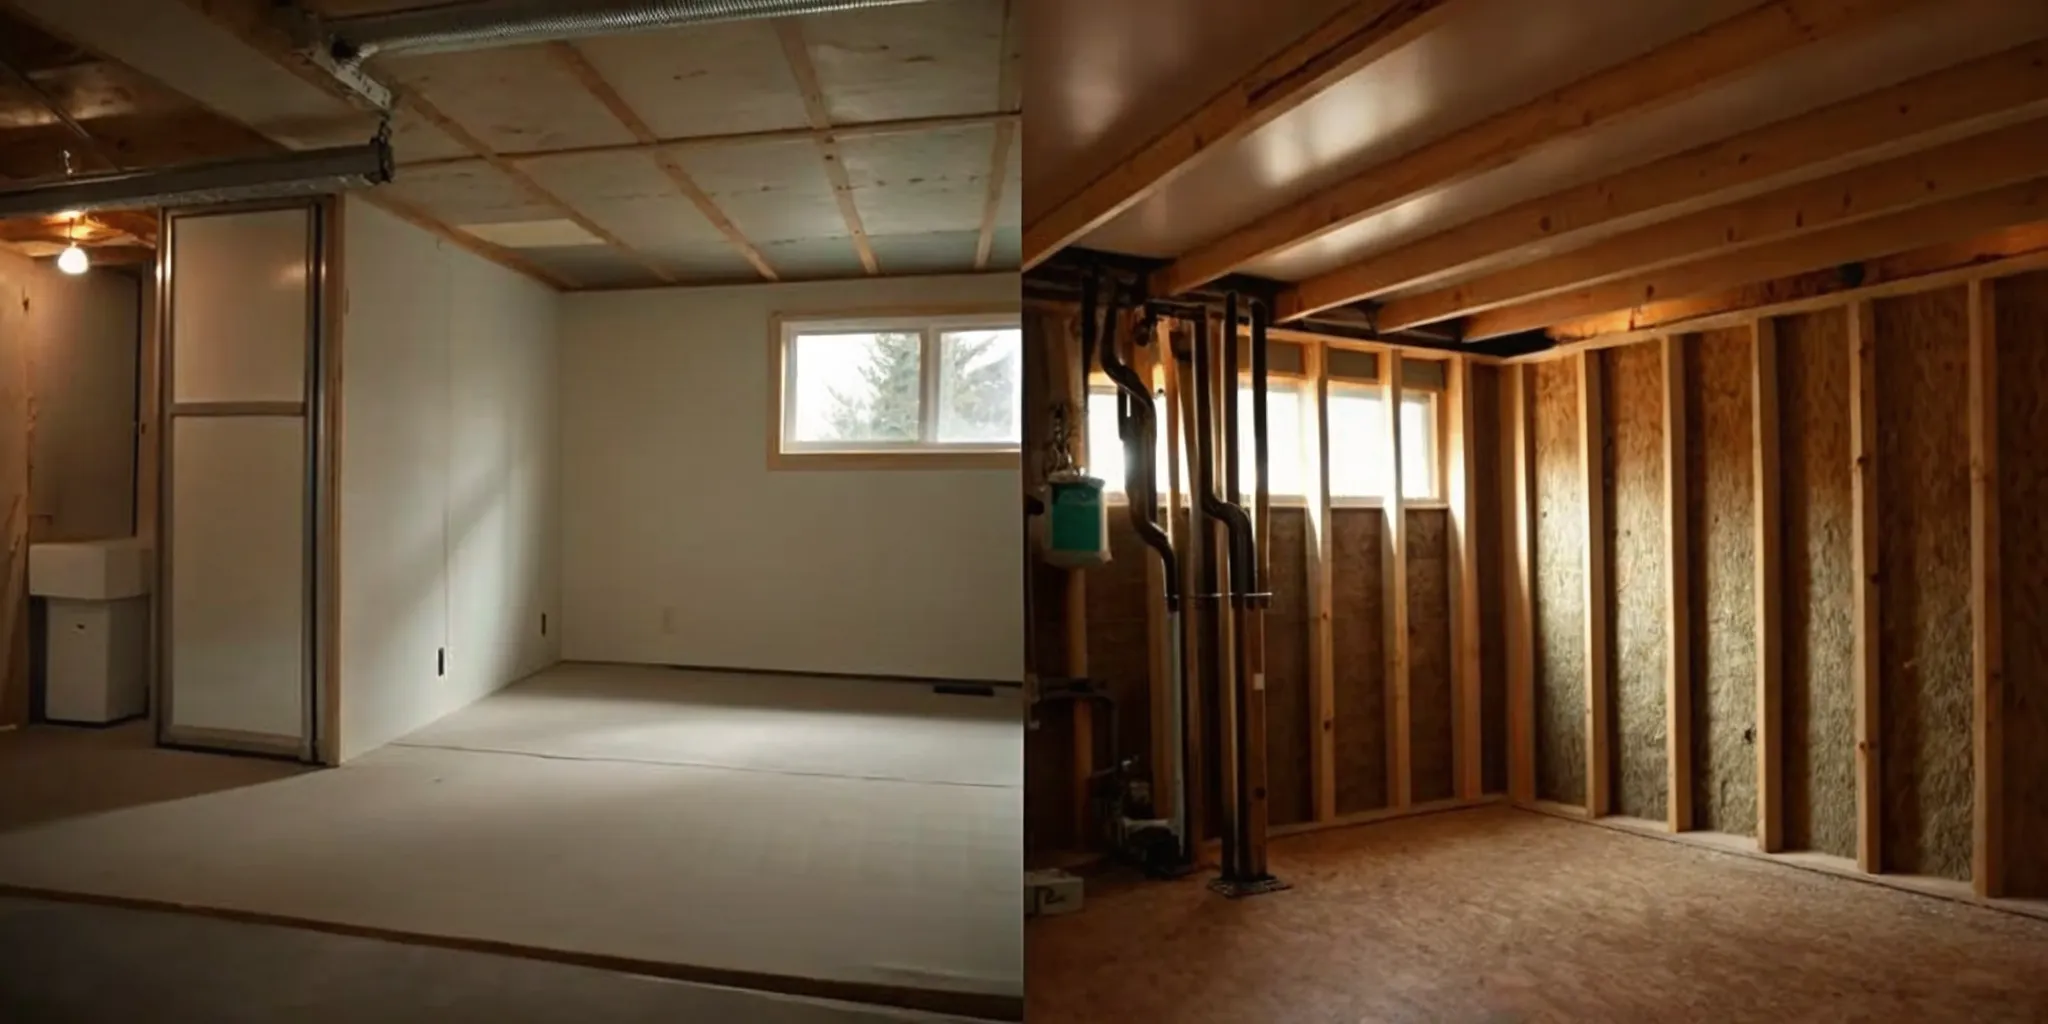
A milestone-based schedule is one of the most popular and effective methods for home renovations. Instead of paying based on time, you pay when your contractor completes specific, pre-defined stages of the project. For example, you might make a payment after the foundation is poured, another when framing is complete, and another once the drywall is installed. This approach is fantastic because it links payments directly to tangible results. It keeps everyone focused on the same goals and provides clear checkpoints to review the work, ensuring you’re satisfied with each phase before releasing the next payment. This structure helps break your project into manageable phases and minimizes your risk.
Deposit and Final Payment
For smaller, more straightforward jobs, a simple deposit and final payment structure often makes the most sense. You’ll pay an initial deposit so the contractor can secure materials and schedule the work, and then you’ll pay the remaining balance once the job is 100% complete. This is ideal for projects that only take a few days, like painting a room or installing new countertops. Be aware that many states limit the amount a contractor can request as a down payment. In California, for instance, a contractor’s deposit is legally capped at 10% of the total project cost or $1,000, whichever is less.
What to Include in Your Payment Schedule
Think of your payment schedule as the financial roadmap for your renovation. A great schedule leaves no room for interpretation. It clearly outlines what needs to be done, by when, and how much each stage will cost. This simple document is one of the most powerful tools you have for keeping your project on track and maintaining a positive relationship with your contractor.
When you and your contractor agree on these details upfront, you prevent misunderstandings down the road. Every payment is tied to visible progress, which keeps everyone motivated and accountable. A well-defined schedule should be a non-negotiable part of your construction contract, protecting both your investment and your contractor’s hard work. It’s all about creating a clear, shared understanding of the project’s financial milestones from start to finish.
Project Scope and Details
Before you can outline payments, you need to define exactly what you’re paying for. This section of your payment schedule should provide a high-level summary of the entire project. It doesn’t need to include every single nail and screw, but it should clearly state the overall goal. For example, it might say, “Full kitchen remodel, including demolition of existing cabinetry, installation of new cabinets and countertops, plumbing for a new sink, and electrical work for under-cabinet lighting.” This summary sets the stage for the detailed breakdown that follows, ensuring both you and your contractor are aligned on the final vision. A clear project scope is the foundation of a successful renovation.
Clear Payment Amounts
Vagueness is the enemy of a good payment schedule. This section needs to be crystal clear, listing the exact dollar amount for each payment. Avoid using percentages, which can become confusing if the total project cost changes. Your schedule should break down the total cost of the project into specific installments, including the initial deposit, each progress payment, and the final payment due upon completion. For instance, instead of "25% due after framing," write "Payment of $15,000 due upon completion of framing." This leaves no doubt about how much money is changing hands at each stage, making it easy for you to manage your budget and for your contractor to manage their cash flow.
Specific Deliverables for Each Payment
This is where your payment schedule really starts working for you. Each payment should be directly linked to a specific, verifiable accomplishment, not just a date on the calendar. These are often called milestones. For example, a payment shouldn't be scheduled for "the first of the month." Instead, it should be due upon "completion of drywall installation and taping" or "passing the city’s plumbing inspection." Tying payments to tangible progress ensures you are only paying for work that has been successfully completed. This approach keeps the project moving forward and gives you clear checkpoints to review your contractor's work and confirm you’re happy with the quality before releasing funds.
A Firm Timeline with Deadlines
Money and time are intrinsically linked in any renovation project. Your payment schedule should include an estimated timeline with target dates for each milestone. This doesn’t just hold your contractor accountable; it also helps you plan for other aspects of the renovation, like material deliveries or your own schedule. For example, you might list, "Milestone 1: Demolition and framing to be completed by October 15th." While minor delays can happen, having a firm timeline creates a baseline for progress. It encourages open communication, as any deviation from the schedule requires a conversation, helping you keep your project on track and manage expectations for the final completion date.
How to Set Up a Milestone Payment Plan
A milestone-based plan is one of the most effective ways to structure your payments. Instead of paying on a fixed schedule, you pay your contractor as they complete specific, pre-defined stages of the project. This approach creates a clear connection between payment and progress, which keeps everyone motivated and aligned. It turns a massive project into a series of smaller, achievable goals, each with a clear deliverable and a corresponding payment. Setting up this kind of plan gives you more control and transparency throughout your renovation.
Break Your Project into Phases
First, work with your contractor to break the entire project down into logical phases. For a kitchen remodel, the phases might be demolition, rough-in plumbing and electrical, drywall, cabinet installation, and finally, countertop installation. This approach breaks the total project cost into smaller, more manageable payments. Each payment corresponds to a completed phase, so you always know exactly what you're paying for. This makes budgeting feel less intimidating and helps you track where your money is going every step of the way.
Set Realistic Deadlines
Once you have your project phases, attach a realistic timeline to each one. This isn’t about creating a rigid, high-pressure schedule; it’s about establishing a shared understanding of the project's flow. Agree on target completion dates for each milestone with your contractor. Having these deadlines in writing helps everyone stay on track and manage their time effectively. When payments are tied to progress, it creates a natural incentive to meet these deadlines, keeping your project moving forward smoothly and predictably.
Link Payments to Clear Results
This is the most important part: every payment must be tied to a tangible, verifiable result. You should never pay just because a certain date has passed. Instead, payments are made only after a specific milestone is complete and you’ve confirmed the work meets the agreed-upon standards. For example, a payment could be due after the foundation is poured or once all new windows are installed. This system ensures you always tie payment to progress, not promises. It builds trust and gives you peace of mind, knowing your investment is directly linked to quality work.
Common Payment Schedule Mistakes to Avoid
A clear payment schedule is your best tool for keeping a project on track, but a few common missteps can create confusion and conflict. Knowing what to watch out for helps you build a schedule that protects both you and your contractor. By avoiding these pitfalls, you can ensure your renovation stays on budget and your working relationship remains positive from start to finish.
Paying Too Much Upfront
It’s standard to pay a deposit so your contractor can secure materials and labor, but a massive upfront payment is a red flag. Paying too much before significant work is done can put you in a vulnerable position. If progress stalls, you have little leverage to get things moving again. A good rule of thumb is to tie every payment to visible, completed work. This approach builds trust and keeps everyone motivated. Many states even have laws that limit the maximum deposit a contractor can request, so it’s wise to check your local regulations before signing a contract.
Vague Milestone Descriptions
Clarity is your best friend. A payment schedule that uses fuzzy language can lead to major disagreements. For example, a milestone listed as “electrical rough-in complete” is open to interpretation. Does that mean the wiring is pulled? Are the boxes installed? Is it ready for inspection? A better description would be: “All new electrical wiring and boxes installed per plan and ready for city inspection.” Being specific about what each milestone includes leaves no room for misunderstanding. You and your contractor will know exactly what needs to be finished before a payment is due.
Forgetting to Document Everything
Even with a great contractor, verbal agreements can get lost in the shuffle. Always get everything in writing. This is especially important for change orders, which are formal documents that outline any adjustments to the original project scope, cost, and timeline. Failing to document these changes can lead to disputes over what was agreed upon and how much it should cost. After a conversation about a change, send a quick follow-up email summarizing the discussion. This simple habit creates a clear record and helps prevent financial confusion down the road.
Not Planning for Changes
Renovations rarely go exactly as planned. You might decide to upgrade your tile, or your contractor might uncover an unexpected issue behind a wall. Without a clear process for handling these adjustments, costs can quickly spiral. Your contract should outline exactly how changes will be managed, including how extra work will be billed and paid for. Establishing a process for change orders from the start ensures that any pivots are handled smoothly, with transparent pricing and clear expectations for everyone involved.
Smart Payment Terms That Protect You
A payment schedule is more than just a list of dates and amounts. It’s a powerful tool for keeping your project on track and ensuring quality. By including a few key terms in your agreement, you can create a framework that protects your investment and keeps everyone aligned. A professional contractor will understand and appreciate this clarity, as it sets clear expectations for both sides. When you work with Realm, your advisor helps you build these protections right into your contractor agreements, so you can move forward with confidence. These terms aren’t about mistrust; they’re about creating a transparent process that leads to a successful renovation.
Holding Back a Final Percentage (Retainage)
Retainage is a standard practice in construction, and it’s a smart move for homeowners. It involves holding back a small percentage of the total project cost, usually 5% to 10%, until the very end. This final payment is only released after you’ve done a final walkthrough and agreed that every last detail is complete and up to standard. Think of it as an incentive for your contractor to finish the punch list, which includes all those small, final tasks. It ensures they have a reason to come back and fix that sticky drawer or touch up the paint, leaving you with a truly finished project.
Scheduling Quality Checks
Your payment schedule should link payments directly to the successful completion of work, not just the passage of time. Before you release a payment for a specific milestone, like finishing the framing or installing the drywall, build in a quality check. This is a designated moment for you or your project advisor to inspect the work and confirm it meets the standards outlined in your contract. Tying payments to these approvals ensures that issues are caught and corrected early, preventing them from becoming bigger, more expensive problems down the road. It keeps the focus on quality throughout the entire project.
Requiring Lien Waivers
This is a critical step that protects you from major financial risk. A lien waiver is a document from your contractor, subcontractors, or suppliers stating they have been paid for the work or materials they’ve provided. By collecting a signed lien waiver before you make a payment, you get proof that the money is going where it’s supposed to. Without it, a subcontractor you’ve never even met could place a legal claim, or lien, on your property if the general contractor fails to pay them. Requiring these waivers is a simple, standard way to ensure your home remains free and clear of claims.
Defining the Approval Process
To avoid misunderstandings and keep your project running smoothly, your contract should clearly define the payment approval process. Who is responsible for reviewing and approving invoices? How much time do they have to do it? Once an invoice is approved, when will the payment be issued? Answering these questions in writing prevents confusion and helps your contractor manage their own cash flow. It establishes a professional and predictable routine for handling payments, which helps build a positive working relationship and keeps everyone on the same page from start to finish.
Managing Communication and Paperwork
A solid payment schedule is only as good as the communication and documentation that support it. Keeping clear records and maintaining an open dialogue with your contractor prevents small misunderstandings from turning into big problems. Think of it as the operating system for your renovation; when it runs smoothly, everything else is easier. This isn't just about creating a paper trail for protection, it's about building a transparent and trusting relationship with the team that’s bringing your vision to life. When everyone is on the same page, you can focus on the exciting parts of the project instead of worrying about administrative details.
Set Expectations from Day One
The best way to ensure a smooth process is to establish clear communication protocols before any work begins. Setting clear payment expectations early on helps build trust with your contractor. By outlining the payment schedule and terms from the start, both you and your contractor can avoid confusion and keep the project moving forward. This initial conversation should cover how you’ll communicate, how often you’ll check in, and who the main point of contact will be. It’s a simple step that lays the foundation for a positive and productive working relationship.
Schedule Regular Check-ins
Consistent updates are key to staying aligned with your contractor. Plan for regular check-ins, whether it's a quick daily text or a more formal weekly meeting, to discuss progress and review upcoming milestones. During these meetings, you can confirm that work is on track and address any questions before they become issues. It’s also smart to keep a simple log of when each payment was made. Using standard forms or even a shared digital folder for all payment-related documents helps maintain transparency and accountability throughout the project, giving you a clear financial picture at every stage.
Put All Changes in Writing
Renovations often come with surprises or new ideas, and it’s common for the project scope to change along the way. When this happens, resist the urge to rely on a verbal agreement. Any extra work, known as a change order, needs its own clear rules. A change order is a written document that details the new work, the cost, and any impact on the timeline. Insisting that no extra work gets paid for without being written down and approved first ensures that you and your contractor are on the same page about any modifications to the original plan.
Agree on Late Payment Terms
While everyone hopes for a seamless project, it’s wise to plan for potential hiccups. A good payment schedule should list any rules for late payments or discounts for early payment. This isn’t about expecting the worst; it’s about creating a fair and predictable process for everyone involved. By agreeing on these terms upfront, you can mitigate potential disputes and encourage timely payments from your end. It clarifies the process if a milestone is delayed for reasons outside of your control, protecting both you and your contractor from financial uncertainty.
Helpful Tools for Managing Payments
Juggling invoices, deadlines, and payment milestones can feel like a project in itself. Thankfully, you don’t have to rely on a messy folder of papers or a complicated spreadsheet to keep everything straight. A few simple tools can help you manage payments with confidence, ensuring your contractor gets paid on time and your project stays on track. Think of these tools as your personal finance assistant for your renovation.
The right tool for you depends on how hands-on you want to be. Some homeowners prefer a simple, clear template, while others might want an app that sends automatic reminders. The goal is to create a system that keeps both you and your contractor on the same page, reducing the chance of miscommunication or delays. At Realm, we help you manage this entire process, but if you're handling it on your own, these tools can make a world of difference. Using technology to simplify your renovation is always a smart move, and that includes managing the money side of things.
Payment Tracking Apps
If you love the satisfaction of checking things off a list, a payment tracking app might be perfect for you. These digital tools are designed specifically to monitor due dates and send you reminders when a payment is coming up. You can log payments as you make them, creating a clear digital paper trail of your project's finances. This helps you see exactly where your money is going and ensures you never miss a deadline. Keeping everything documented this way is key to maintaining a great relationship with your contractor and keeping the work moving forward without any financial friction.
Project Management Software
For those who want a more comprehensive view of their renovation, project management software is a great option. These platforms do more than just track payments; they can help you manage timelines, communicate with your contractor, and store important documents all in one place. Some tools even allow your contractor to upload progress photos to verify that a milestone has been met before you release a payment. This adds a layer of transparency that can help prevent disputes and gives you peace of mind that you’re paying for completed work, not just promises.
Automated Reminders
Let’s be honest, life gets busy, and it’s easy for a payment deadline to slip your mind. Setting up automated reminders takes that mental load off your plate. Whether you use a dedicated app or simply your phone’s calendar, you can schedule alerts for a few days before a payment is due. This simple step ensures you have enough time to review the work, ask any questions, and process the payment without feeling rushed. It’s a small action that prevents delays, helps maintain a steady cash flow for your contractor, and keeps your project running smoothly.
Using a Payment Schedule Template
You don’t always need fancy software to stay organized. A well-structured payment schedule template can be just as effective. Using a simple table format in a document or spreadsheet makes the payment plan incredibly easy to follow. You can clearly list each project phase, the corresponding deliverable, the payment amount, and the due date. This creates a straightforward reference point that both you and your contractor can consult anytime. It ensures everyone understands their financial obligations and the project timeline at a glance, leaving no room for confusion.
What to Do About Payment Disputes and Delays
Even with a solid plan, disagreements can happen. A shipment gets delayed, unexpected issues pop up, or communication breaks down. It’s stressful, but it doesn’t have to derail your project. The key is to have a plan for handling these bumps before they occur. Knowing what steps to take when a payment is delayed or a dispute arises will help you stay in control and keep your renovation on track. A little preparation goes a long way in maintaining a positive and productive relationship with your contractor.
Have a Dispute Plan in Place
The best time to solve a problem is before it starts. Your contract should clearly outline how to handle disagreements, so there’s a pre-approved roadmap if you hit a snag. This isn’t about being pessimistic; it’s about being professional. This clause should specify the steps you’ll both take, whether it’s a formal meeting or bringing in a neutral third-party mediator. Having this process in writing removes emotion from the situation and gives you a clear path forward, ensuring a minor conflict doesn’t escalate into a major standoff.
How to Handle Delays
Unclear expectations are a common source of friction that can lead to project delays. To avoid this, always link payments to verified work, not just dates. Before you release funds, ask for proof of progress, like photos of the completed work or inspection reports. This keeps everyone accountable. If a delay happens, address it immediately. Talk to your contractor to understand the cause and agree on a revised timeline. Most importantly, get this new plan in writing as an addendum to your contract. Clear documentation is your best tool for managing schedule changes.
When to Get Outside Help
If you can’t resolve a dispute directly with your contractor, it might be time for support. This is where your meticulous record-keeping pays off. All those photos, logs, and written change orders serve as proof of what’s been done and agreed upon. This documentation is essential if you need to engage a mediator, as outlined in your contract’s dispute resolution clause. Having a dedicated project advisor can also be a game-changer. At Realm, we provide that expert guidance, helping you find a solution and ensuring your project is managed fairly from start to finish.
Legal Basics for Contractor Payments
Navigating the legal side of a renovation project might feel intimidating, but a little knowledge goes a long way in protecting you and your home. Think of your contract and payment schedule as your roadmap. They aren’t just formalities; they are legally binding documents designed to keep everyone on the same page and ensure a fair process. Understanding a few key legal concepts will help you create a payment structure that’s both fair and secure, building a foundation of trust and clarity with your contractor from day one. This isn't about expecting problems, but about preventing them. A clear, legally sound agreement ensures that expectations are aligned, payments are tied to real progress, and your financial investment is protected from start to finish.
When you work with a platform like Realm, you get support in finding vetted professionals who already follow these best practices, but it’s still smart to understand the fundamentals for yourself. These principles are universal to any successful project. They empower you to have productive conversations with your contractor and to feel confident in the decisions you make together. Let’s walk through the essential legal basics you should know before your project begins.
Know Your Local Laws
Construction laws can differ significantly from one state to another, and even by city. These regulations cover everything from how much a contractor can legally ask for as a down payment to what needs to be included in a contract. For example, the California Contractors State License Board has specific rules that protect homeowners, like limiting deposits to 10% of the project cost or $1,000, whichever is less. Familiarizing yourself with your local laws helps you spot red flags and ensures your contractor is operating by the book. A well-drafted contract that respects these local rules is your first line of defense against any potential disputes.
Understanding Lien Rights
The term "mechanics lien" can sound a bit scary, but it’s a standard legal tool in the construction industry. Essentially, it’s a claim that a contractor, subcontractor, or supplier can place on your property if they aren't paid for their labor or materials. This gives them a security interest in your home until the debt is settled. While this protects the professionals doing the work, homeowners need to manage payments carefully to avoid a lien situation. This is why tying payments to completed work and getting lien waivers (a receipt stating they’ve been paid) at each step is so important. A clear payment schedule helps prevent the misunderstandings that can lead to liens.
Making Your Contract Stick
Your contract is the single most important document in your renovation. It’s crucial to read it carefully before signing and make sure you understand every clause. Pay close attention to the payment terms and the scope of work. Some contracts might include a "no-lien clause," which is an agreement that the contractor gives up their right to file a lien. However, the enforceability of these clauses varies by state; in places like California, they are generally prohibited. The key takeaway is to ensure your contract is clear, fair, and protects your interests. Don’t be afraid to ask questions or seek clarification on any part of the agreement before you commit.
Related Articles
- How to Find a General Contractor for Remodel: 9 Steps
- How to Find the Best Kitchen & Bath Remodeling Contractors
- 8 Questions to Ask a General Contractor Before Hiring
- How to Hire a General Contractor for House Renovation
Frequently Asked Questions
How much should I expect to pay for a deposit? A reasonable deposit gives your contractor the funds to order materials and get started, but it shouldn't be a huge portion of the total project cost. While rules vary, many states have laws that limit the size of a down payment. For example, California caps deposits at 10% of the total cost or $1,000, whichever is less. A massive upfront payment is a red flag, so always check your local regulations and make sure the deposit amount feels fair and proportional to the initial work.
What if my contractor wants to be paid on a fixed time schedule, like every two weeks? Some contractors prefer regular payments for cash flow, but this approach can be risky for you. Paying based on a calendar date means you could be handing over money even if the project has stalled. It’s always better to link payments to tangible progress. A milestone-based schedule, where you pay only after specific work is completed and approved, ensures your money is directly tied to results and keeps everyone focused on moving the project forward.
What's the difference between retainage and the final payment? Think of the final payment as the last major installment due when the project is substantially complete. Retainage, on the other hand, is a smaller percentage (usually 5-10%) held back from that final payment. You only release this smaller amount after every single item on your final punch list is finished to your satisfaction. It’s a powerful incentive for your contractor to wrap up those last few details, like touching up paint or adjusting a cabinet door.
Do I really need a formal change order for a small adjustment? Yes, it’s always a good idea. Even a seemingly minor change can affect your project's cost and timeline. Putting every adjustment in writing through a formal change order prevents misunderstandings later on. It creates a clear record of what you both agreed to, including the cost, so there are no surprises on your final bill. This simple habit keeps communication clear and protects both you and your contractor.
What is the single most important thing to look for in a payment schedule? The most critical element is clarity. Your payment schedule should leave no room for interpretation. Every payment must be tied to a specific, verifiable milestone, not just a date on the calendar. For example, instead of "Payment 2 due June 1st," it should say "Payment 2 of $X,XXX due upon completion and approval of drywall installation." This direct link between payment and progress is the best way to protect your investment and ensure a smooth project.