What's a Realistic Oakland Bathroom Renovation Timeline?
Get a clear Oakland bathroom renovation timeline, plus practical tips to plan your remodel, avoid delays, and keep your project on track from start to finish.
|
April 2, 2026

In this article:
Renovating a home in Oakland comes with its own unique set of challenges and charms. Our beautiful, older houses are full of character, but they can also hide surprises behind the walls, from outdated wiring to tricky plumbing. These discoveries can have a big impact on your Oakland bathroom renovation timeline. Beyond potential structural quirks, you also have to consider the city’s specific permit process. This guide is tailored to homeowners in our area, helping you anticipate the local factors that can stretch your schedule so you can plan a smoother, more predictable project from the very beginning.
Key Takeaways
- Define Your Scope to Set a Realistic Timeline: Your project's complexity is the biggest factor in its schedule; a cosmetic refresh takes about three weeks, while a full gut renovation often requires six weeks or more, not including the essential one to eight week planning phase.
- Complete Your Homework Before Demolition: The most common delays happen before construction starts. Avoid them by finalizing every design detail, ordering all your materials (especially long-lead items), and getting your permit application approved before the first hammer swings.
- Build In a Buffer for a Smoother Project: Protect your renovation from unexpected issues by planning for them. Set aside a 15% to 20% budget contingency for surprise costs and add a 20% time buffer to your schedule to handle any delays without stress.
How Long Does a Bathroom Renovation in Oakland Really Take?
So, you’re ready to transform your bathroom, but the big question is: how long will you be without it? The honest answer is, it depends. While most bathroom remodels in the Bay Area take about three to six weeks from the first swing of the hammer to the final polish, the actual timeline for your project hinges on the scope of your vision. Are you picturing a simple, modern update or a complete, down-to-the-studs transformation?
Understanding the scale of your project is the first step to creating a timeline that makes sense. A quick refresh involves far fewer steps than a full overhaul that requires moving plumbing and electrical systems. Beyond the construction itself, you also have to account for the essential planning and design phase, ordering materials, and securing the right permits for your Oakland home. Each stage has its own timeline, and getting a handle on them early on will help you manage your expectations and keep your project moving forward smoothly. We’ll break down what to expect for different types of renovations and map out a step-by-step schedule.
Cosmetic Refresh vs. Complete Overhaul
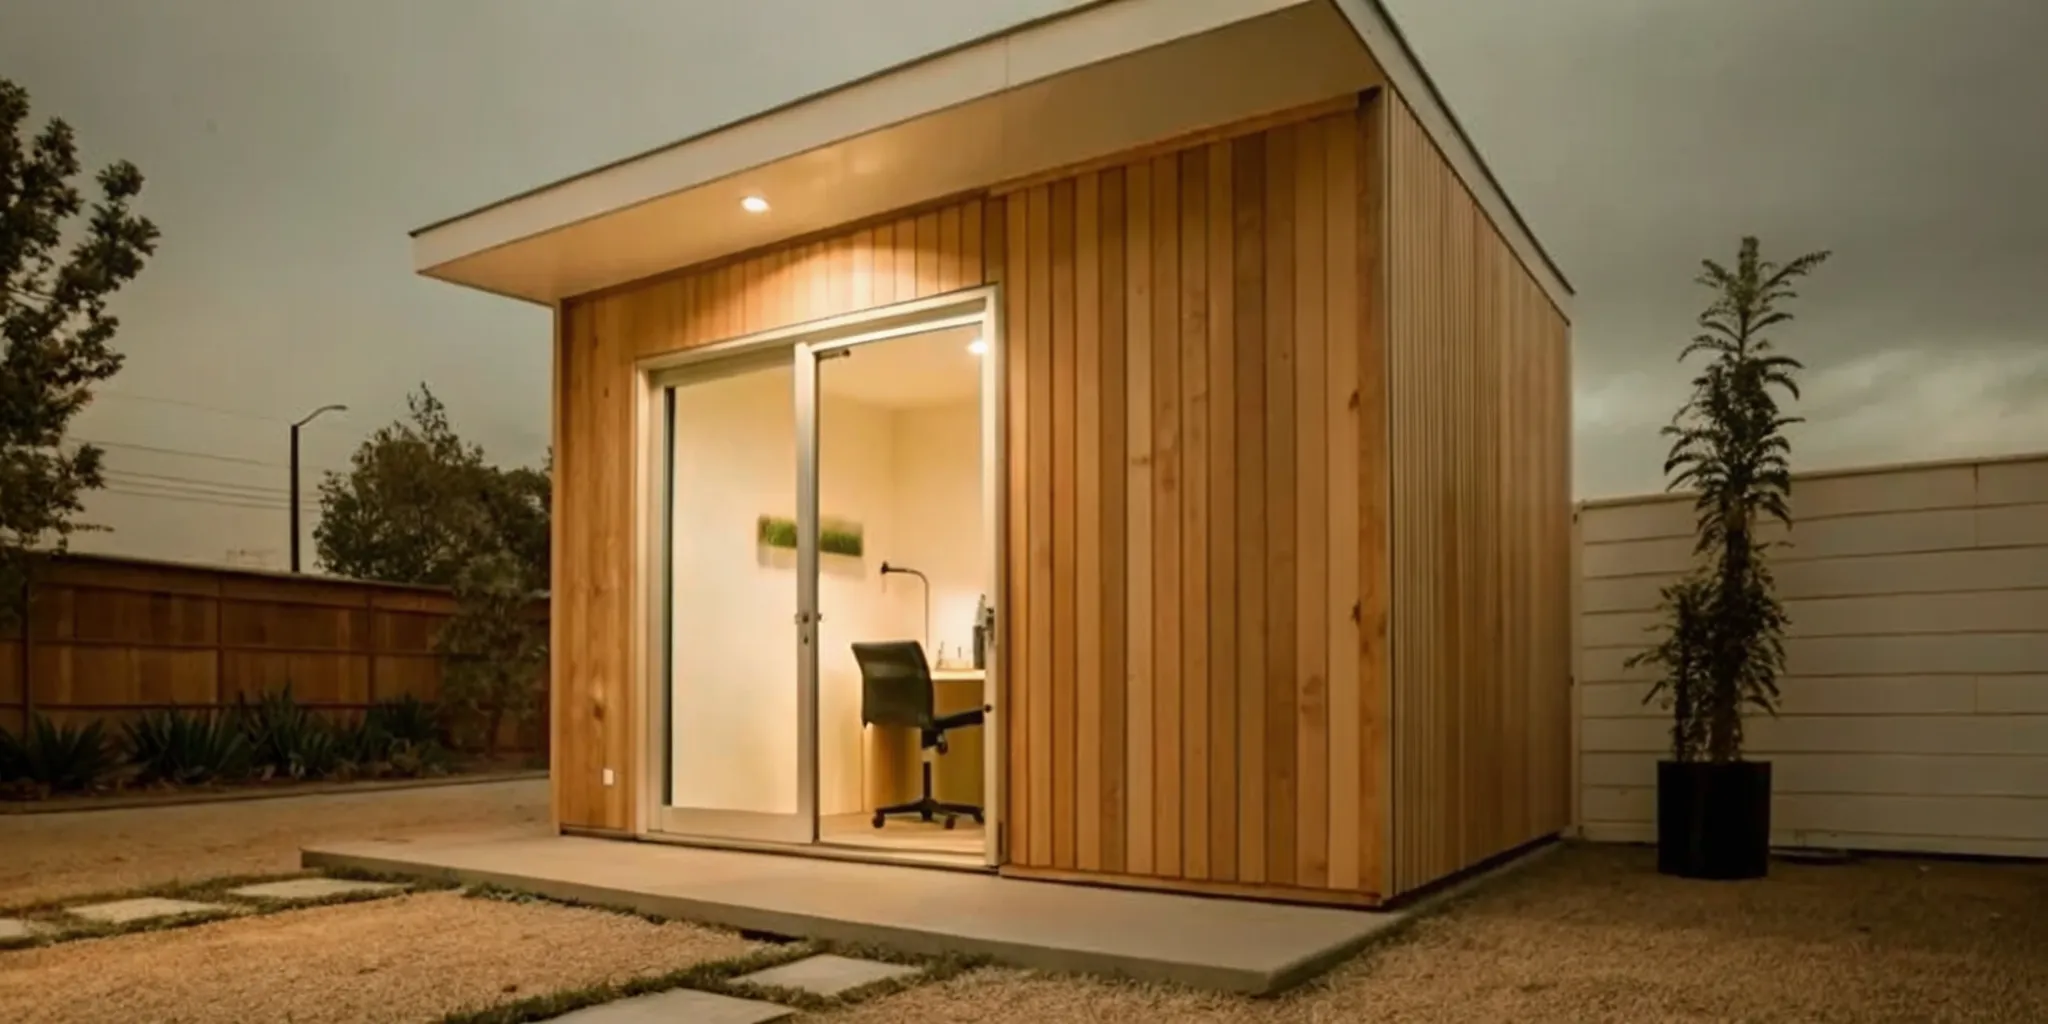
If you’re planning a cosmetic refresh, you’re looking at the shorter end of the timeline, typically around three weeks. This kind of project focuses on surface-level changes that make a big impact without major construction. Think painting the walls, swapping out the vanity and mirror, installing a new faucet, or replacing the light fixtures. Since you aren't changing the room's layout or touching the plumbing and electrical lines behind the walls, you can get a fresh new look relatively quickly. It’s a great way to update your space without the commitment of a full-scale renovation.
A complete overhaul, on the other hand, is a much bigger undertaking that often takes six weeks or more. This is for when you want to totally re-imagine the space. It involves gutting the room down to the studs, potentially moving walls, reconfiguring the layout, and installing all-new plumbing and electrical systems. A custom master bathroom with high-end finishes and detailed tile work will naturally require more time and coordination. This is where careful planning becomes absolutely critical to staying on track.
Setting a Realistic Timeline
A successful renovation runs on a well-planned schedule. Even with a clear vision, it’s easy to underestimate how long each step takes. Here’s a general breakdown: planning and design can take one to two weeks, while securing permits and ordering materials can add another one to three weeks before any work begins. Once construction starts, demolition and prep usually take a week, followed by another two to three weeks for installing tile, fixtures, and handling the finish work.
Of course, even the best plans can meet unexpected challenges. Older Oakland homes are full of character, but they can also hide surprises like outdated plumbing or electrical issues that need to be addressed. That’s why building a solid project plan with some buffer time is so important. It gives you and your contractor the flexibility to handle anything that comes up without derailing the entire project.
Your Bathroom Renovation Timeline, Step by Step
A bathroom renovation isn’t a weekend project. It’s a multi-stage process with several moving parts, and understanding the sequence of events helps you plan better and feel more in control. While your project’s complexity will determine the exact schedule, most renovations follow six key phases. Think of it as a roadmap that takes you from a vague idea to a beautiful, functional space. Knowing what to expect at each turn makes the entire journey smoother for you, your family, and your construction team. Here’s a look at what you can expect, from initial sketches to the final polish.
Plan and Design (1-8 weeks)
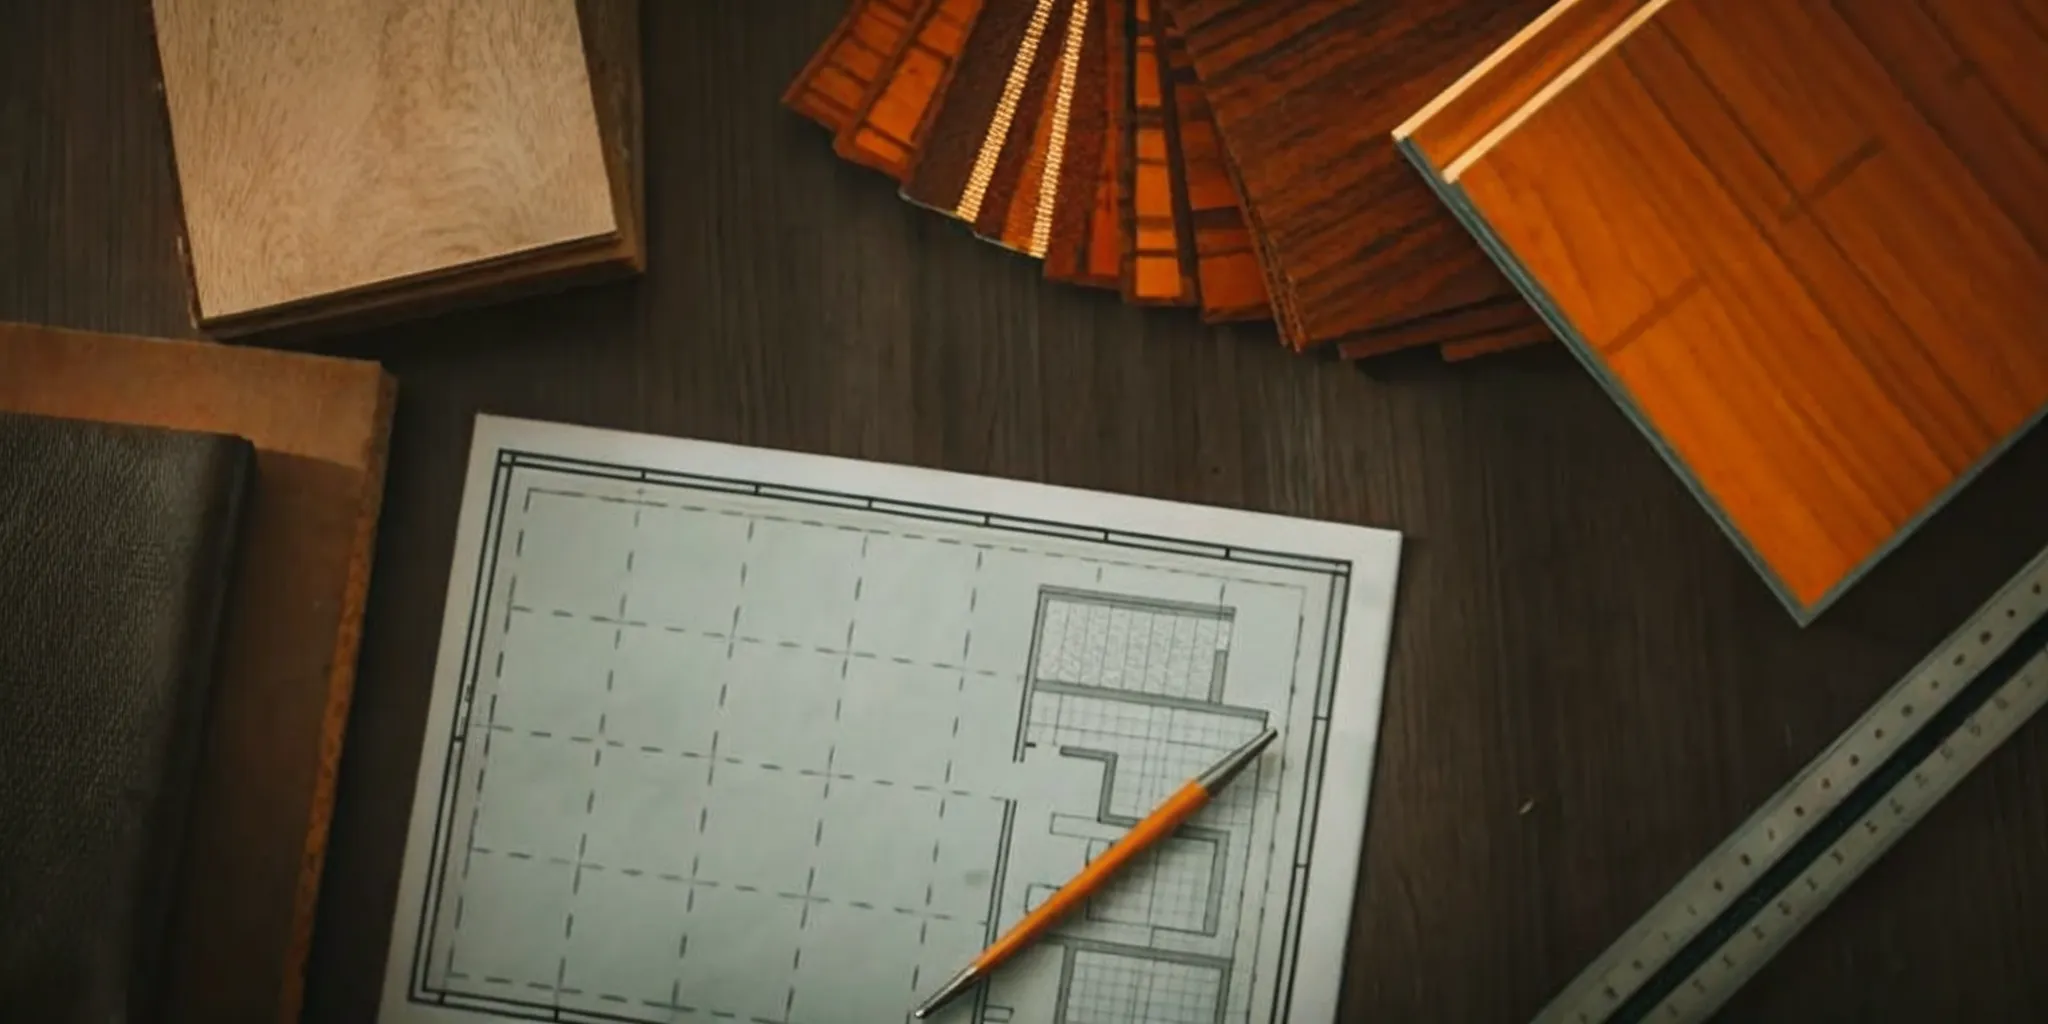
This is where your project truly begins, and it’s arguably the most important phase. Rushing your planning is the quickest way to go over budget and off schedule later. This is your time to finalize the layout, select all your materials (from tiles to faucets), and hire your professional team. A solid plan acts as the roadmap for your entire project, ensuring everyone from your contractor to your plumber is on the same page. Taking your time here to get every detail right will save you from making expensive, last-minute changes once construction is underway.
Get Your Permits (1-3 weeks)
Before any walls come down, you’ll likely need a permit from the city. Any project that involves changing the plumbing, electrical, or structural layout requires official approval. The good news is that many cities, including Oakland, have streamlined this process. You can often get faster approvals for standard projects by applying online. Your contractor can handle the submission process, but it’s wise to factor this waiting period into your timeline so you aren’t caught off guard by administrative delays.
Demo and Prep (1-3 days)
This is when things get real. Demolition is the fast, loud, and messy process of tearing out everything you’re replacing, like the old tub, vanity, toilet, and flooring. A professional crew can typically get this done in just a day or two. They’ll also prep the space for what’s next, which might involve protecting floors in adjacent rooms and setting up dust barriers. While it’s a quick phase, it’s the first major physical step toward your new bathroom, which is always exciting to see.
Handle the Rough-Ins (2-5 days)
Once the room is a blank slate, your contractor will handle the "rough-ins." This is all the crucial behind-the-scenes work. Plumbers will run new water supply and drain lines, electricians will install wiring for new outlets and lighting, and carpenters may reframe walls or build a new shower niche. This work needs to be done correctly and inspected before any drywall goes up. It might not look like much progress to the untrained eye, but getting the plumbing and electrical systems right is fundamental to a safe and functional bathroom.
Build and Install (1-3 weeks)
With the internal work complete, your new bathroom starts to take shape. This is the longest phase of construction. Your team will install insulation and drywall, which is then taped, mudded, and sanded for a smooth finish. Next comes the detailed work: laying tile for the floor and shower, painting the walls, and installing the vanity, countertops, and toilet. The shower door, light fixtures, and faucets are also put in place during this stage. Each step builds on the last, transforming the space from a construction zone into a recognizable room.
Add the Finishing Touches (3-7 days)
You’re in the home stretch. This final phase is all about the details that complete the room. Your contractor will install accessories like towel bars, mirrors, and cabinet hardware. After that, they’ll perform a final cleanup and walk through the space with you to create a "punch list." This is a list of any small adjustments or fixes that need attention, like a paint touch-up or a sticky drawer. Once you’re completely satisfied and the city has completed its final inspection, you’ll settle the final payment with your contractor.
What Can Slow Down Your Renovation?
Even with a perfect plan, renovations can hit unexpected bumps. Knowing what might pop up helps you prepare for potential delays and keep your project moving forward. From hidden issues behind your walls to supply chain snags, several factors can stretch your timeline. The key is to anticipate these challenges so you can build a realistic schedule from the start and work with your team to find solutions quickly when issues arise. Let’s look at the most common reasons a bathroom renovation in Oakland might take longer than expected.
The Scope of Your Project
The single biggest factor influencing your timeline is the complexity of your renovation. A simple cosmetic refresh, like painting, swapping out a vanity, and updating fixtures, can be done relatively quickly. However, if you’re planning a full gut renovation that involves moving walls, changing the layout, or relocating plumbing and electrical lines, the project becomes much more involved. Most standard Oakland bathroom remodels take four to six weeks after the planning phase is complete. Any changes you make after the work has started, often called scope creep, can also cause significant delays while your contractor reorders materials and adjusts the schedule.
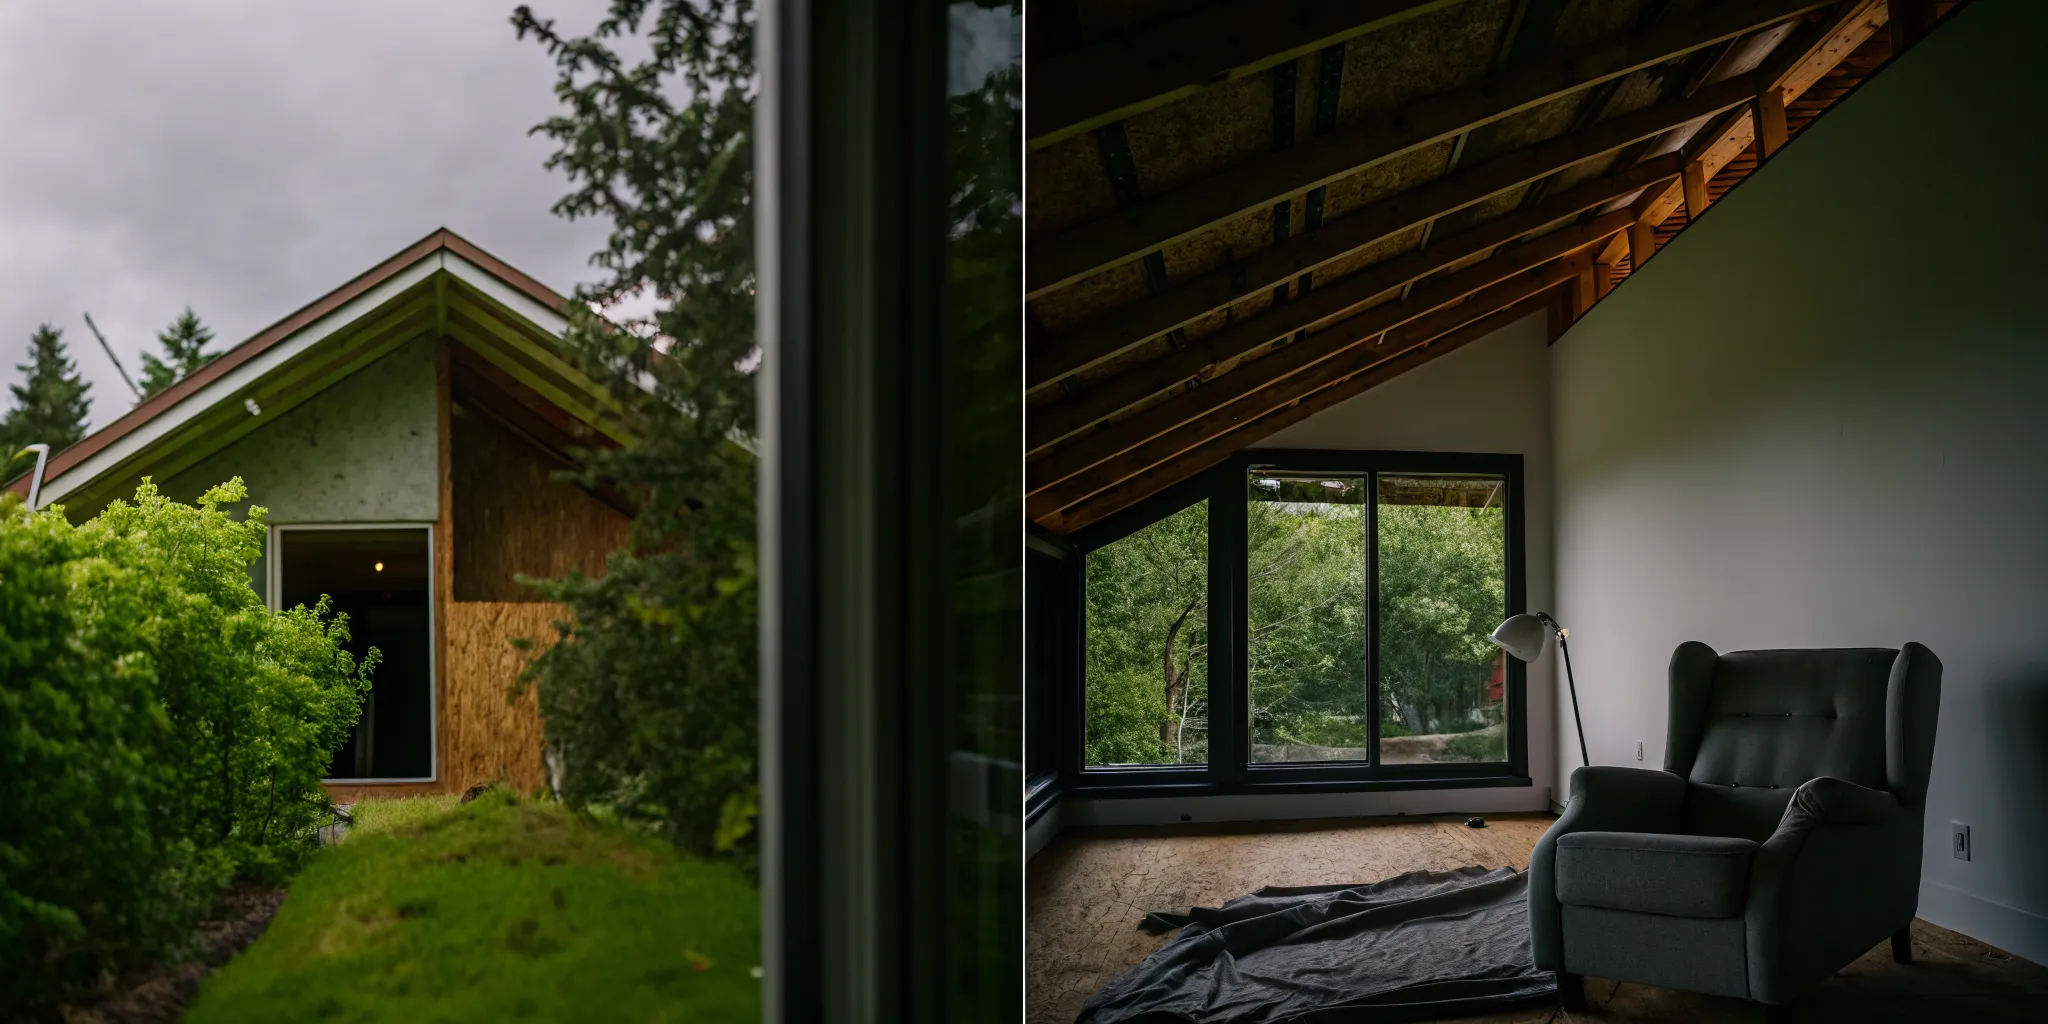
Surprises in Older Oakland Homes
Oakland is full of beautiful, historic homes, but their age can bring some surprises. Even with the most careful planning, remodeling projects can uncover unexpected issues, especially in older Bay Area houses. When your contractor opens up the walls, they might find outdated knob-and-tube wiring, leaky pipes that have caused hidden water damage, or materials like asbestos that require special abatement. These problems must be addressed to meet current building codes and ensure your home is safe, which adds time and cost to your project. This is where having an expert on your side can make a huge difference in managing these unforeseen challenges.
Material and Supply Chain Hold-Ups
Waiting on materials is one of the most common culprits behind renovation delays. It’s a great idea to order long-lead items first. Some products, like custom cabinets or specialty tile, can take a long time to be made and shipped, sometimes 8 to 12 weeks or even more. To avoid having your crew ready to work with nothing to install, you should have all your materials selected and ordered before demolition begins. Backorders and shipping delays can still happen, so following a structured renovation process that accounts for these possibilities helps keep your project on track.
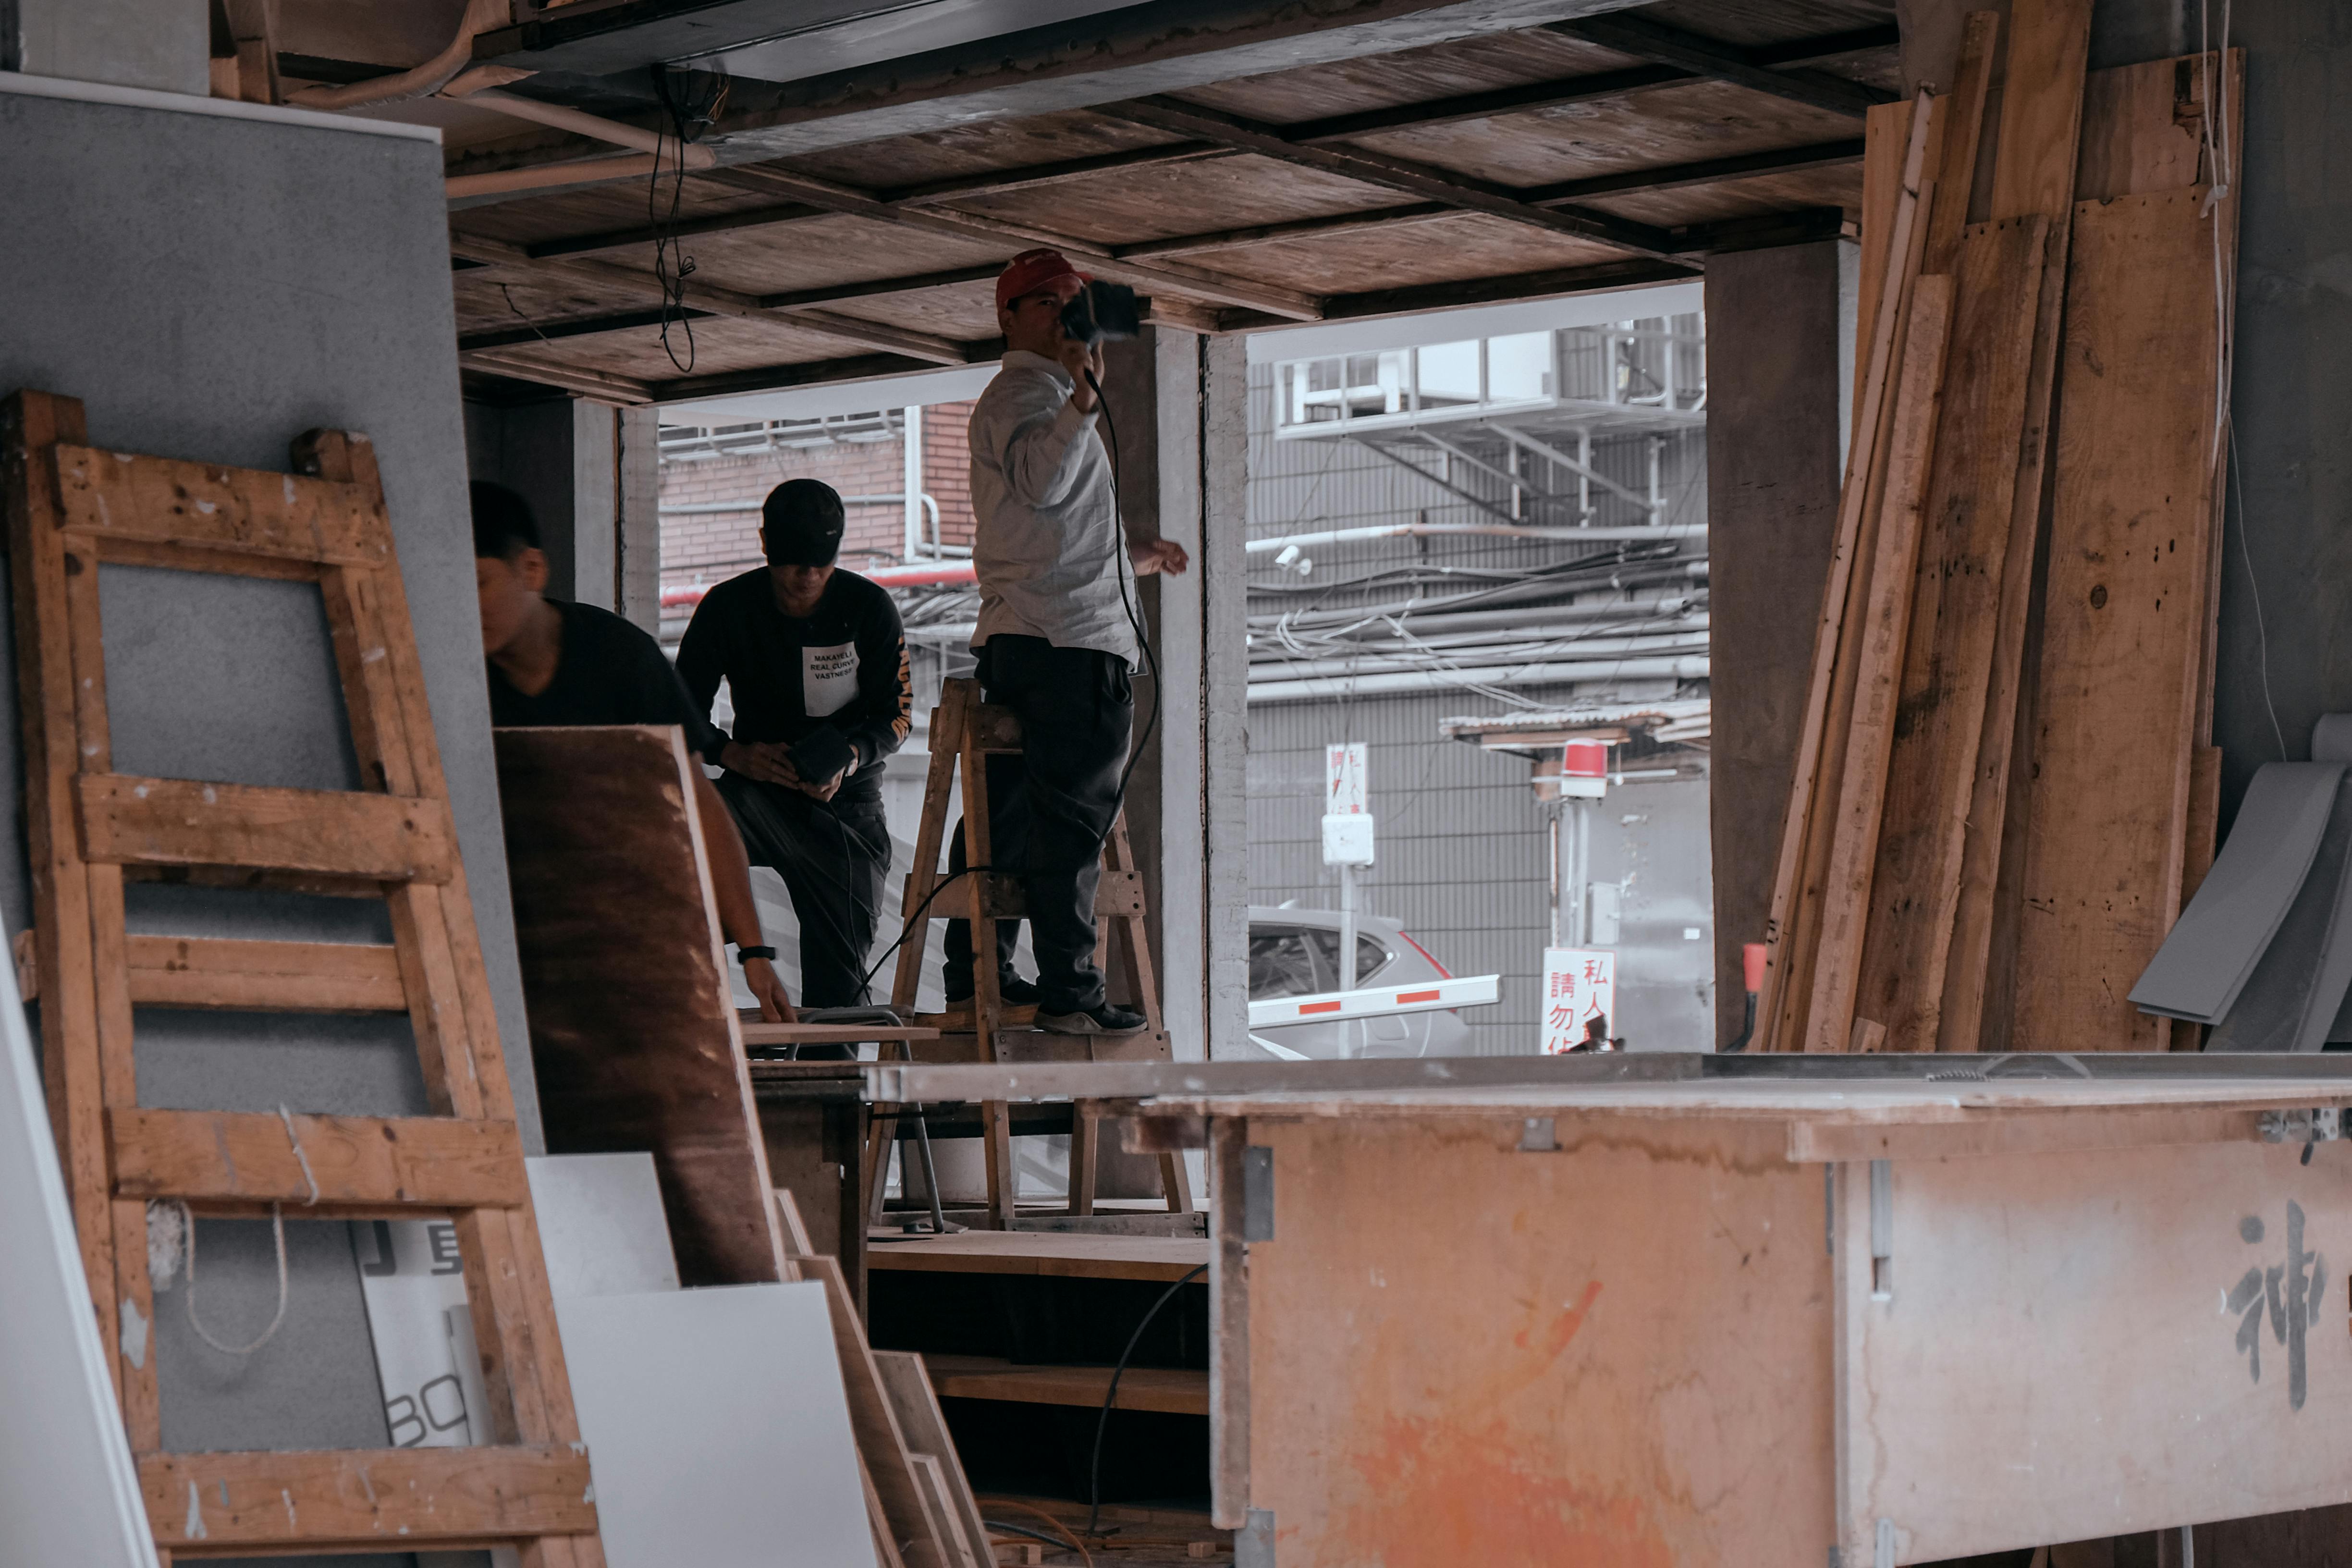
Contractor Schedules
Great contractors are often in high demand, which means they are usually managing several projects at once. A delay on another client’s job can sometimes have a domino effect, pushing back the start date of your own renovation. Your general contractor also coordinates with various subcontractors, like plumbers, electricians, and tilers. The entire project schedule depends on their availability lining up perfectly. Homeowners can reduce these kinds of delays by using practical, proactive strategies, like establishing clear communication from the start and working with a network of vetted contractors who have a reputation for reliability and good project management.
How Oakland's Permit Process Affects Your Timeline
The word "permit" can sound intimidating, but it’s just a part of the renovation process that ensures your project is safe and up to code. In Oakland, the permit process can be straightforward, but it’s a step you absolutely can’t skip if your project requires it. Understanding how it works is the key to keeping your bathroom renovation on schedule and avoiding frustrating delays. Think of it as a necessary checkpoint that, when handled correctly, sets your project up for success from the very beginning.
What Needs a Permit?
Not every bathroom update requires a permit. If you’re just swapping out a faucet, repainting, or changing the light fixtures, you likely won’t need to involve the city. However, the moment your plans get more ambitious, you’ll need to file for a permit. According to the City of Oakland, projects that involve new construction, demolitions, or changes to the structure (like moving a wall) require planning approval before you can even get a building permit. So, if your dream bathroom involves expanding the space or reconfiguring the layout, plan on adding the permit application to your to-do list.
How Long Do Permits Take?
The time it takes to get a permit in Oakland depends entirely on the complexity of your renovation. For a simple bathroom remodel with no wall changes or exterior work, you could get a "Quick Approval" in as little as one day, though it could take up to two weeks. For more involved projects, like those with additions or significant alterations, the timeline extends. The city’s average permit processing times show that these larger residential projects can take anywhere from a few weeks to a few months. Knowing where your project falls on this spectrum will help you build a much more accurate timeline.
How to Avoid Permit Delays
The best way to keep your project moving is to get the paperwork right the first time. The City of Oakland is clear that submitting a complete application is the single most important step to avoid delays. Missing documents will get your application flagged as incomplete, sending you to the back of the line. To speed things up, consider applying online, as many permits can be approved the same day through the city’s portal. If you’re on a tight schedule, you can also look into an Expedited Overtime Request, which can cut the estimated processing time in half for some building projects.
Common Planning Mistakes That Cause Delays
A successful renovation is all about the prep work. While some delays are out of your control (hello, surprise plumbing issues), many of the most common timeline-busters happen long before the first hammer swings. By sidestepping a few classic planning mistakes, you can set your project up for a much smoother, faster, and less stressful experience. Let’s walk through the big ones so you know exactly what to watch out for.
Rushing the Design Phase
It’s tempting to jump straight into demolition, but the design and planning stage is the most important part of your entire renovation. Rushing through your layout, material choices, and fixture selections is a recipe for delays and budget creep down the line. Changing your mind about tile after it’s been ordered or deciding to move a wall mid-construction will cause a ripple effect of setbacks. Take your time here. A well-thought-out plan acts as the roadmap for your entire project, and getting it right from the start helps ensure everything else falls into place. This is where a customized project plan can be a lifesaver.
Submitting Incomplete Paperwork
Navigating the permit process can feel like a project in itself, and one of the biggest delays is submitting an incomplete application. The City of Oakland is clear: missing documents will immediately put your project on hold. Before you submit anything, double-check that you have all the required drawings, structural plans, and contractor information. A tiny oversight, like a missing signature or an incorrect form, can send you to the back of the line. Taking an extra hour to review every detail can save you weeks of waiting for your permit to be approved.
Ordering Materials Too Late
Many homeowners are surprised to learn that items like custom cabinets, windows, and even some tiles aren’t just waiting on a shelf. These are often considered long-lead items, meaning they can take weeks or even months to be manufactured and delivered. If you wait until demolition is done to order your vanity, your entire project could grind to a halt while you wait for it to arrive. As soon as your design is finalized, work with your contractor to identify and order these items. Getting ahead of the supply chain is one of the best ways to keep your project moving forward without unnecessary pauses.
Not Communicating Clearly with Your Contractor
Your relationship with your contractor is a partnership, and clear communication is the key to making it work. Don’t assume they know exactly what you’re thinking. Establish a plan for regular check-ins, whether it’s a quick daily text or a more formal weekly meeting. Ask questions when you have them and be open about your expectations. Putting major decisions or changes in writing helps ensure everyone is on the same page. A contractor who is a good communicator will appreciate this, as it helps them deliver the bathroom you’ve envisioned. This is why working with vetted professionals who value clear dialogue is so important.
How to Find a Reliable Contractor in Oakland
Your renovation timeline is only as good as the team you hire to execute it. Finding a great contractor is less about luck and more about doing your homework. This is the person you’re trusting with your home, your budget, and your vision, so it’s worth taking the time to find the right partner. A reliable pro will not only deliver high-quality work but will also be a clear communicator who can help you anticipate challenges and keep the project moving forward. Think of this as building your project’s foundation; a solid choice here makes everything that follows run more smoothly. When you have a trusted professional on your side, you can feel confident handling the entire renovation process, from demolition day to the final walkthrough.
Verify Their License and Insurance
Before you even think about design or materials, make sure any contractor you consider is properly licensed and insured. This is your first line of defense against shoddy work or on-site accidents. In California, you can easily check a contractor's license status online through the Contractors State License Board (CSLB). A valid license shows they’ve met state requirements for experience and knowledge. Just as important, ask for proof of general liability insurance and workers' compensation. This protects you financially if there’s property damage or a worker gets injured on your project. Don’t just take their word for it; get copies of their insurance certificates.
Check References and Recent Reviews
A great portfolio is one thing, but hearing from past clients is another. Ask every potential contractor for at least three references from recent projects similar to yours, preferably bathroom renovations in the Oakland area. Actually call them and ask specific questions. Were they happy with the final result? Did the project stay on schedule and on budget? How did the contractor handle unexpected issues? You can also look at online reviews on sites like Yelp or Houzz, but direct conversations often give you a more nuanced picture of what it’s like to work with them. This step gives you real-world insight into their professionalism, quality, and reliability.
Get Multiple Detailed Bids
Don’t settle on the first contractor you talk to. A best practice is to get at least three detailed bids for your project. The key word here is "detailed." A legitimate bid should be a comprehensive document that breaks down the costs for labor, materials, permits, and other expenses. This allows you to compare apples to apples and understand exactly what you’re paying for. Be wary of any bid that is significantly lower than the others, as it could be a red flag for cutting corners or hidden costs later. This process helps you find a fair price and gives you a feel for each contractor’s professionalism. At Realm, we simplify this by connecting you with our network of vetted local professionals to ensure you get competitive, transparent bids.
Assess Their Communication Style
You’re going to be in close contact with your contractor for weeks or even months, so good communication is essential. Pay attention to how they interact with you from the very first conversation. Do they respond to your calls and emails in a timely manner? Do they listen to your ideas and answer your questions clearly and patiently? A good contractor should feel like a partner who guides you through the process, not someone who dismisses your concerns. Your gut feeling matters here. If you feel like you’re not being heard or that they’re hard to get ahold of from the start, it’s unlikely to improve once the project is underway.
How to Prepare for a Smoother Renovation
A little prep work upfront can make a world of difference once your renovation is underway. Thinking through the details and planning for potential hiccups will help you keep your project on track and your stress levels in check. It’s all about setting yourself, and your project, up for success before the demolition begins. Here are a few key steps you can take to ensure your bathroom renovation goes as smoothly as possible.
Finalize Your Design Early
The most critical part of your renovation happens before anyone picks up a tool. Rushing through the planning and design phase is a common misstep that often leads to projects going over budget and behind schedule. Before demolition starts, make sure every single decision is locked in, from the tile layout and grout color to the vanity hardware and faucet style. Making changes mid-project creates a domino effect of delays and added costs. Working with a dedicated advisor can help you finalize these details, ensuring your vision is clear and your plan is solid from day one.
Order Materials Ahead of Time
Once your design is set, don’t wait to order your materials. Certain items, especially custom or imported ones, can have surprisingly long lead times. Things like custom cabinets, special-order tile, windows, and even some light fixtures can take weeks or months to arrive. Ordering these long-lead items as early as possible creates a buffer for potential shipping or manufacturing delays. Having all your materials on-site before your contractor needs them is one of the best ways to prevent frustrating pauses in the construction schedule and keep your project moving forward efficiently.
Create a Contingency Plan
Even with the best planning, surprises can happen, especially in older Oakland homes. That’s why it’s smart to build a contingency fund into your budget. A good rule of thumb is to set aside an extra 15% to 20% of your total project cost to cover unexpected issues, like finding old plumbing that needs replacing or discovering hidden water damage. This isn’t about expecting the worst; it’s about being prepared so that a surprise doesn’t derail your entire project. Having a financial cushion gives you the peace of mind to handle any bumps in the road without stress.
Set Up a Temporary Bathroom
If the bathroom being renovated is your only one, figuring out a temporary solution is essential for your daily sanity. Living without a functioning bathroom disrupts every part of your routine. Before the project starts, make a plan. This could be as simple as coordinating with a kind neighbor or as practical as setting up a temporary station in a laundry room with a mirror, storage for toiletries, and a basin. For larger projects, you might even consider a portable toilet. The goal is to create a space that supports your daily needs and makes living through the renovation much more manageable.
How to Keep Your Project on Time and on Budget
A successful renovation isn’t just about the final look; it’s about finishing the project without derailing your life or your finances. While unexpected issues can pop up, you have more control over the timeline and budget than you might think. It all comes down to smart, proactive planning. By building in buffers, clarifying your priorities, and maintaining open communication, you can steer your project toward a smooth finish. These strategies will help you protect your investment and, just as importantly, your peace of mind. Think of it as setting up a strong foundation for your project before the first tile is even laid.
Build a Time Buffer into Your Schedule
Even the most carefully planned renovation can hit a snag, whether it’s a delayed materials shipment or an unexpected discovery during demolition. That’s why building a time buffer into your schedule is essential. A good rule of thumb is to add a 20% to 30% contingency to your estimated timeline. If your contractor predicts the project will take five weeks, plan for it to take six or seven. This gives you breathing room to handle surprises without the stress of a looming deadline. To stay on track, it’s best to begin the planning process three to six months before you want the work to start.
Set Aside a Budget Contingency
Just as you need a time buffer, you also need a financial one. A budget contingency is a portion of your total budget, typically 15% to 20%, set aside specifically for unforeseen expenses. This is especially important in older Oakland homes, where you might uncover issues like outdated plumbing or hidden water damage once the walls are opened up. This fund isn’t for splurging on upgraded fixtures; it’s a safety net for the true unknowns. Having this money earmarked from the start prevents a small problem from turning into a major financial crisis, ensuring you can complete your project without compromise.
Prioritize Your Must-Haves
Before you begin, make a clear list of your project's "must-haves" and "nice-to-haves." Your must-haves are the non-negotiable elements that are central to your vision, like a walk-in shower or a double vanity. The nice-to-haves are the features you’d love but could live without if the budget gets tight, such as heated floors or a high-end light fixture. This exercise helps you make smart decisions under pressure. If an unexpected cost arises, you’ll know exactly where you can scale back without sacrificing what’s most important to you. It’s about investing in the high-impact elements that will bring you the most value and joy.
Schedule Regular Check-Ins with Your Team
Clear and consistent communication with your contractor is the key to a smooth renovation. Establish a regular check-in schedule from the beginning, whether it’s a brief daily text or a more detailed weekly walkthrough. Use this time to discuss progress, review what’s next on the schedule, and address any questions or concerns immediately. An experienced local contractor will not only provide updates but also anticipate potential issues. This ongoing dialogue ensures everyone is on the same page, helps catch small problems before they become big ones, and builds a trusting, collaborative relationship with your project team.
Related Articles
- What's the Average Timeline for a Bathroom Renovation?
- How to Estimate Bathroom Remodel Cost Accurately
Frequently Asked Questions
What's the single biggest factor that determines my renovation timeline? The scope of your project is, without a doubt, the biggest driver of your timeline. A simple cosmetic refresh that focuses on surface-level changes like new paint, a modern vanity, and updated fixtures will be on the shorter end of the scale. However, if you're planning a complete overhaul that involves moving walls, reconfiguring plumbing, or changing the electrical layout, you're looking at a much longer and more complex project. The more you change behind the walls, the more time you should plan for.
Do I really need a permit just to replace my tile and vanity? Generally, no. If your project is a direct swap of fixtures and finishes without altering the bathroom's existing footprint, plumbing, or electrical systems, you likely won't need a permit in Oakland. The need for a permit arises when you start making structural changes, like moving a wall, or when you alter the plumbing and electrical lines. It's always best to confirm with your contractor, as they will be familiar with the specific local requirements.
How much extra should I budget for unexpected problems? Setting aside a contingency fund is one of the smartest things you can do. For most bathroom renovations, especially in older Bay Area homes, a good rule of thumb is to have an extra 15% to 20% of your total project cost available. This isn't for splurging on fancier tile; it's a safety net for addressing surprises like outdated wiring or hidden water damage that might be discovered once the walls are opened up.
Can I stay in my home during the renovation? Yes, you can almost always stay in your home, but you'll need a plan. The construction will be noisy and dusty, so your contractor should set up barriers to contain the mess. The biggest challenge is being without a functioning bathroom. If it's your only one, you'll need to arrange for an alternative, whether that's using a bathroom at a neighbor's house, a gym, or setting up a temporary station elsewhere in your home.
What's the most important thing I can do during the planning phase to prevent delays? Finalize every single decision before any work begins. This means choosing your tile, vanity, faucets, lighting, paint color, and hardware well in advance. Once you've made your choices, order any items that have long lead times, like custom cabinets or special-order tile, immediately. Making changes or waiting on materials after demolition has started is the quickest way to bring your project to a standstill.